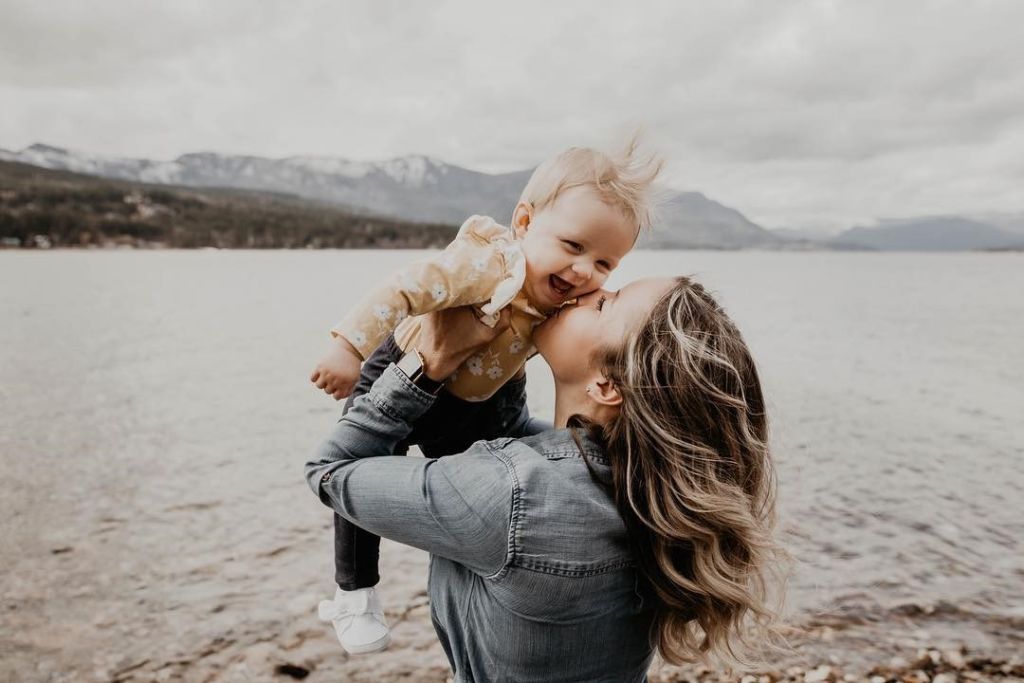
Thirty years ago, a common refrain from parents to kids was “Go play outside.” These days, many kids would respond with “Well, what are we supposed to do out there?” According to new studies, children are “taller, heavier, fatter and weaker” than their parents were at the same age, mostly due to declining rates of physical literacy. Only one third of Canadian kids are meeting the physical activity recommendation of 60 minutes per day. We can blame this decline on the prevalence of screens and more sedentary activities, but those are just a symptom of a bigger problem — kids aren’t playing outside like they used to.
Less time outdoors isn’t just linked to decreased fitness levels in children, it also causes a decreased appreciation of the environment, vitamin D deficiency, diminished use of the senses, attention difficulties, and higher rates of emotional illnesses like anxiety and depression.
Being outside has so many health benefits for children — both physical and mental. Movement through unstructured play, especially outside, has been shown to improve creativity, academic success, and mental stability, among other things.
With all of the distractions indoors, it can be challenging to get kids to “go play outside,” but these tips can help your kids turn off the screens and get off the couch.
Set Strict Limits on Screen Time
This tip is first and foremost. Everyone knows that too much screen time is bad for your health, especially for kids. Health professionals recommend children aged 2 to 5 be limited to one hour of screen time a day, with consistent limits for older children on the amount of time and place they get to have screen time. Parents can help by setting timers for recreational screen time, keeping all screens out of kids’ rooms (living/dining room only), and limiting it to certain times of the day (i.e. video games after dinner for two hours, and only if homework is done). Screen time limits will open up time in their lives to find other, healthier things to do for fun.
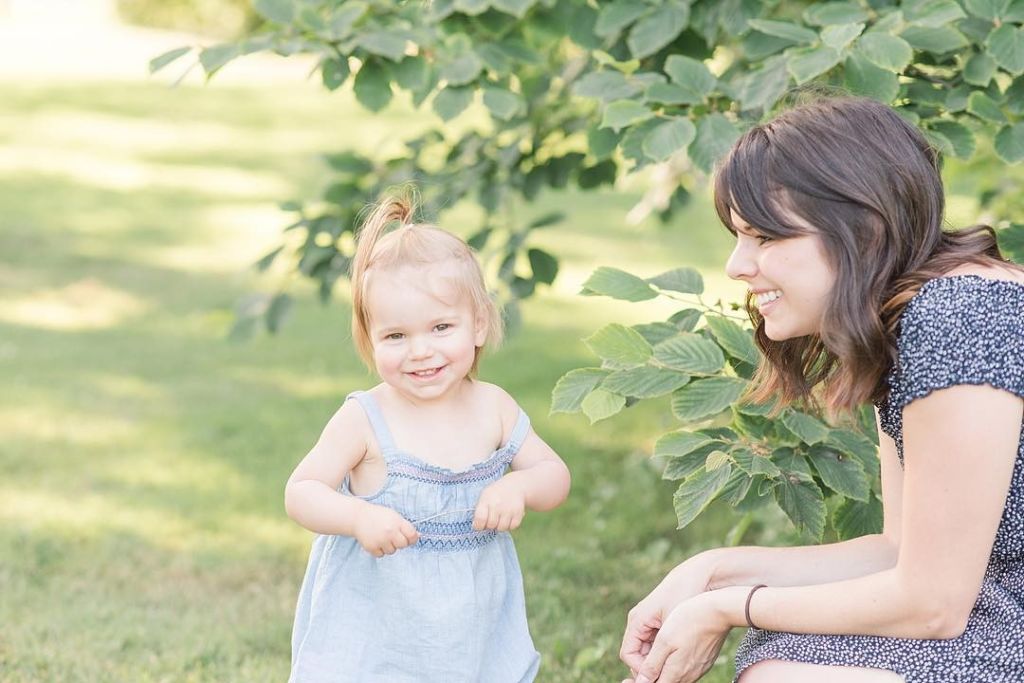
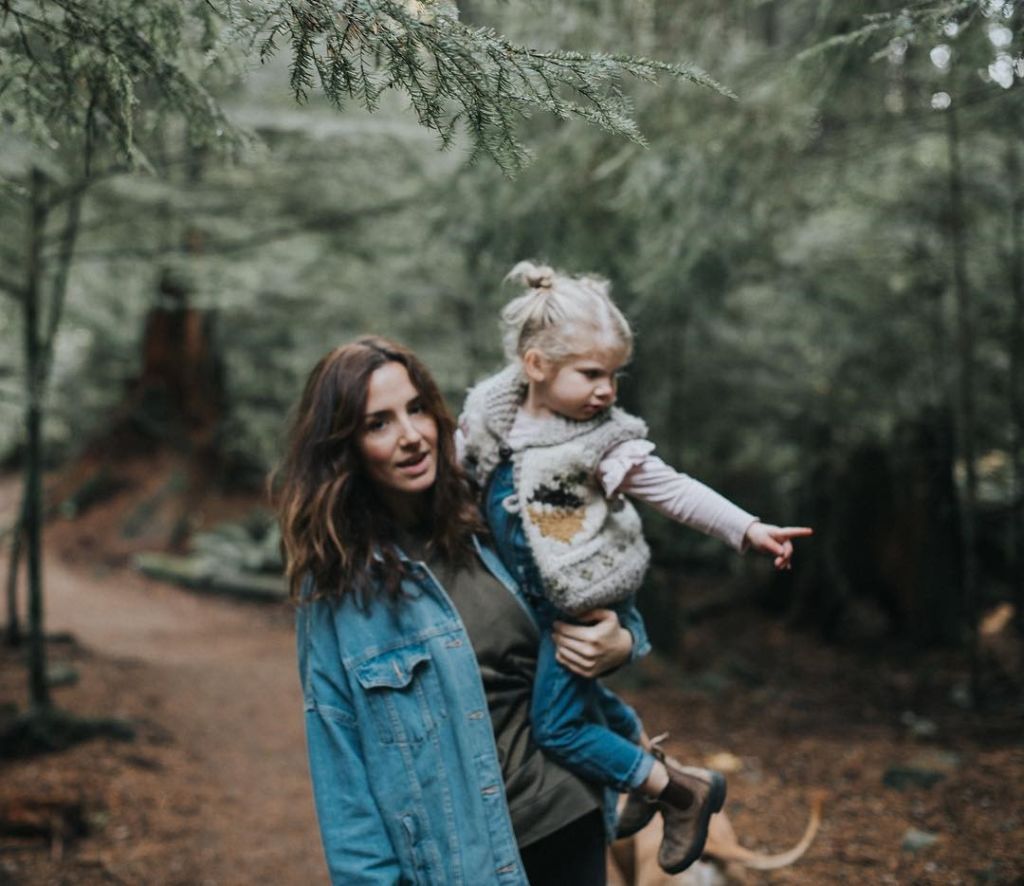
Spend More Time Outdoors Yourself
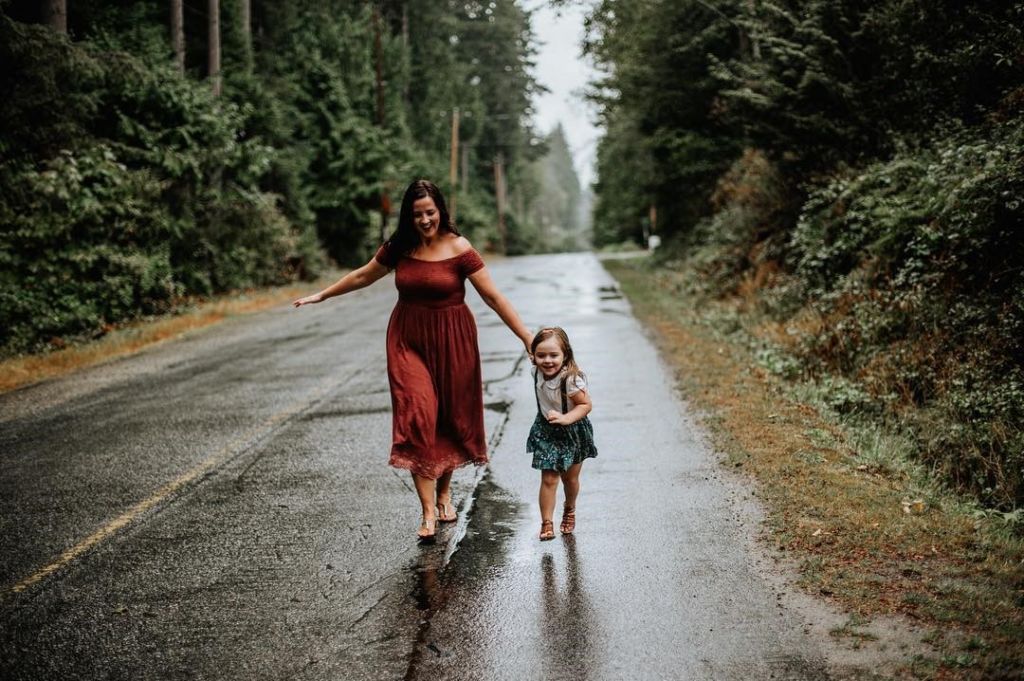
This one is easy. Kids learn by example, especially when they’re little, so if they see you enjoying a walk, a bike ride, a hike, or a run, they’ll grow up knowing that these things are normal and fun. Studies have shown that 60 minutes of a parent’s physical activity adds 15 minutes to a child’s average daily physical activity.
Make Family Time Nature Time
We know you plan family time every week, so instead of movies on the couch every Sunday, why not pack up the car and head to the park, beach, forest, or ski hill as a family once in a while? Make a family challenge to explore new areas of your town together at least once a month: visit as many different parks or playgrounds and find your favourites.
Plan Outdoorsy Vacations
Hotels or theme parks are fun, but your family vacation is the perfect opportunity to unplug and connect with nature. Seek out destinations that cater to camping, RVing, surfing, hiking, biking, or even the beach and see how much it replenishes everyone. Even if you are stuck in a hotel, every city in the world has playgrounds — why not find the best one close to where you’re staying? Thank goodness for Google Maps!
Extend Play Date Times
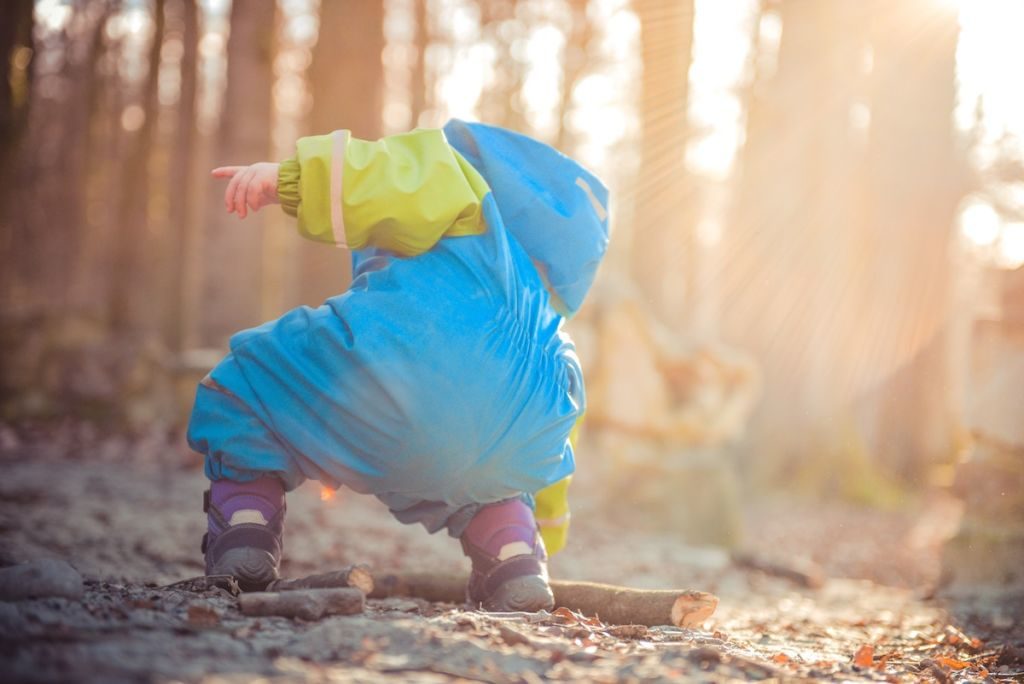
Modern kids are used to being entertained and scheduled every minute of their lives (which has been shown to be detrimental to their mental development), so a two-hour playdate may not give them enough time to know what to do outdoors. Clear your schedule and head to the beach or forest until dinner time. If given enough freedom, that boring, old stick will eventually become a tool or a game, and they’ll come up with more complex levels of free play on their own.
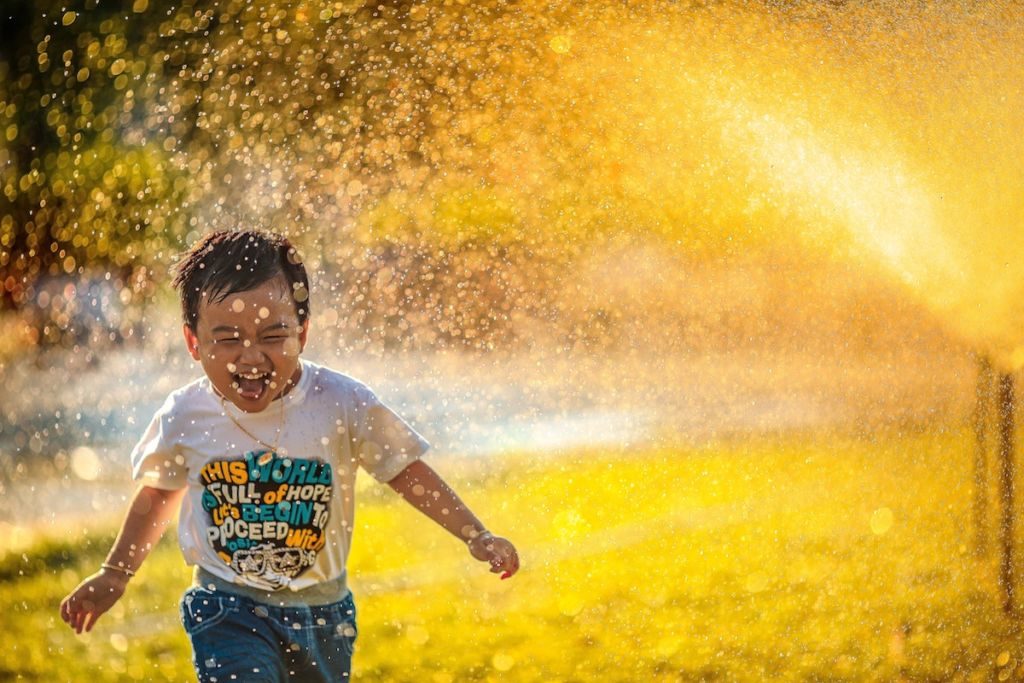
Incorporate Natural Materials and Loose Parts into Play
Swing sets and playgrounds are fun for a while, but they’re very specific and limited. Equip your play space with stumps, small logs, a fun sprinkler, sticks, plants, gravel, dirt, and sand for imaginative building and exploration. Loose items like balls, hoops, ropes, sidewalk chalk, kitchen wear, wood pieces, pots, shovels, and trays are ripe for creative play. Long sticks and old bedsheets are perfect for building forts. A water source and buckets will provide hours of messy fun. If you’re nervous about any of it, put them on a time limit, or better yet, get out there with them.
Encourage Them to Get Dirty
Yes, you spend a lot on their clothes, but kids are meant to be outside, exploring everything nature has to offer. Just remember that their health is more important than the laundry. If it is an issue, keep inexpensive or hand-me-down clothes and shoes on hand especially for outdoor adventures.
Bring in a Blast from the Past
What was your favourite thing to do outside as a kid? We’re pretty sure it’s still fun, even though your kids might groan at first. Teach your kids how to build a fort, play catch, toss a frisbee, build a forest fairy village, play tug of war, catch bugs in a jar, or play kick the can. You’ll be surprised how much they love it, especially if you’re doing it with them.
Get a Dog
If you’ve always wanted to get a best friend for the kids, now is the time. Not only will it teach them about daily responsibilities, it will get them outside daily for walks and epic games of fetch. If you don’t have the space for a dog, rabbits and guinea pigs can play outside in an enclosed area.
Register Your Kids for Outdoor Sports and Summer Camp
If they’re into it, leave the volleyball, basketball, and hockey behind and lean more toward sports like soccer, baseball, or field hockey – they’ll be outside getting fit and making friends at least once a week. As soon as they’re ready, register them for summer camp. The benefits of camp are huge, from life lessons beyond the classroom to appreciating nature, making friends for life, and building resilience and leadership skills.
Gear Up
Birthdays and Christmas roll around every year, so why not make them an excuse to get some new outdoor gear? A bike, baseball glove, gardening tools, in-line or roller skates, a soccer ball, a kite, or a badminton set for the back yard would light up any kid’s eyes. And dad would love a new camp chair!
Game-ify Nature
Outdoor activities aren’t limited to gentle nature walks. If your family loves games and competition, you have lots of options. Geocaching could be your new favourite hobby. PokemonGo is still hugely popular and will get you and the kids outside. Organize a scavenger hunt, beat your best time around the block on a bike, get a deck of nature cards, or challenge the whole family to get in the most steps in a week on your fitness trackers.
Do Indoor Things Outside
If you have the space, make an inviting outdoor area in the backyard where the kids can do their homework, eat meals, or just hang out as a family during the warmer months. If you live in an apartment, pack up the kids’ textbooks (and a book for yourself) and find the nearest picnic table, or play a game of Go Fish on a park bench.