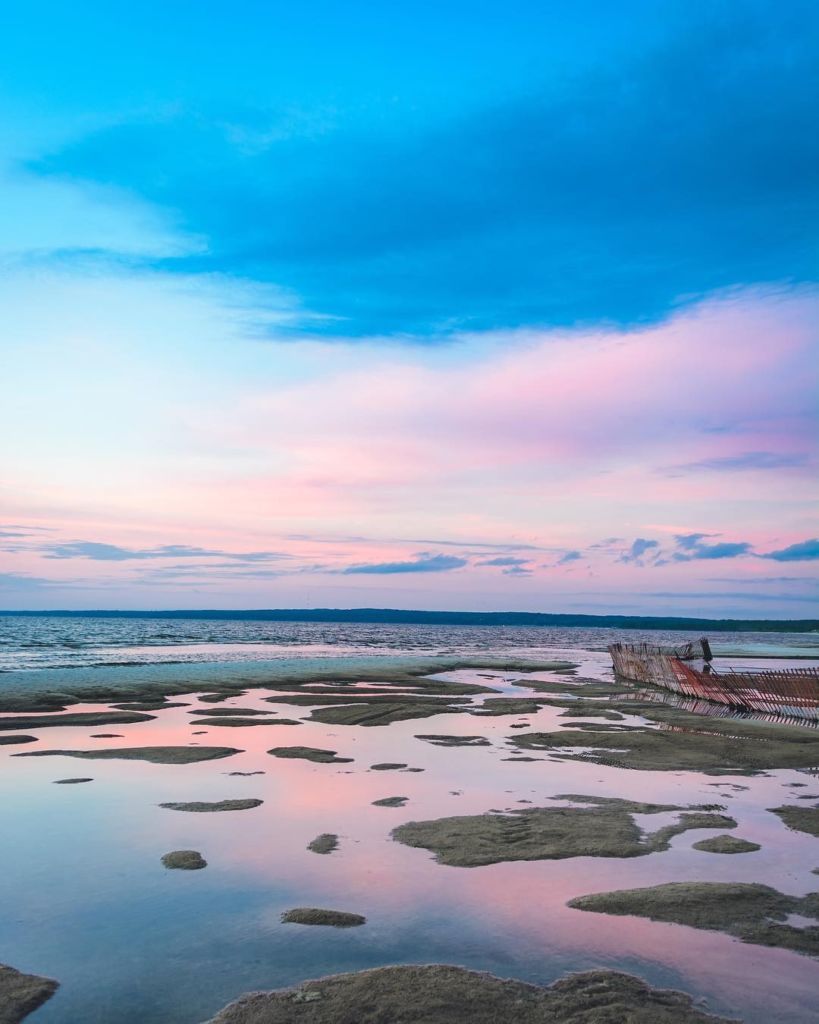
Have you ever dreamed of quitting the nine-to-five, packing a bag, and exploring this big, beautiful planet in search of adventure and new experiences? You aren’t alone.
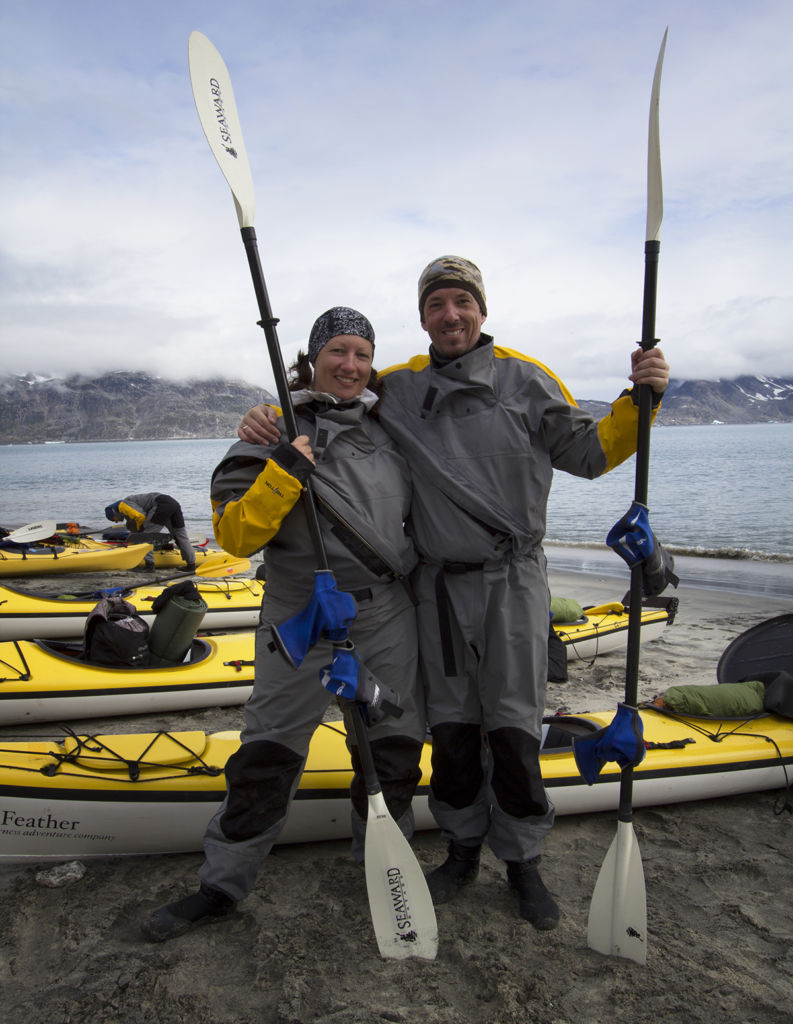
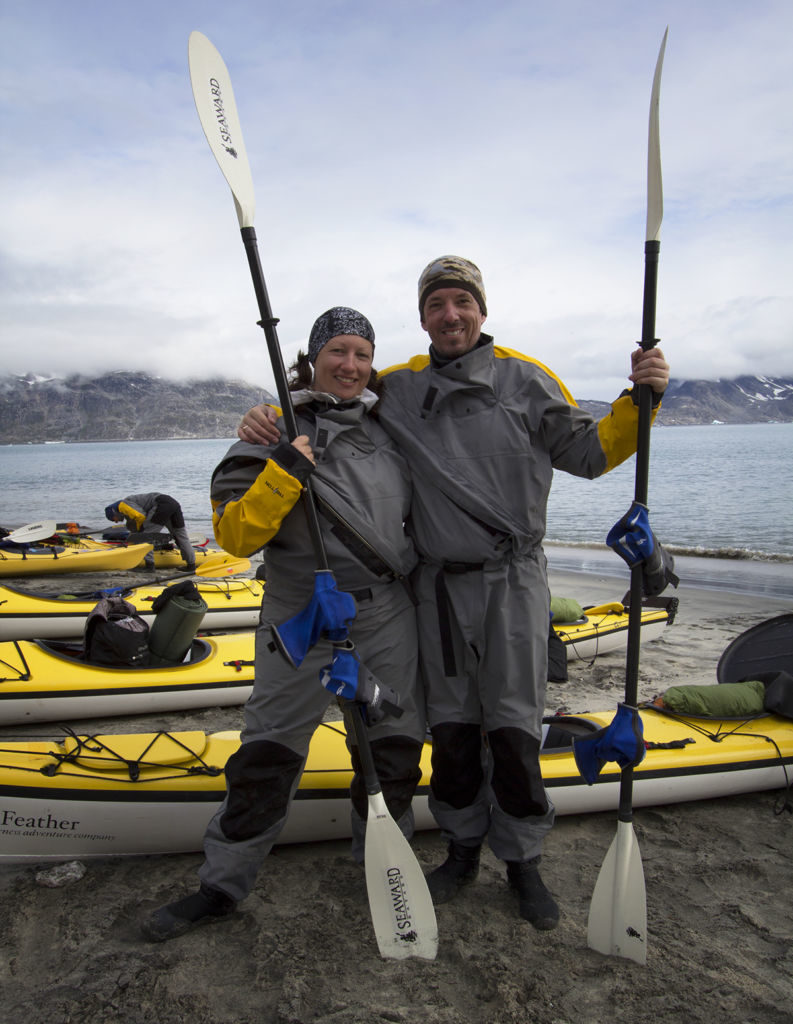
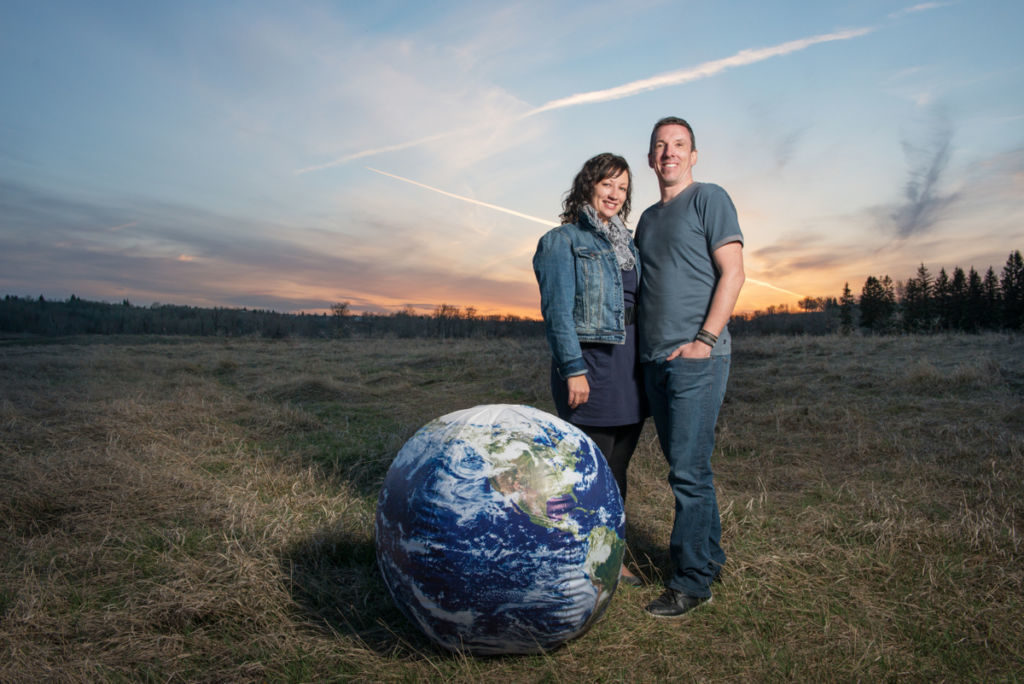
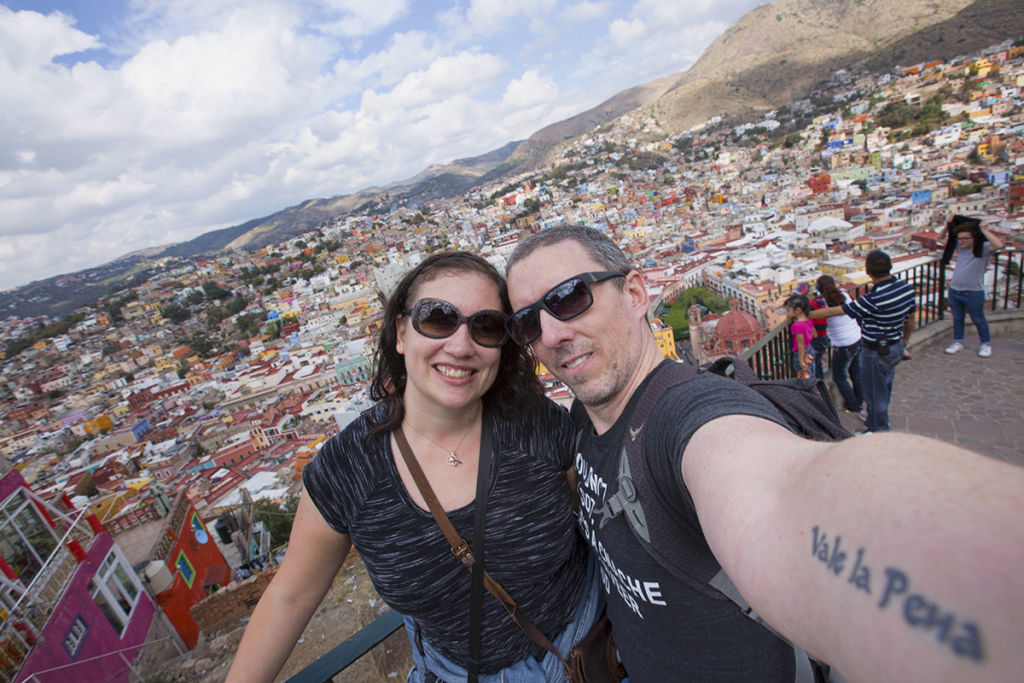
Dalene and Pete Heck, authors of the travel blog Hecktic Travels and proclaimed “Travelers of the Year” by National Geographic Traveler, felt the same way eight years ago. And they did something about it.
They didn’t start out with a lot of travel experience when their big adventure began. They had to learn as their boots hit dirt. Through their journeys, they’ve amassed a wealth of on-the-ground travel expertise. So, we asked them to share it.
Their story is one that resonates for so many of us, and their tips and advice are inspiring, if not indispensable.
1. Everyone’s story is unique. Can you tell us a bit about how you came to be an expert in travelling?
 It’s funny – neither Pete nor I travelled much growing up. Family vacations were very few, and for both of us, being away from home was usually only to play in sporting events around the province. When Pete and I first got married, he even said he didn’t understand why we needed to go anywhere when we could just spend every weekend camping!
But too late for him — the travel bug was biting me hard! Our first trip was to Puerto Vallarta for our honeymoon. Then I coerced him to take a tour of Europe. And THEN we took our very first backpacking trip to Costa Rica. That last trip was where it really hit home for both of us — we craved that adventurous style of travel and were always looking to do more. We loved how it pushed us out of our comfort zones and how much we really learned about every destination we visited.
Truthfully, our life was sent into a tailspin because of some personal tragedies, and travel is what pulled us out of it. We weren’t unhappy with the sort of nine-to-five lives we were living, but we knew we could do so much better.
We sold our house, quit our jobs, and decided to pursue our biggest travel ambitions. That was almost 10 years ago, and even though we recently settled back in Alberta, travel has continued to shape our lives and even our careers.
2. Travelling can be hard. Can you please share any growth moments or revelations you’ve experienced while travelling?
Without a doubt, the most powerful lesson we learned while traveling was how little we could actually live with. We went from having a 2,100-square-foot house to having only two backpacks that totalled 110 litres, and we lived that way for almost 8 years.
Now that we are settled again, we are much more conscious of things and the space they hold in our lives, and on the planet. Our purchases are much more thoughtful and we are careful not to fall into our former blind-consumerist mentality. It is very freeing to live so minimally!
Also, anyone who has ventured beyond the standard “all-inclusive” style vacation will learn this lesson: the world is not near as scary as it is made out to be.
We’ve had our scary moments, to be sure, but we know for certain that people the world over are genuinely good. We’ve had our passports returned to us when I left them on a bus in Chile. In Ecuador, I left my iPhone on a bed and the hotel flew it out to me the following day. In Turkey, we had locals get off their bus in order to walk us two blocks to where we needed to catch our bus. They waited to ensure we got on the right one, missing their own in the meantime. We learned the meaning of the word hospitality in countries far away from our own.
3. Do you have any guidance for those wanting to travel more? Perhaps some preparation, tools, or mindset suggestions?
Despite our abundance of travel, we are actually the world’s WORST travellers… seriously, who leaves their passports on a bus in Chile?? THIS GAL. We are pretty scattered and often arrive at places unprepared, but somehow we manage to get by. I would advise you to keep that in mind if you go searching for travel tips on our blog!
But one thing I will say when it comes to mindset: as much as possible, go into a new destination or adventure with little to no expectations. We learned early that setting future travel destinations high on a pedestal almost certainly meant we would be disappointed in some way. Instead, we’ve been happily traipsing around the world being pleasantly surprised by everything, and letting our adventures unfold as they are meant to. There is no better way to learn than to go into a new place with a blank slate and just absorb all that is around you.
4. What are three things you can’t — or won’t — travel without?
For the first few years of our nomadic adventures, we traveled without a phone! There are many ways that we miss those early untethered days, but now we also find ourselves quite addicted to some of the tech that makes it all so much easier.
A few of our favourite apps include:
- Google Translate: Google bought out the app “Word Lens” a few years ago and it is the handiest thing to point your phone camera at a foreign menu and have the words translated for you directly on the screen;
- Maps.me: This is Pete’s favourite because the offline maps are better than Google and even include hiking paths. It also easily allows him to mark spots that he wants to return to in order to get photos in better light;
- Trover: This app is sort of a “useful Instagram” in that it is full of beautiful photos but they are all geotagged and captions include helpful travel tips on how to find and best enjoy that spot.
5. What about items people tend to pack but don’t need? What are a couple things people should NOT travel with?
I think hidden money pouches are uncomfortable and a waste of space. We had one for the first year around South America but quickly disposed of it when we just didn’t see the point of it. We are very careful in how and where we travel (i.e. you won’t find us stumbling on a side street back to a hotel after a late night at a bar), and as long as you make smart decisions, I don’t think such a thing really helps. Money belts can also sometimes be easy to spot and an argument can be made that wearing them actually makes you more of a target.
Along that line, leave the flashy jewellery at home. Nobody needs to see big diamond rings or cares that you wear brand name sunglasses when you are travelling in a poorer country. Most crimes against tourists abroad are petty theft and only opportunistic in nature, so stop making yourself a target.
6. How do you decide what to pack, and what not to pack?
Weather is probably the biggest factor! We have had instances where we’ve gone from winter in Finland straight down to Guatemala, so we’ve had to be pretty careful about what we brought with us. Everything needs to be compact, and I usually pack with layers in mind. That cute cotton sundress is great in Guatemala, but I threw some leggings under it and it was wearable in Finland too. It all needs to be interchangeable, and easy to match with other things.
7. For folks looking to skip the baggage carousel with just a carry-on, what advice or hacks do you have about travelling light?
We have never been able to master this — ha! Which is why we asked an expert to pen some tips for our website, because we are so terrible at it ourselves.
I wish we could be more helpful! Just know the struggle is real, and you are not alone.
8. What are a few unconventional, surprising, or quirky suggestions you have to pack like a pro?
Using packing cubes is the one packing tip we are certain is a good one! Stuffing our lives into luggage for almost eight years could not have been done without using packing cubes. We each carry a few and separate our items by type (shirts, pants, underwear, and socks). They keep everything compact and organized. And the added bonus is when we stay somewhere for an extended period they pop out and fit into the drawer where we are staying which makes unpacking easy.
Also, taking a sarong is a must, and not just to use as a cute piece of clothing. Use it as a skirt, a halter dress, a swimsuit cover, towel, blanket, headdress, scarf, or even a pillow. The best part is that it packs away quite small. You might as well take two!
Dalene and Pete Heck are the duo behind HeckticTravels.com, a narrative travel blog that follows their journeys around the globe and has garnered them many accolades, including being named “Travelers of the Year” by National Geographic Traveler. After eight continuous years on the road, they have since settled back in Lethbridge, Alberta, but continue to chase adventures as much as possible.
Connect with them on: their blog, Instagram, Facebook, and Twitter.
For additional tips on how to pack like a pro, or for travel insurance, drop by your local London Drugs and talk to any of our in-store experts.