Spring officially rings in on March 20th, but for photography lovers like yourself, we know you just can’t wait till then to head out and capture some beautiful shots of blooming cherry blossoms and chirping birds! With such a wide variety of colors, landscapes and subjects to play with, our LDExperts in the Photolab thought they’d put together a few tips to help you navigate and get the best out of your spring photography. Whether its macro photography or capturing beautiful lush landscapes, here are some things to keep in mind while you’re snapping away.
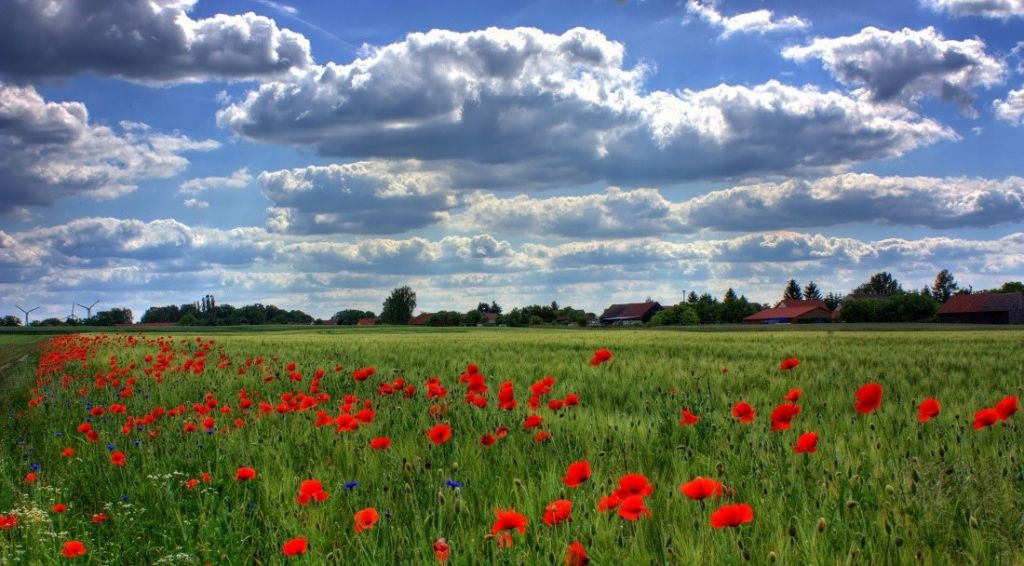
Using flowers for foreground interest in landscape photography
Wide-angle landscape shots tend to look better with some foreground interest and spring blooms provide a variety of choice to fill the frame. While capturing the shot, it is important to keep everything in the frame sharp, hence a small aperture such as f/11 or f/16 with the focus set about a third of the way into the scene would be the ideal setting.
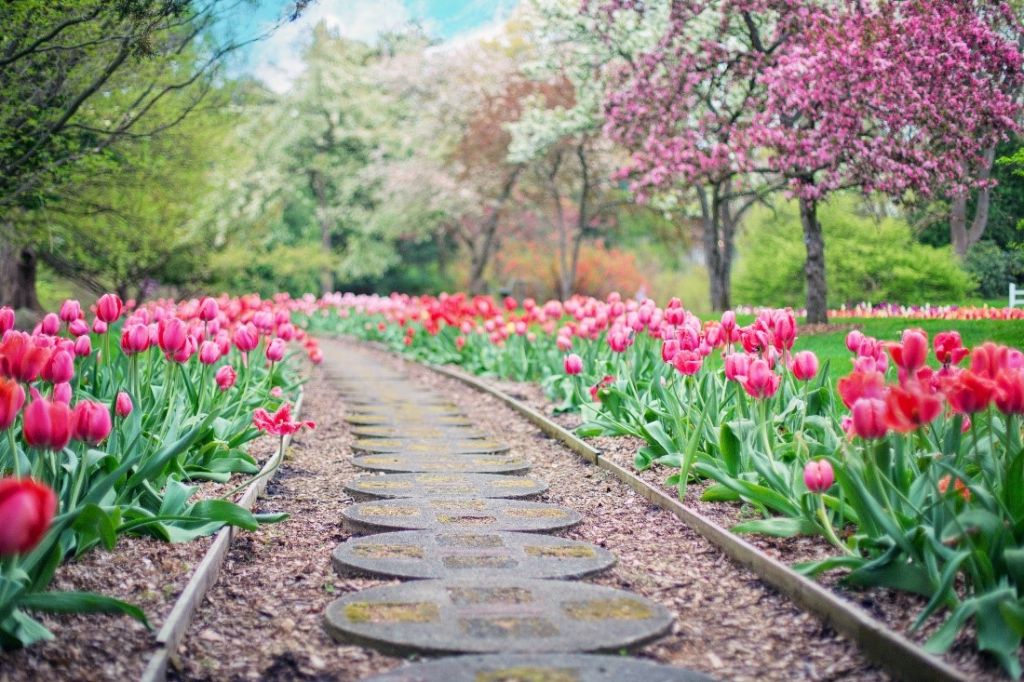
Visit parks, gardens & spring festivals
Looking to experiment with zoom lenses while capturing blossoms? Visit one of the many parks and gardens across Canada or look for a spring festival near you. From blossoms and early flowers to trees coming into leaf, parks and gardens offer a wide variety in one setting. A good line of sight is also crucial for showing depth, so look for pathways, stone steps or boardwalks to help capture the perfect shot. The versatility of zoom lenses works great in smaller gardens with confined spaces where movement is restricted.
Picking the right angle
When shooting tiny spring flowers, sometimes unusual angles make for some great photographs. Take a few shots, try different angles and camera settings. You want to fill your frame with your floral subjects, and the best way to do that is to get down to their level and up close. As an added bonus, getting up close will also give you that beautiful bokeh (“blurring”) effect in the background. Pro-tip: carry along something to lay on the ground to stay clean and dry, like a large garbage bag that can be folded up and kept in your bag or coat pocket.
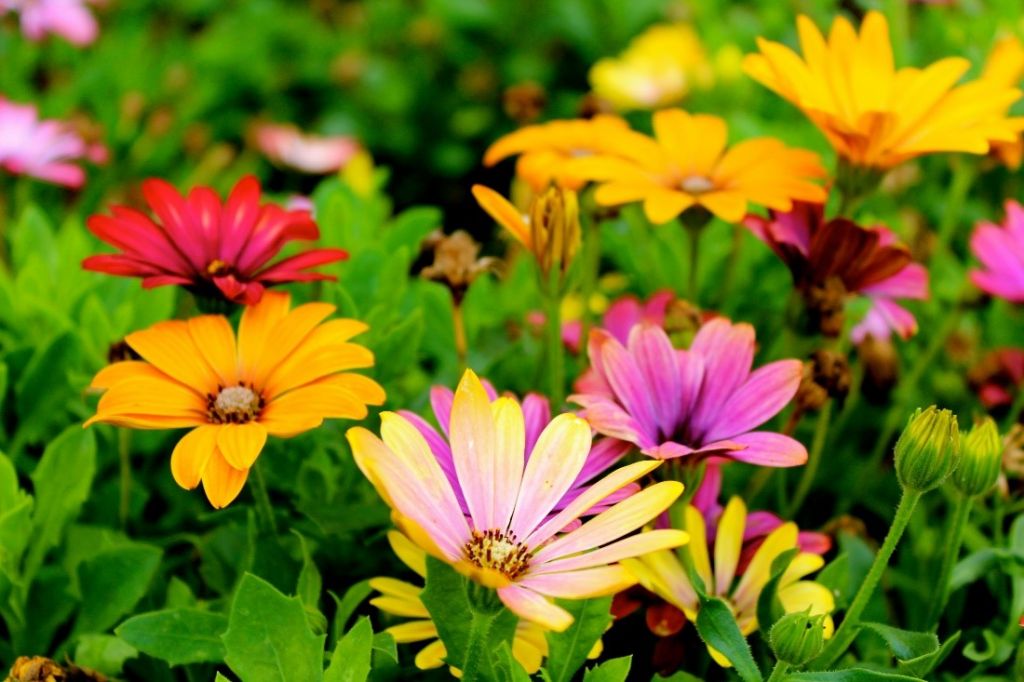
Using multiple colours in a shot
In spring there’s plenty of options for colourful shots, so why stick to photographing just one colour? Keep an eye out for blocks of color that work well together or colors that clash and would have high impact.
Get closer and pick one subject
While photographing close-up shots of flowers, a common mistake made is trying to put too much into one image. Take a shot and review it carefully. Check the edges for anything that is distracting or not necessary and move in closer to crop it out of your shot. The subject needs to jump out at you, so make sure there isn’t anything taking attention away from your subject. 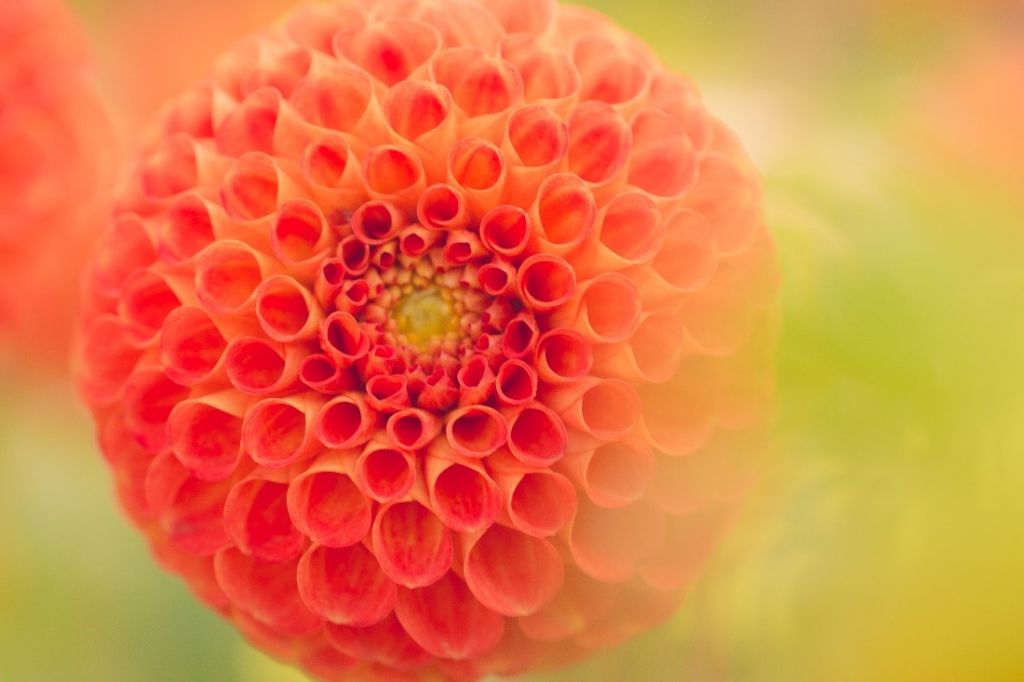
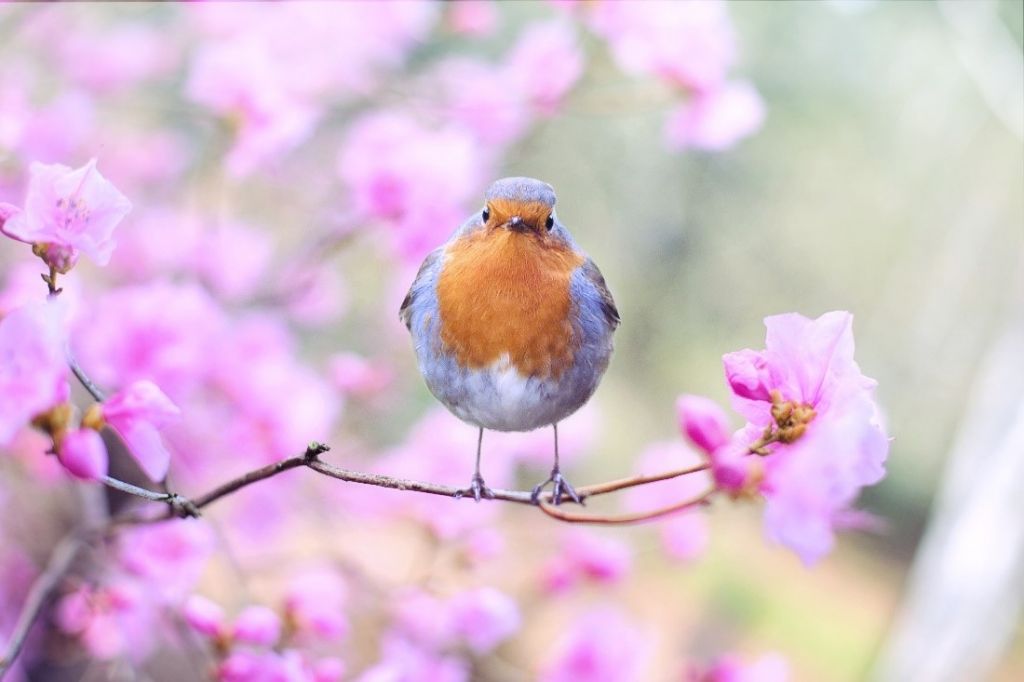
Picking the right gear for wildlife photos
Spring is the perfect time to capture some great wildlife shots as well. If you’re looking to up your photography game while capturing wildlife, then a telephoto lens might be just what you’re looking for. The length of the lens depends on the size of your subject and how close you’re able to get to it. Small, flighty birds and animals that are shy require a long lens. The key is to find something that’s big enough to get good resolution, but not so large that it’s hard to hike with.
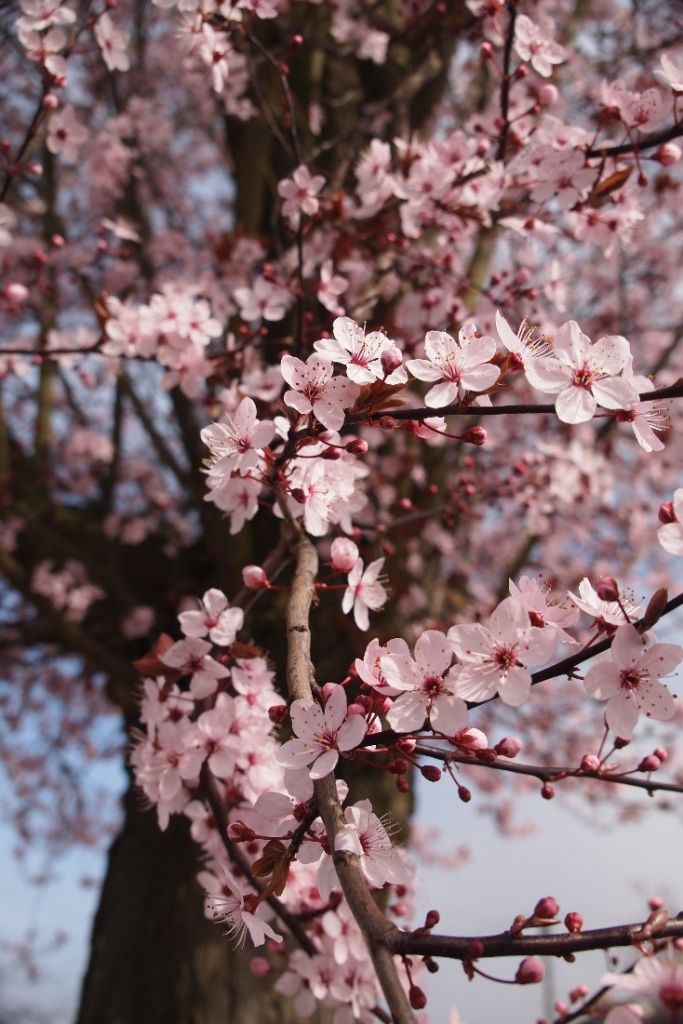
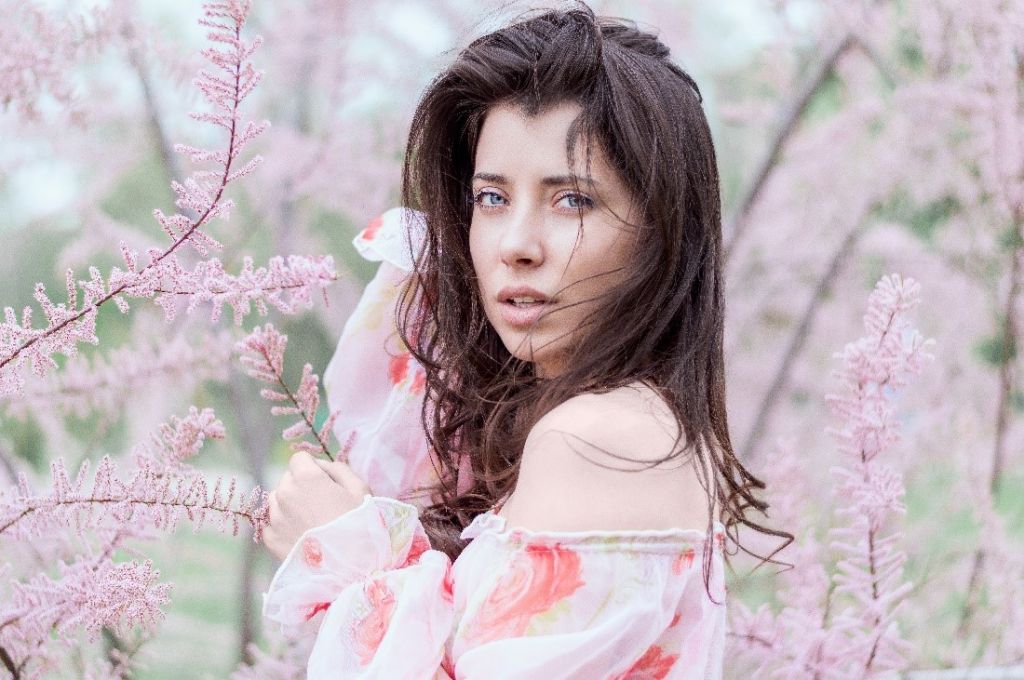
Capturing spring portraits
Snapping portraits this spring? Try a background with blooming spring flowers to create a pretty, out-of-focus background (the bokeh effect) behind your subject. A focal length of 50mm (try these 50mm lenses) with a large aperture of f/1.8 and a shutter speed of 1/640s as used in the image below would give that nice blurry ‘bokeh’ effect behind the subject in their portrait. You can also keep some of the blooms at the same distance from the camera as the subject, so a few of the branches are in focus to frame your subject.
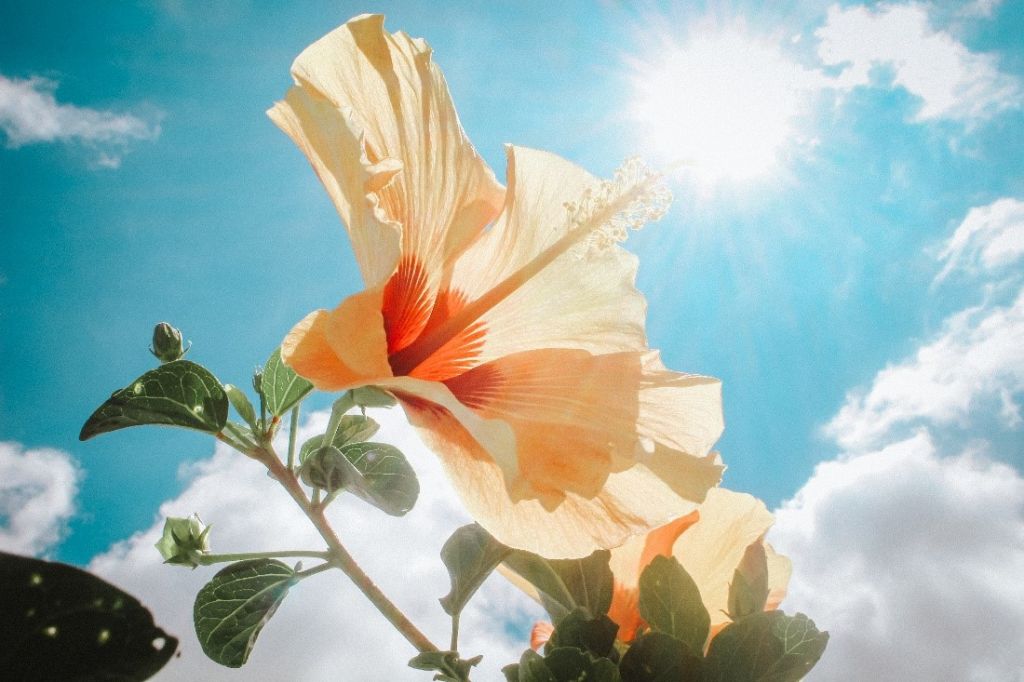
Backlit flowers on a sunny day
If you’re looking to shoot flowers on bright sunny days, you can get some great backlit flower shots. Depending on the time of the day, this would require you to get down very low to the ground. Using a small aperture like f/16 or f/2 creates a great sunburst effect if you’re shooting the sun directly in the background of the flowers. Controlling exposure is also important; your meter will want to underexpose as you’re shooting into very bright light, so use your exposure compensation dial and dial up an extra 1 to 1.5 stops of light, especially if you’re shooting JPEG and not RAW. For close up photos of individual flowers you can use a 200mm lens with a relatively large aperture of f/4 so that you get that nice shallow depth of field (or “blurry” background).
Choosing the right print surface
Once you’ve captured some beautiful shots, the next step is choosing the right print to display them. For macro shots of spring blossoms, we recommend prints or enlargements with a sharp black border frame that highlights the colourful subject.

Textured canvas prints, canvas gallery wraps or bamboo prints offer the best results for landscape photography, while aluminum metal panels are perfect for photos with vibrant colours that pop. If you need help selecting the ideal printing option, you can talk to one of our LDExperts in-store and then order through our Photolab kiosks. Or, you can simply order online, or through our London Drugs Photolab App available for iOS and Android!
We’d love to see your best spring photos – tag them on Instagram with the hashtag #LDPhotolab to be featured on our page!
