Give Your Home A Spring Refresh With These 5 Photo Ideas

A lot more time has been spent at home this past year. If you’re feeling like your space is getting a bit ‘stale’ and could use a design refresh right now, you’re not alone. Especially as we head into spring, now is a great time to brighten up your home with some fresh and colourful images! Try these 5 photo ideas from our LD Experts in the Photolab that will help breathe new life into your space.

1. Swap Out Your Framed Photos
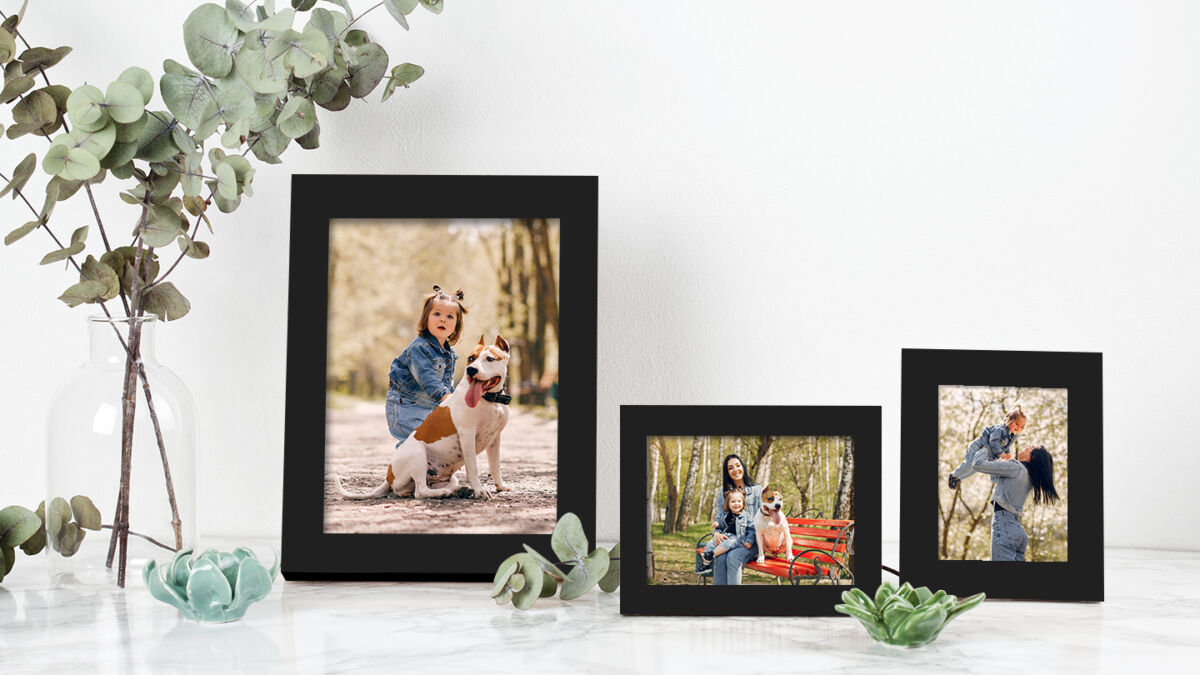
Freshening up your space is as simple as swapping out the photos in your existing frames! Pick some favourites from past spring seasons that will add some brightness and colour to your home. These could include landscape photos you’ve captured during spring or family photos of springtime events like Mother’s Day and Easter. Vacation photos are also a great way to brighten up your space.

We have a wide variety of print and enlargement sizes to fit all kinds of standard frames, from 4”x6” all the way up to 44”x96”. Pick between glossy or pearl finish, depending on your preference. For framed prints, we recommend pearl, as there isn’t as much glare with this mattified satin surface, making it a good option for displaying behind glass.
The easiest way to refresh your frames with new prints and enlargements is by downloading our London Drugs Photolab App on your smartphone (available for iOS and Android), uploading some of your photos directly from your phone, and ordering some prints. If your photos live on your computer, not to worry, you can always order from our Photolab website as well.

2. Create a DIY Gallery Wall
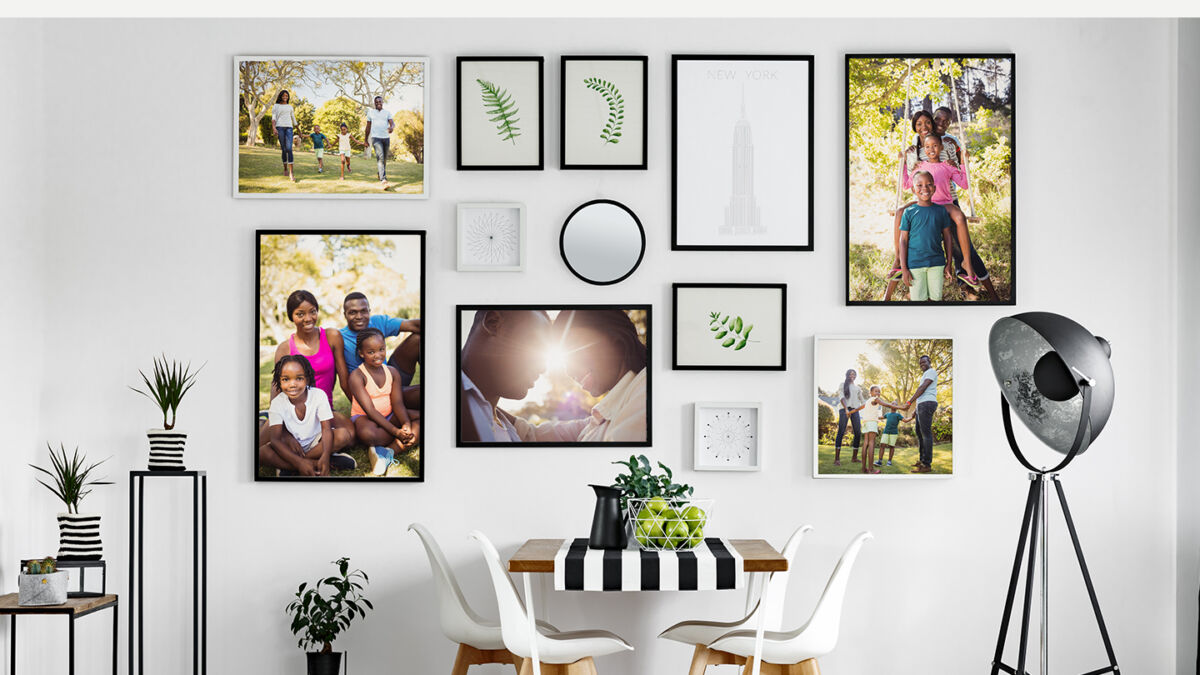
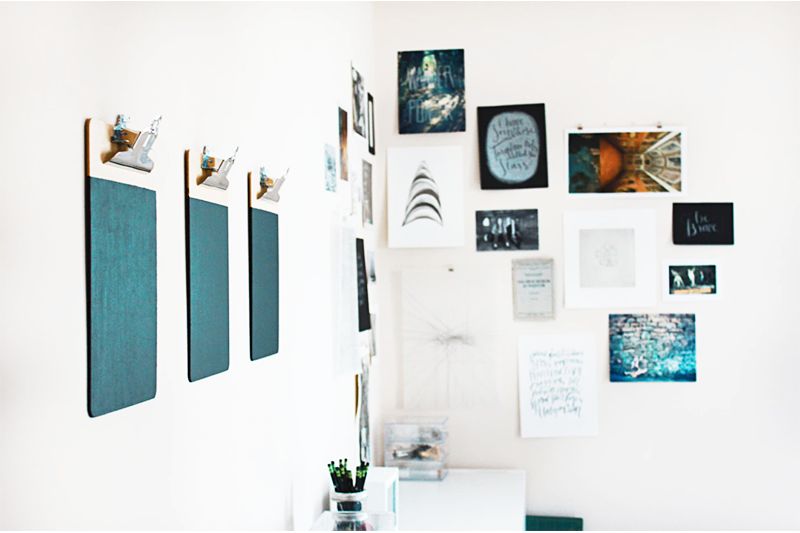
If you’re looking for a DIY project to take on at home, creating your own gallery wall is an easy and rewarding project that will give your space an entirely fresh look. This is also something you can add to as you find new frames and take new photos that you want to add to the gallery wall. Just like the other frames in your home, these can also be updated seasonally.

Here’s how to create your own gallery wall:

  1. Choose a colour palette. This can go for your frames (all one colour, or a mix of colours in a palette) and for your images (black and white or colour photos). A colour palette can help you keep a cohesive look and feel amongst all the prints on your gallery wall. Of course, if you prefer a more eclectic look with a variety of colours, go for it! Your space should reflect your style.
  2. Pick a theme. The theme could be your pets, family, friends, vacations, wedding photos, etc. They don’t have to all be from the same day, but choosing an overall theme will help you narrow down and select which images to feature. For instance, you could display photos of your pet throughout their life, or photos of various vacation destinations you’ve visited over the years. If you want to change your images seasonally, pick a spring theme for this time of year, selecting photos taken during previous spring seasons (or get outside and shoot some new ones!).
  3. Pick a display medium, and print your photos. Before you start printing, it’s important to decide how you want to display the photos in your gallery wall. As an example, do you want to go with framed prints or canvas gallery wraps? If you’re framing behind glass, you may want to opt for pearl versus glossy enlargements. Fine art prints are also an excellent choice to give your photos that gallery-quality look. Our Photolab also offers framed and matted prints if you want that matte look for your images. We recommend choosing one print style to stick to for all of your gallery prints.
  4. Choose a layout. Organize and assemble your images on the floor to see how they will look on display. This gives you the opportunity to make changes to your vision…before hammering any nails into the wall! It can help to put a vertical line of painter’s tape down on the floor to ensure your prints are being distributed equally on both sides of the tape and the overall ‘wall’ looks balanced. If you like clean lines, you may choose to have all of your prints fit nicely within a defined rectangle or square. Or, go with a more ‘imperfect’ look by having some prints stick out past the others.
  5. Measure out your display. Use painter’s tape once again to mark a vertical line, this time down the centre of the wall. Then measure your frames and tape a square/rectangle showing where you want each of your frames on the wall, keeping consistent with the spacing between your prints.
  6. Assess your gallery wall. Take a step back to assess whether you like the look. If not, peel the tape and try again!
  7. Hang your prints. Get your hammer, anchors and level out, it’s finally time to hang your prints!

 3. Add Fresh Life to Your Coffeetable
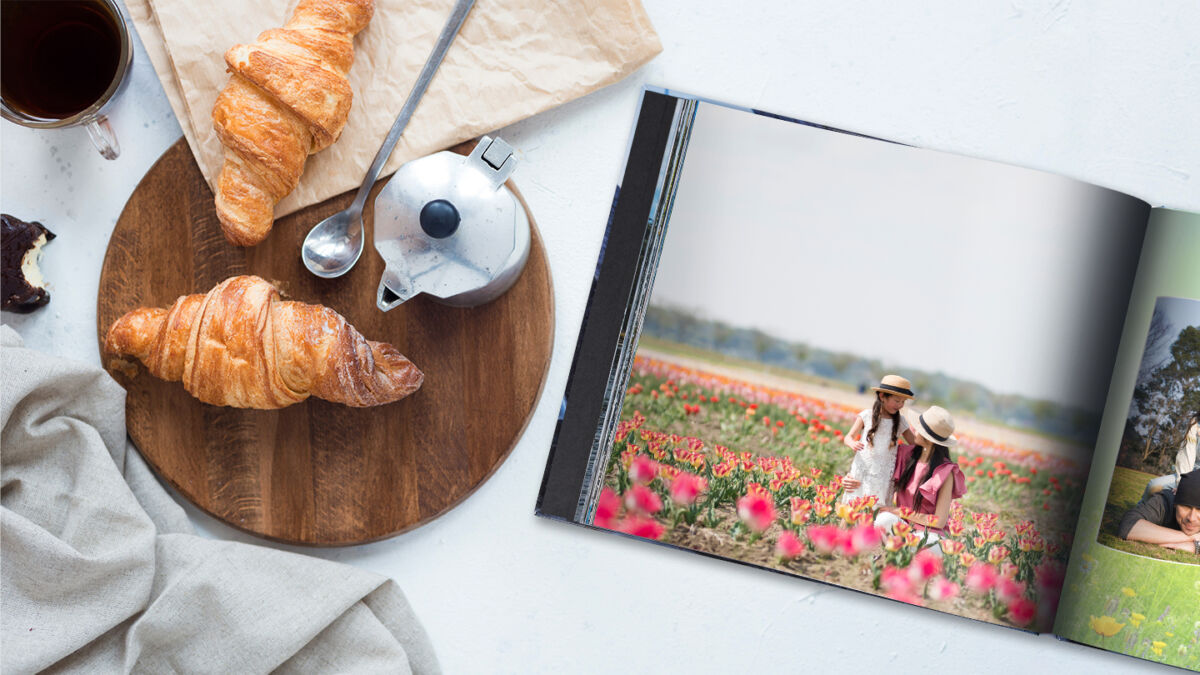
Don’t neglect your coffeetable, it’s easy to give it a refresh too! A new vase and a floral scented candle can breathe in some fresh new life, as can a bright new coffeetable book. A good coffeetable book is not only a conversation piece, and a place to store treasured memories, but it can also be a piece of décor that you can easily switch out from season to season. For spring, personalize a coffeetable book from our Photolab with some of your favourite springtime memories (scenic hikes, your garden, family activities, trips, etc.). You can even choose from spring templates to help theme your photo book. We recommend choosing the coffeetable book with a custom photo cover, or cover with a window; you will be able to personalize the cover with a spring-themed photo of your choice that will be seen when the book is sitting on your coffeetable, making it a perfect piece of seasonal décor.

4. Bring Spring Indoors with Photo Panels
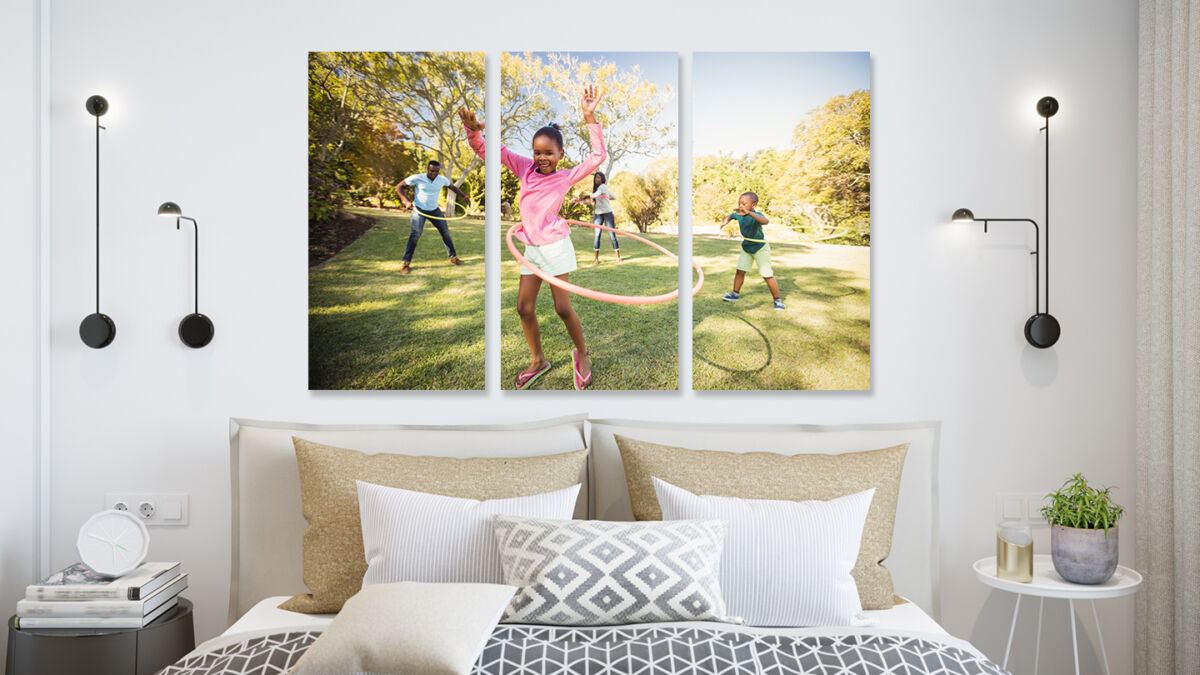
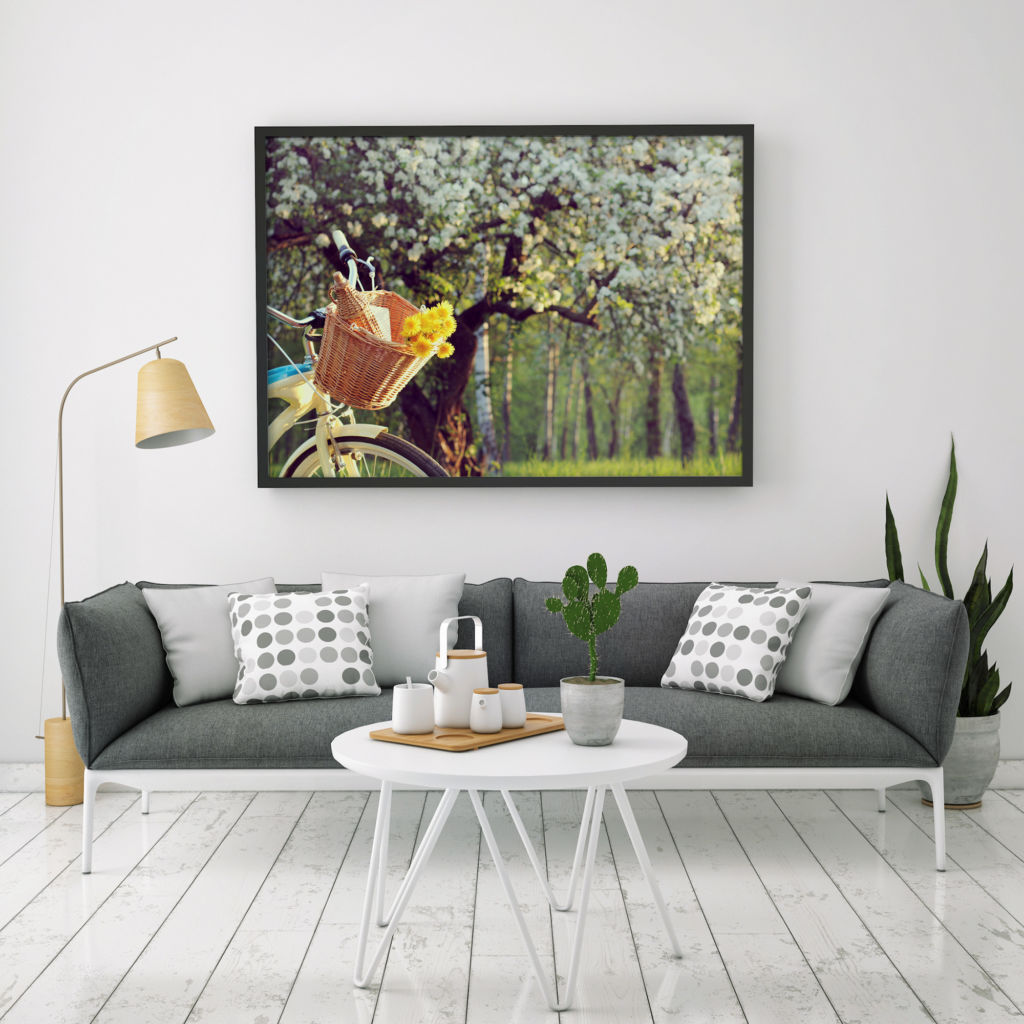
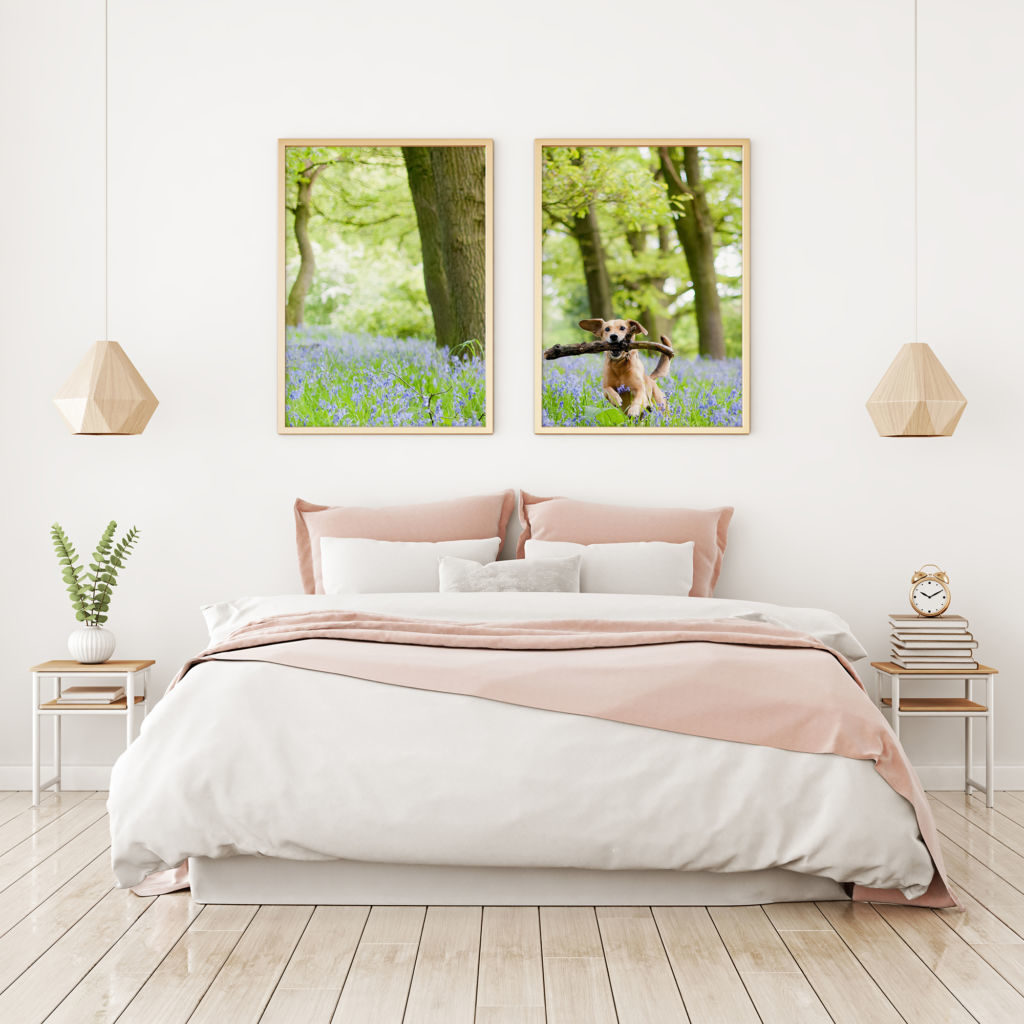
Liven up your space by going BIG with one of your favourite spring-themed images! While we have enlargements up to 44”x96” in size, another option is to have your image printed as multiple-panel split art, where your image is split over a few large prints. This style of wall art can make your images look even more eye-catching!

Our aluminum metal panels are a great choice for this split art style, as they are frameless and ready-to-hang. The high-gloss surface also makes colourful images pop really well, so they are perfect for brightening up your space with vibrant spring images. Lots of people seek out cherry blossoms and tulip fields for photo ops during the spring – those are great images to feature in this format, as would any other vibrant landscape images!

When hanging your split art, start with the middle panel first to ensure your prints will be centred on your wall. We suggest spacing the panels out about 2 to 3 inches apart if your panels are on the larger size. Smaller panels may look better with a little less spacing.

5. Brighten Up with Some Updated Pillows
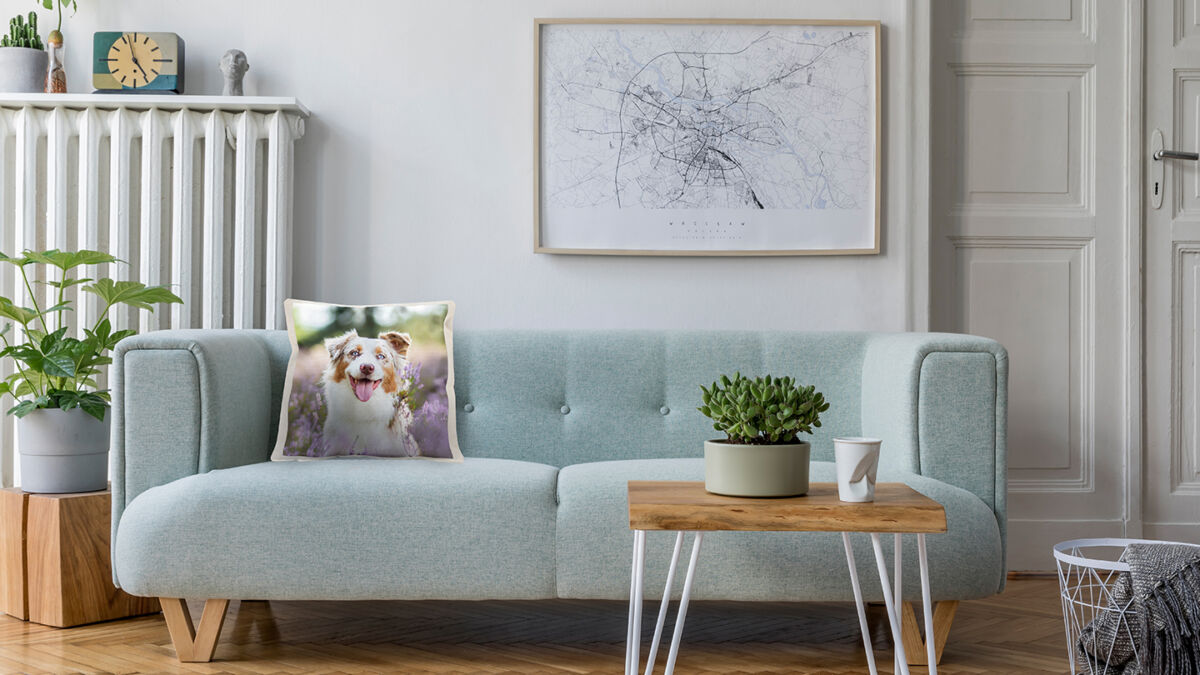
A tried and true way to add some brightness to your home in time for spring is to update your pillow cushions! A new cushion colour or pattern will do the trick, or you can customize something fun with our Photolab’s photo pillow cases. Choose a pet or family photo to feature, or if nature photography is your forte, a macro flower photo or other spring scenes would be a great way to customize your pillows for the season. They’re sure to make you smile every time you walk into the room!

Spring Cleaning Your Photos

Speaking of refreshing your home with photos this spring, your photos might need a little spring cleaning too! If you have lots of old photos in albums or collecting dust shoeboxes, now is a good time to digitize them to ensure they aren’t lost to damage and degradation. Digitizing them yourself can be a big undertaking, but our Photolab can help make the process seamless. Just pick up a Photo Scanning Box at your local Photolab, bringing it home and fill it with up to 800 photographs and documents (up to 8.5”x11” in size). Then just bring the box back to us in-store, and we’ll digitize them all for you and put them on a USB drive. Simple as that! We also have a Slide Scanning Box to help you digitize up to 80 35mm slides.

Once digitized, your photos will not only be safe, but you’ll have so many more opportunities to share those precious photos! Use them in any of our 5 ideas above, from printing and framing them, to including them in your coffeetable photo book, or printing them on a pillow! The options are endless once your photos are digital.

You can also check out this blog for more tips on organizing and preserving your irreplaceable photos.

 

Refresh Your Décor with Fresh Fine Art Prints

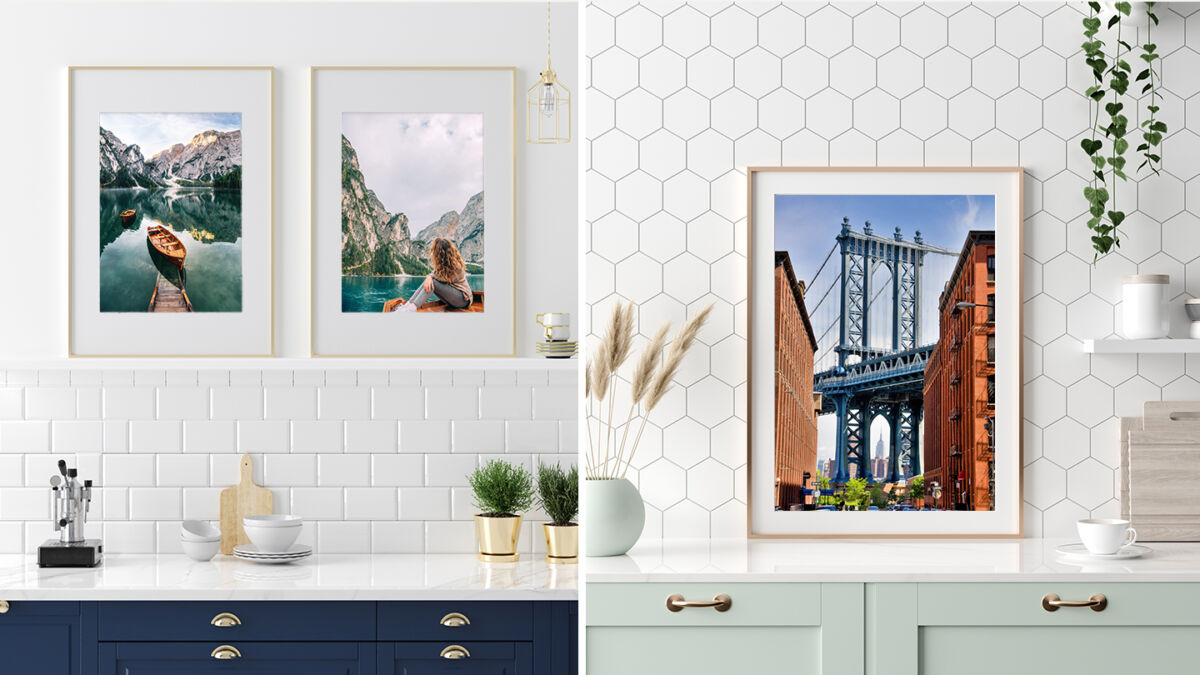
Is your home in need of a little refresh this year? One of the easiest ways to breathe new life into your space is with some fresh wall décor. Even better, why not use your own photos to spruce up your walls? Fine art prints can be used to fill otherwise bare walls, and their gallery-quality will truly elevate the look of your space. It’s a great way to put some of your favourite images on display, plus you’ll have a more personal connection to the fine art on your walls.

Thanks to innovations in photography and printing technology, the ability to turn your own photos into fine art is now right at your fingertips. The resolution of cameras has advanced greatly, high quality printers like our Photolab’s Epson P9000 use inks with archival stability of 200 years, and the range of fine art papers available to choose from continues to grow.

What Fine Art Paper to Choose

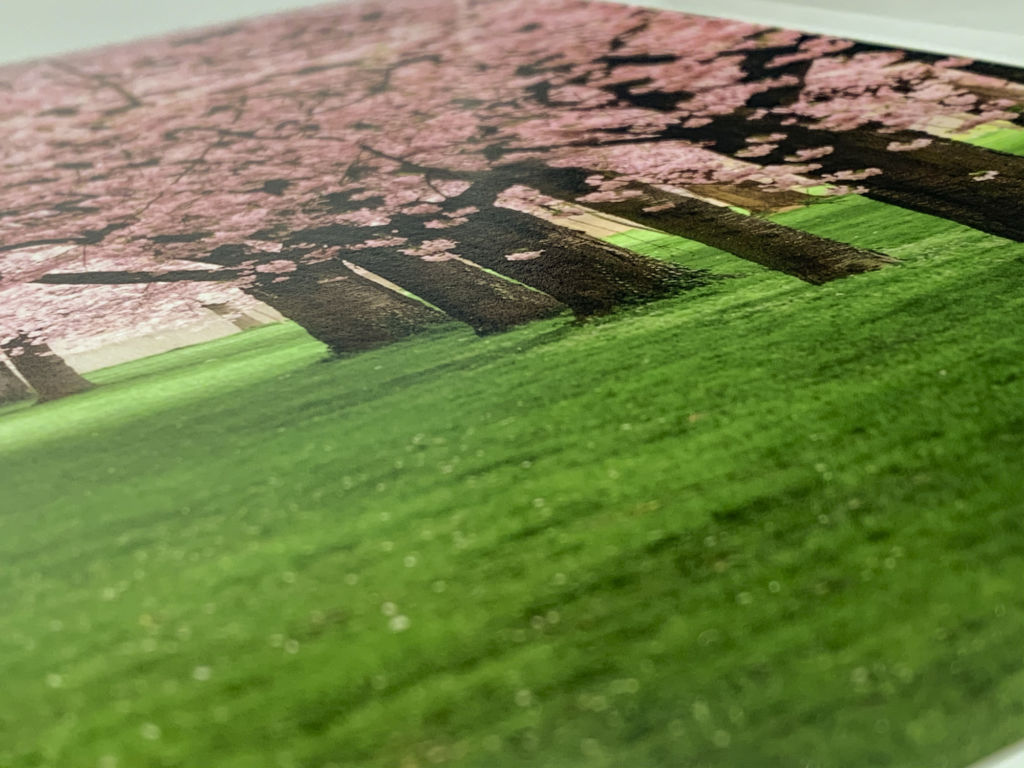
Photo printed on the London Drugs Photolab’s Baryta fine art paper

One of the newest fine art papers now available in our Photolab is Baryta. This bright white cotton paper is ideally suited for photographic images, and is designed for long life – making it an excellent choice for your wall décor. This paper gets its name from the special coating of barium sulphate that is applied to the cotton photo paper before it is coated with emulsion. The baryta layer brightens the image, while also preventing other chemicals from penetrating other layers of the paper.

This print surface is popular amongst photographers, for its rich blacks, wide colour gamut, and excellent contrast and sharpness. The rich blacks and bright whites make it ideal for black and white photos, while the bright white paper also makes colourful images pop.

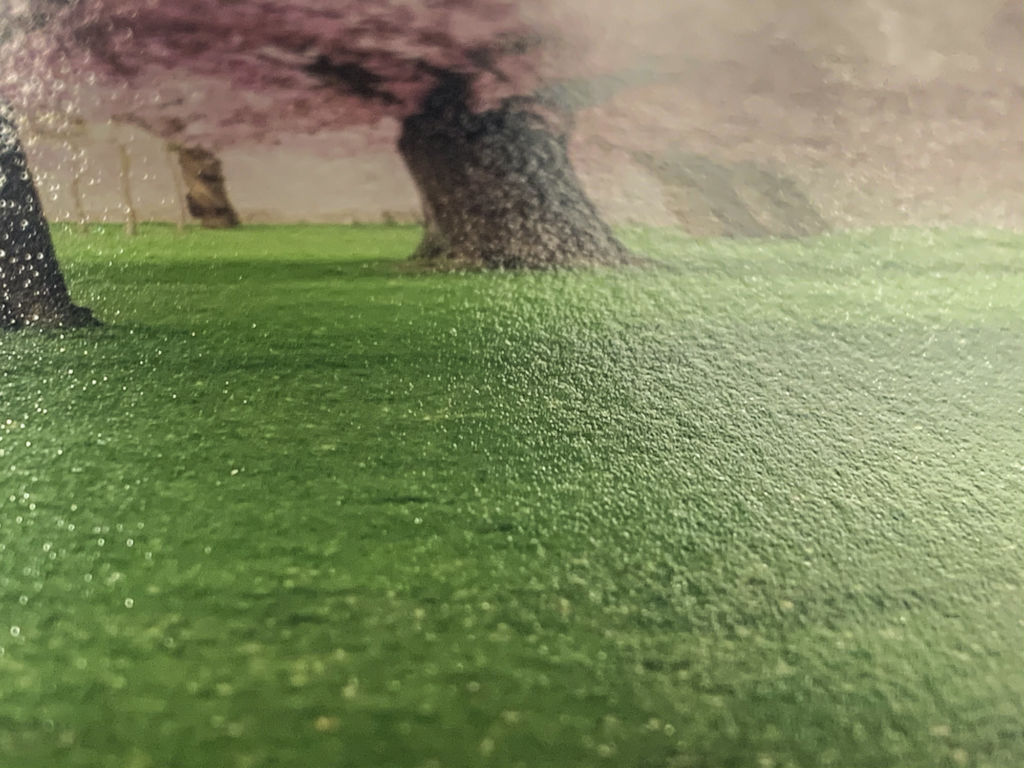
You’ll also notice the tactile nature of Baryta, which is what really gives it that ‘fine art’ feel. The paper has a weight and thickness to it that you may not get in other papers – even fine art papers.

What Size Print to Order

With the help of our Photolab’s large format printers, we’re able to do Baryta prints from 4”x6” all the way up to 40”x60”. If you need it even bigger, our standard print enlargements go as large as 44”x96”. So no matter what size your space is, you can likely find a print size to fit it. The choice is yours – either pick one image to be the focal point and order a large-scale print, or you could opt to print a selection of smaller images, and frame them as a gallery wall display. Either way, you’ll be elevating the look of your home with exhibition-quality prints.

What Camera & Lens to Use

The basic rule of thumb, if you’re planning to print large photos, is to ensure you’re shooting at high resolution. Check your camera’s settings to see that you have selected the highest quality setting under ‘Image Size’.

To really take your wall photos to the next level, it’s worth considering an upgrade if you don’t already own an interchangeable lens system. This will help you to achieve the best results possible for your images with even more control.

If size isn’t a concern, we have lots of great DSLRs to choose from, which pair with a wide variety of new interchangeable lenses. Most manufacturers’ lens mounts are also compatible with older lenses, so if you’re looking for a more affordable way to upgrade to a DSLR, check out our used section in-store or talk to an LDExpert about what system would be best for your needs.

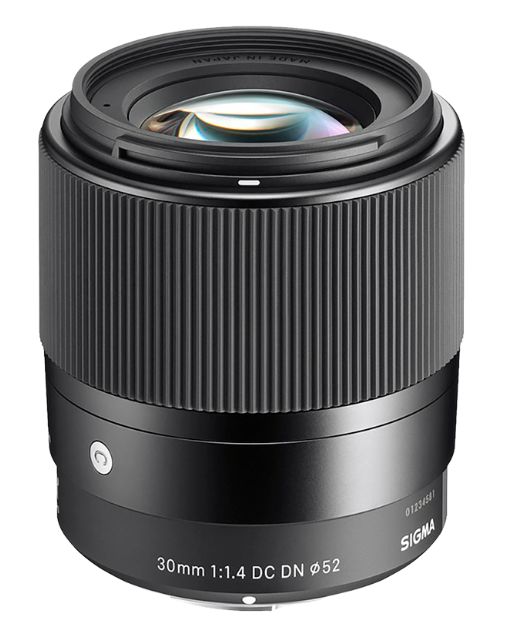
If you want something that’s compact and not too bulky, a mirrorless camera like the Nikon Z6 II is a great option. This pairs great with the Sigma Contemporary 30mm f/1.4 DC DN lens – a compact lens that offers outstanding image quality. The large-diameter lens with f/1.4 brightness makes a shallow depth of field possible, for a stunning bokeh effect.

And when the next season arrives, simply switch out your images for new ones, and your space will have a fresh new look and feel instantly! Ordering is quick and easy – just visit our Photolab online, or download our London Drugs Photolab App (available for iOS and Android) to order on-the-go. If you’d like to order the next time your in our store, simply visit us in the Photolab to use our in-store kiosks.

5 Tips to Organize Your Home Office for Success

If you have a home office, you’re probably familiar with the challenge of keeping it organized. As a room that typically isn’t the focal point in most homes, it’s often the recipient of piles of disorganized items that get tucked away there “for later.” Except that later never really comes. Next thing you know, your office is cluttered with papers, boxes, and power cords, and is the last place in which you want to spend time. Sound familiar?

Does your home office inspire you to be productive? Or does it evoke feelings of stress and overwhelm?

Whether you’re working from home full-time or using your office space to keep the family organized, these five helpful tips to organize your home office will make it more efficient and visually appealing, leaving you more time for yourself and family, as well as enhancing the overall beauty of your home.

5 Tips to Organize Your Home Office for Success


1. Create stations

Just as trying to do too many things at once creates overwhelm (one step at a time!), so does trying to accomplish everything you need to do in one space. Your mind needs space to shift from task to task, and you can help facilitate that by creating different spaces for each one.

Different task, different station.

These workstations will vary based on what you want to use your home office for, but some common ones might include:

  • Printing station
  • Mail station
  • Writing station
  • Crafting station
  • Supplies station

Even with a small space, you can make multiple stations by separating them using the tools in the next step.


2. Vertically organize


Whether you’re creating stations or organizing established ones, you can save space by vertically organizing them. We usually think about setting up the rooms in our homes horizontally, and rarely do we make good use of them vertically.

Using wire baskets, wall-mounted filing bins, stacking drawers, or even a good trusty filing cabinet, you can create space that otherwise would have gone underused.

Take this a step further and colour code each station and bin for maximum efficiency. Use colour coding labels and sticky notes to make it super clear what each station is for and keep your system tidy.

Here are a few ideas to get you started:

  • Red – bills and finances
  • Orange – appointments
  • Yellow – family and pet items
  • Green – business tasks
  • Blue – auto and home
  • Purple – manuals, warranties

In addition to colour-coded stations, don’t forget your recycling bin! You can easily set a beautiful recycling or supply station set up using these Neatfreak bins.

Whichever stations you decide on, be sure to label them so everyone in the family knows which area is for what. This will help keep things tidy well into the future.


3. Only keep essential items that provide real value


5 Tips to Organize Your Home Office for Success

For many, decluttering is the hard part. And for most, the hardest part is starting. So, just start somewhere. We suggest grabbing two boxes — one for items to keep, and one for recyclables. You’ll be surprised to discover how many things you can recycle, rather than just throw away.

Then, set aside half a day to sort items into the boxes. If you haven’t used it in six months, recycle it!

For the items you do keep, you can then organize them further and by placing them in the categorized bins or drawers you created in step two.

Categories might include:

  • Stickies – post-its, labels, stickers, label tape,
  • “Attachment” tools – paper clips, staples, binder clips, thumbtacks, magnets
  • Writing tools – pens, pencils, markers, highlighters
  • Mail – stamps, envelopes, address labels
  • Office tools – hole punch, ruler, calculator, label maker

Again, make sure you label them so everyone in the family knows which container is for what. This will help keep things tidy and efficient well into the future.


4. Create a command centre or system for organizing notes, bills, business cards, or other small papers


5 Tips to Organize Your Home Office for Success

Some of the trickiest things to keep organized in your home office are all the notes, bills, business cards, or other small papers. This can easily be transformed from piles of random papers to successful filing system with the use of a cork board, magnetic dry-erase white board, or clipboards.

Using your colour coding system from before, section the board into quarters or thirds, and tack items together based on their assigned colours. Not only will they be grouped together, but you’ll easily be able to review what needs attention at just a glance. Easy peasy!

To take this a step further and keep the whole family organized — especially if everyone has their own busy schedules and obligations — use individual boards for each family member! Remember to use your trusty label maker to label each one.


5. Make it pretty


5 Tips to Organize Your Home Office for Success

Even if your home office is basically a glorified storage closet without windows, you can still make it into a space you want to be in.

Here are a few ideas:

  • Add a plant. Even a fake one. NASA has proven houseplants provide many benefits, including purifying the air, improving mental health, concentration, memory, and productivity.
  • Place a couple of inspiring books on a shelf where you can see them. During a long day you may hit a rut in productivity. To keep the motivation momentum going, grab one and read a few lines. You never know what inspiration may be discovered.
  • Hang your favourite artwork. Just like with organization, you can beautify vertically by using wall space to hang a photo or painting of something you really love.
  • Hide cords or bind them with zapstraps or elastic bands.
  • Paint one of the walls! Blue is often thought to relax the mind, while yellow invigorates it, and pink makes us happy. Either way, pick one wall, a colour you love, and have fun with it!

Efficiency is important for success, but so is loving the space you’re in.  If you find your home office feels too cold or is uncomfortable to be in, you won’t use it. So make sure whatever you do to get it organized, be sure to give it your own style.


If you need help or supplies to organize your home office for success, we can help! Stop by your local London Drugs and pick up your essentials — we’d love to see you!

Beautiful Canada: 9 Beautiful Interiors

There are few places better in the world than home. It’s where we unwind, where we sleep, where we eat, and laugh, and watch all the Netflix. Home is where the heart is.

While we love the great outdoors of our beautiful Canada, it’s what’s on the inside that really counts.

So, we’ve curated 9 beautiful interiors to inspire your home decor and level up your #HouseGoals.

Are you loving the space you call home? Follow us on Instagram and share your home inspo photos using the hashtag #LondonDrugs!


https://www.instagram.com/p/BullAAdFvLZ/

https://www.instagram.com/p/BuH1QiVFTUq/


 Share your Beautiful Canada + home inspiration and tag us on FacebookTwitterInstagramPinterest or YouTube !

Home Recycling Zone Makeover

How to make your recycling area cleaner, greener, and more beautiful!

Recycling things right is a lot easier if your home recycling zone is organized and looking fresh. Here are some ideas (and products) to help you turn your recycling corner from dumping pile to decorator drop zone!

List Your Local Recycling Streams

Regional recycling regulations vary, so look online for the latest on curbside pickup streams for your municipality. This will help you decide how many bins you will need and what sort of space you’ll require. Here are a few links to some of the major municipalities:Check out your regional recycling regulations

Choose a Bin System

A set of stackable containers or matching baskets can help your recycling zone feel like a more designed part of your home.

Stackable containers or matching baskets can help your recycling zone feel like a more designed part of your home

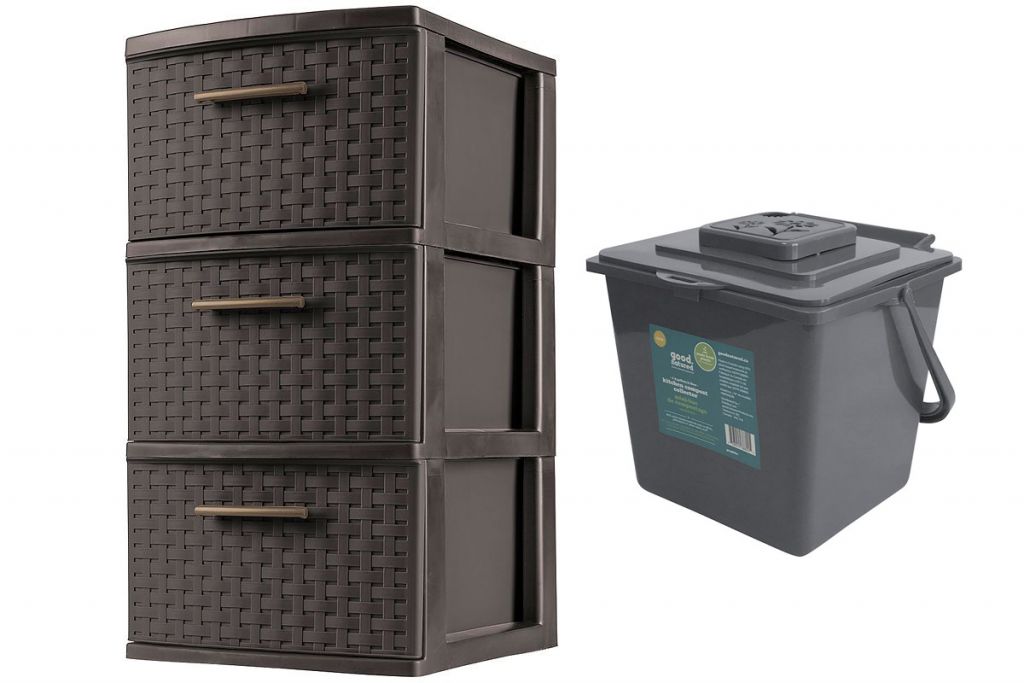
Small – For Apartments & Condos: If all you have is the corner of a closet, the Sterilite Weave 3 Drawer Tower is a tidy solution. Combine with a 6L Good Natured Kitchen Compost Collector.

Recycling solutions for small family living

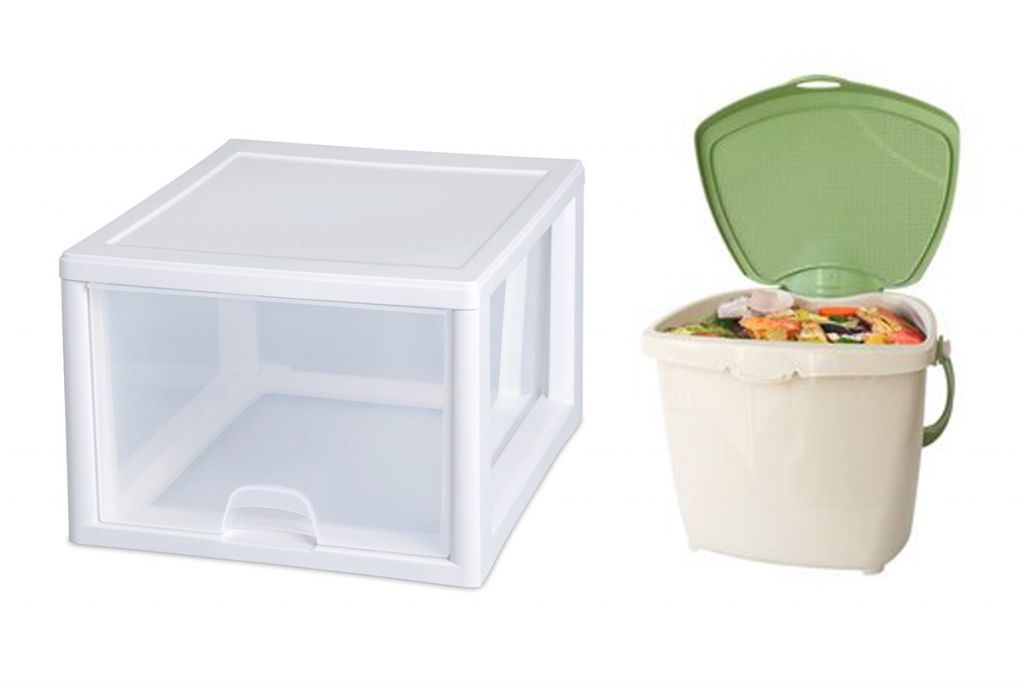
Medium – Perfect for Small Family Living: Sterilite Stacking Drawers are a great modular system that can stack vertically or side by side. Each has a 26L capacity to hold lots of recyclables. Combine with a 7.1L Sureclose Foodscrap Container.

Recycling solutions for Bigger Homes and Extended Families

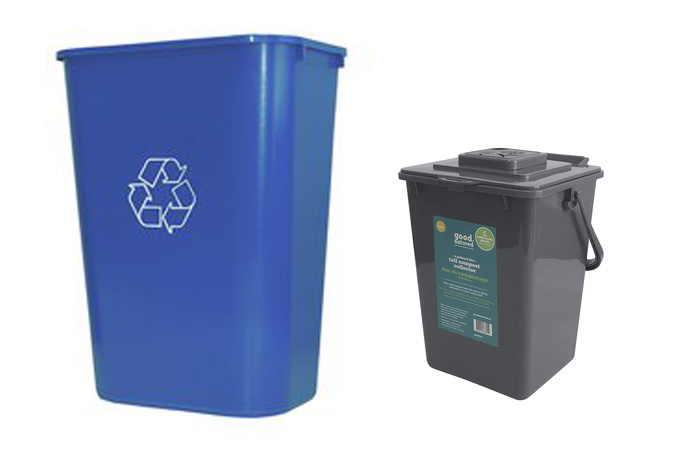
Large – For Bigger Homes and Extended Families: If you have dedicated recycling space in a mud room or garage, consider a set of 39L Tall Recyclers by Good Natured. (They are even made from 90% plant-based materials and no nasty chemicals!) Line with a plastic bag for easy emptying. For compost and food scraps, up-size with the Good Natured 8L Tall Compost Collector.

Beautiful recycling zone home solutions

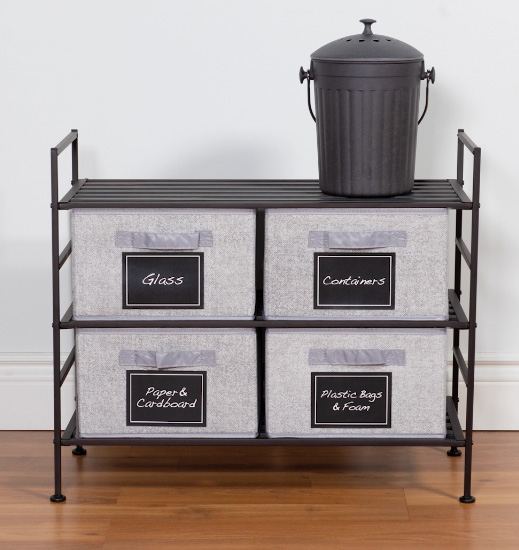
Decorator – Recycle with Style: If your recycling zone is part of your living area, create a clean, neutral-tone statement with NeatFreak storage bins in a NeatFreak Stackable Shelf. Even your compost can dress up with a London Drugs brand compost bin in grey bamboo or stainless steel finish.

Have Fun with LabelsCreate custom labels for your recycling bins

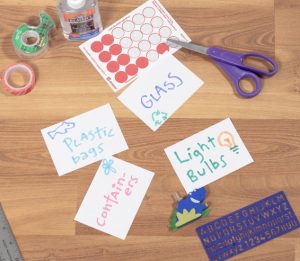
Using your local recycling stream list as a guide, create some custom labels that match your bins. Create and print them on sticker stock from your computer, or make it a family art project. Your recycling, your look!

Set up an Area for Special Recycling

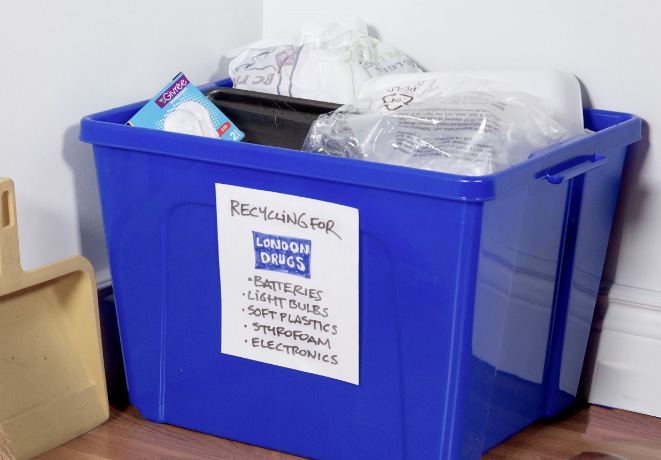
There are a lot of things you can recycle beyond what gets picked up at the curb. Your local London Drugs takes batteries, electronics, small appliances, soft plastics, Styrofoam and more. A Good Natured Curbside Recycler Bin makes it easy to grab on your way out the door.

Set up an area for special recycling

Have a Grand Opening!

Share your new recycling zone with your family or roommates to make sure everyone knows what goes where. Because now your recycling zone ROCKS!! And that’s the REAL Green Deal!

Share your new recycling zone with your family or roommates to make sure everyone knows what goes where

How to Winterize Your Garden in 4 Simple Steps

When preparing for the chilly fall and winter months, winterizing your backyard or deck may not be the first thing that comes to mind, but it is an important step. Before you retreat indoors to cozy up in front of the fireplace with a mug of cocoa, remember that your home requires some fall maintenance. Here’s what you need to do to winterize your garden!

By following these outdoor tips, you’ll ensure that come springtime, your backyard, deck or garden will be ready to thrive.

1. Clean and compost

Winterize Your Garden - London Drugs Blog

Clear leaves and gutters

Even if you are short on time, or are heading on an early fall vacation, the one thing you can do to prepare for the season is to keep your deck, gutters, and lawn clear of fallen leaves. They may look beautiful at first, but if you leave them on the ground for too long—especially in wet weather—they can rot, cause mould and moss growth, and damage wooden decks. Clean out your gutters and downspouts as well, as clogged leaves can cause ice dams once the temperature drops. You may want to invest in a gutter screen just to be safe. If you do only one thing on this list, this should be it. 

Pick over and compost

If you have a garden and are keen to keep it in good shape for the spring, it’s incredibly important to pick over and pull out plants and flowers that are no longer productive. The same goes for any fruits or vegetables that aren’t in harvest or have been leftover from last season. Rake up all debris (this can easily be done while you’re clearing out leaves) and add to the compost bin. Don’t forget to trim dead tree branches and shrubs, and while you’re at it, clean your flowerbeds and mulch— you’ll need them in shape to help protect your next crop!

2. Inspect for damage

Fix up your garden for fall - London Drugs blog

Check for leaks and cracks

While you’re already up on the roof clearing out the gutters, take a look around and make sure there is no roof damage. The last thing you need this season is a dripping ceiling! Inspect for loose or missing shingles, and if you have a deck, make sure the gutter doesn’t empty onto its foundation. If you want to go the extra mile, inspect your driveway for cracks and seal them with driveway filler, and then check  your windows to make sure they don’t need extra caulking. Making sure your home is as snug as a bug in a rug will help you save $$ on heat and electricity. 

Repair and replace

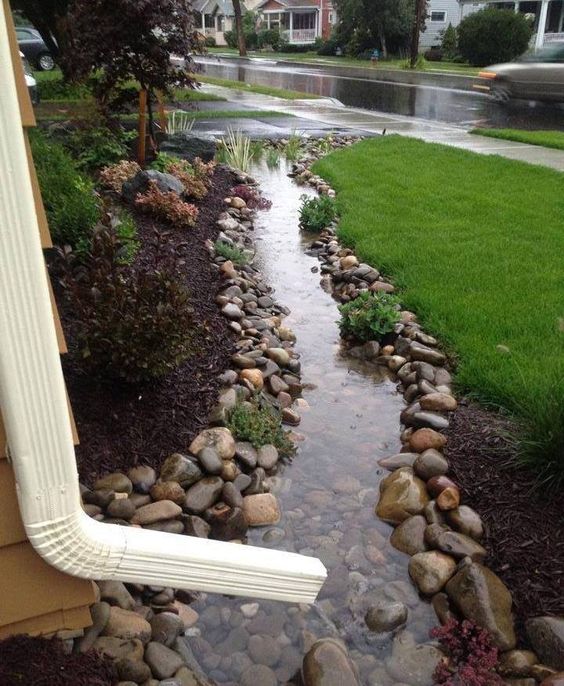
Tighten any loose screws, replace nails, and fill any cracks or loose boards on the deck or patio. If your region is anticipating heavy rain or snowfall in the coming months, plan ahead and consider creating a rainscape below your gutters to redirect any overflow. Use rocks as a channel guard underneath to protect your flowerbeds, driveway or deck from damage.

3. Plant and protect

Flower pot planting bulbs in winter - London Drugs blog

Plant bulbs and trees

It may come as a surprise, but fall is actually one of the best times of year to plant spring-blooming bulbs in certain cold-weather areas. Simply plant them in containers just as you would do in the ground, in odd-numbered groups of 5-9. Choosing containers with good longevity (think ceramic or plastic) will protect your plants from freezing and moisture. Tulip bulbs are a favourite that can be transplanted around the garden in the spring. Trees and evergreen shrubs can also be planted during the cooler season, and you’ll have a great head start to the growing season when spring comes.

Protect plants and flowers

There are a number of measures you can take to protect your garden and plants over the winter months. This includes deadheading potted plants and making sure they get plenty of water before bringing them inside, as well as covering flowerbeds with mulch for protection against frost. You can also leave some seeds out for the birds to ensure your garden gets some attention over the winter, and to promote your next bloom.

4. Winterize the patio

Fall decor winterize garden - London Drugs blog

Care for patio furniture and equipment

The last thing you want when opening up your patio or deck in the spring is to find rusted or damaged patio furniture that you have to replace. If you plan ahead and store, cover, and clean all hard surfaces before the first frost, you’ll having nothing to worry about. Even if patio furniture is powder-coated, it can pay to take extra precaution by cleaning and covering aluminum metals with automotive wax. Plastic furniture and fabrics do need to be brought indoors, and while wood-based and wicker furniture will probably need oiling or painting touch-ups, covering with a tarp will protect them from most elements. The same goes for covering any exposed air conditioners, and other lawn equipment.

Decorate for the season

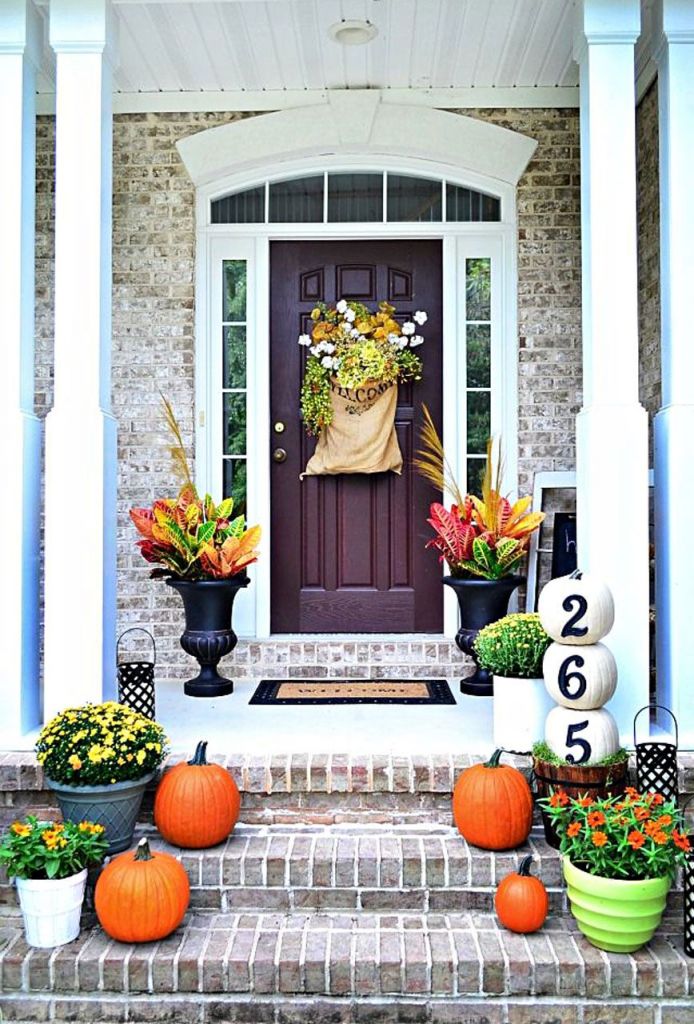
Don’t miss out on the most fun part of winterizing your deck—the decorating! Once you’ve cleaned, inspected and winterized the backyard and taken care of all the logistics, it’s time to get creative. Whether you string fairy lights around windows and doors, or display multi-coloured pumpkins, cornstalks, and pinecones along the staircase, there are endless patio designs available to inspire you. 

Your Guide to Creating a Cozy Plaid Life

The changing weather and cooler temperatures are bringing out our cozy side. What better way is there to prepare for the winter ahead then by wrapping yourself in layers and layers of comfort.  From a sturdy plaid flannel, to accessories that make a statement, this is your guide to creating a totally cozy plaid life this fall.

Invest in a Great Plaid Shirt

The red plaid shirt is a classic for a reason. Aside from being the unofficial Canadian uniform, a good plaid shirt is durable, warm, and relatively weather-proof (particularly if you go for a flannel). Whether you are sitting around a campfire on a chilly fall evening, or running holiday errands in the slush, the plaid shirt just makes sense.

Cozy Plaid

Photo by Javier Canales

Throw Down for Cozy Plaid

Expert cozy-ists know that a plaid throw is a must-have for fall. The thicker, the better. Curl up on the couch under your plaid throw with a good book or your favourite old movie. Bonus points if you casually sip hot chocolate.

Cozy Plaid

Photo by Cory Bouthillette


Take Plaid With You

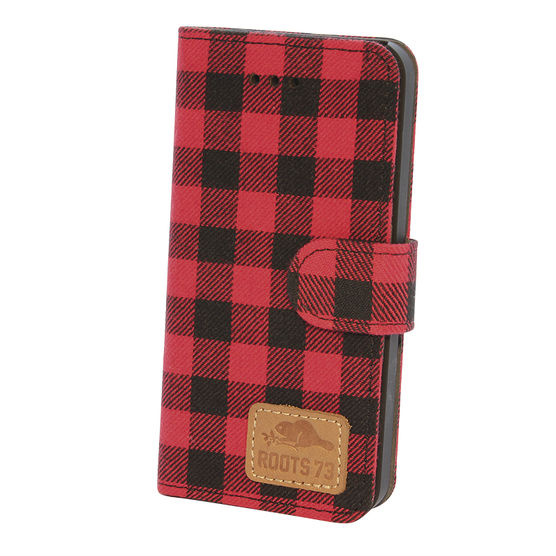
Bring the spirit of coziness along with you everywhere you go with a Roots 73 Plaid Folio Phone Case. It’s a stylish and durable case that subtly showcases your commitment to the cozy plaid life wherever you are.

Cozy Plaid iPhone Case

Paint the Town Plaid

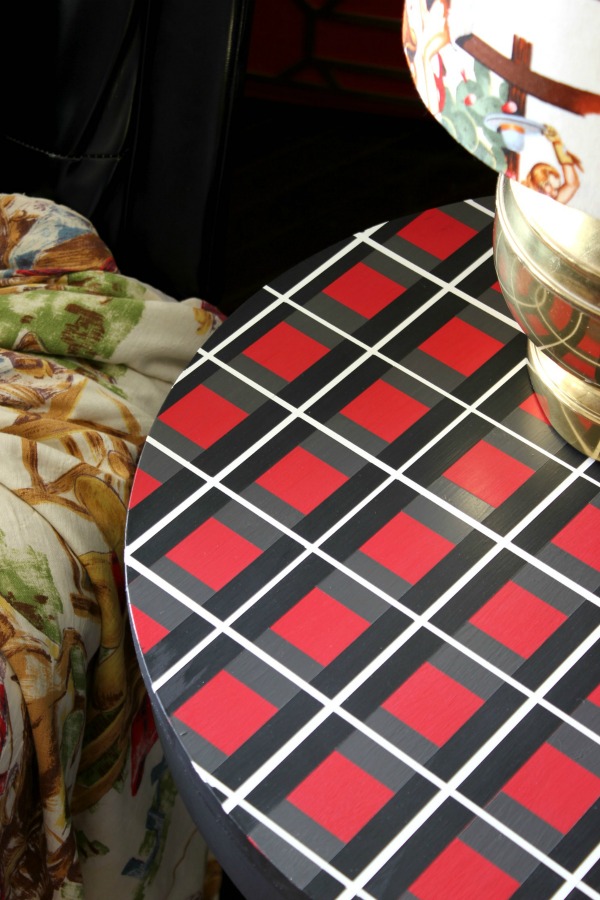
Really go for the gusto by turning an old tabletop into an eye-catching statement furniture piece. The Rain on a Tin Roof blog has a no-measure method for painting a plaid pattern using painter’s tape.

cozy plaid

Photo by Jenna LaFevor

There you have it. That’s everything you need to create a plaid-tastic fall. Wrap yourself in layers of flannel and warmth, and indulge in that lumberjack-chic life. And please, snap some photos of your #PlaidLife and share them with us on Instagram (@LondonDrugs) or Facebook.