A lot more time has been spent at home this past year. If you’re feeling like your space is getting a bit ‘stale’ and could use a design refresh right now, you’re not alone. Especially as we head into spring, now is a great time to brighten up your home with some fresh and colourful images! Try these 5 photo ideas from our LD Experts in the Photolab that will help breathe new life into your space.
1. Swap Out Your Framed Photos
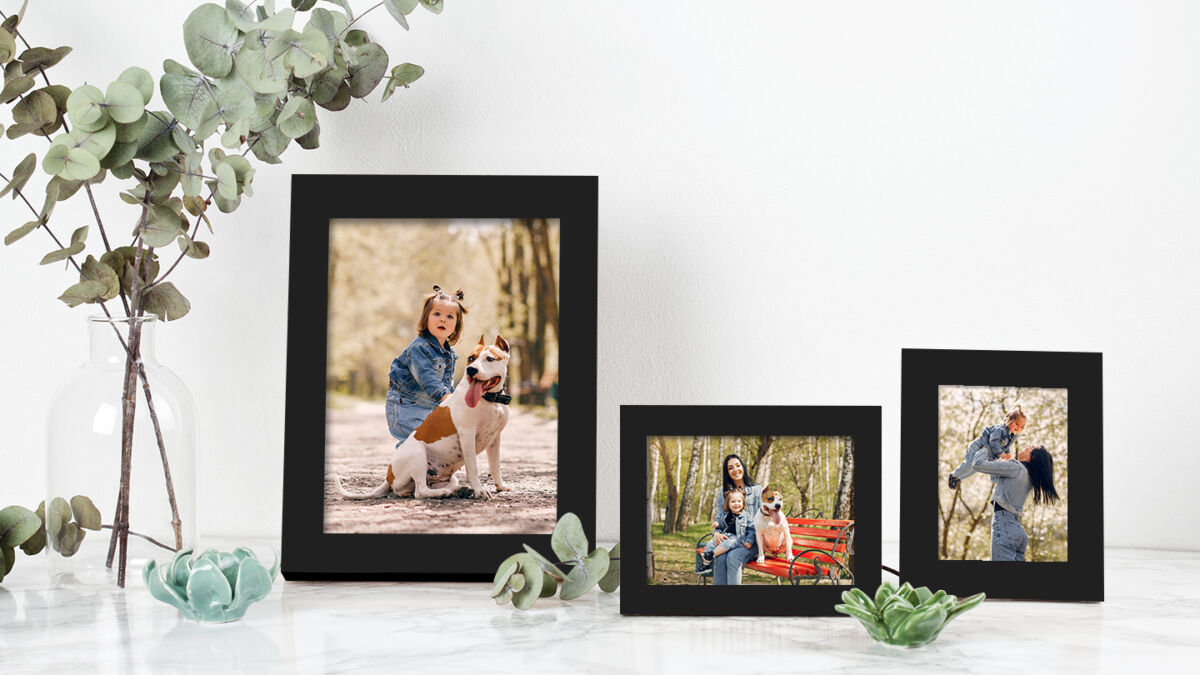
Freshening up your space is as simple as swapping out the photos in your existing frames! Pick some favourites from past spring seasons that will add some brightness and colour to your home. These could include landscape photos you’ve captured during spring or family photos of springtime events like Mother’s Day and Easter. Vacation photos are also a great way to brighten up your space.
We have a wide variety of print and enlargement sizes to fit all kinds of standard frames, from 4”x6” all the way up to 44”x96”. Pick between glossy or pearl finish, depending on your preference. For framed prints, we recommend pearl, as there isn’t as much glare with this mattified satin surface, making it a good option for displaying behind glass.
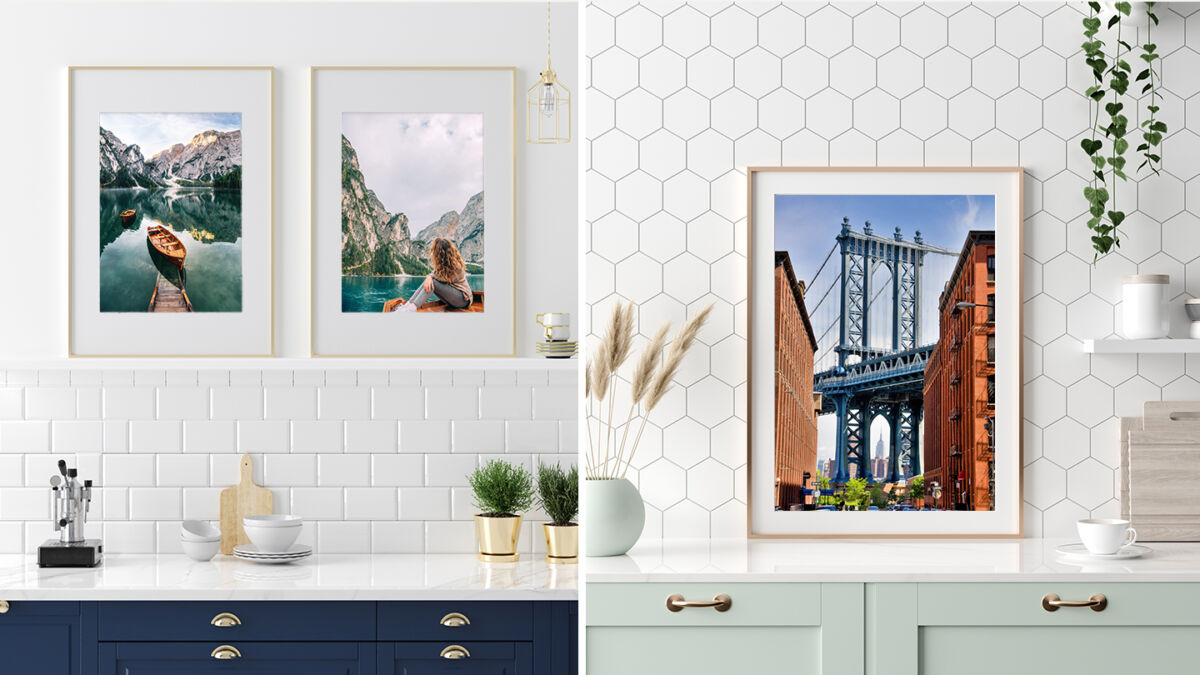
The easiest way to refresh your frames with new prints and enlargements is by downloading our London Drugs Photolab App on your smartphone (available for iOS and Android), uploading some of your photos directly from your phone, and ordering some prints. If your photos live on your computer, not to worry, you can always order from our Photolab website as well.
2. Create a DIY Gallery Wall
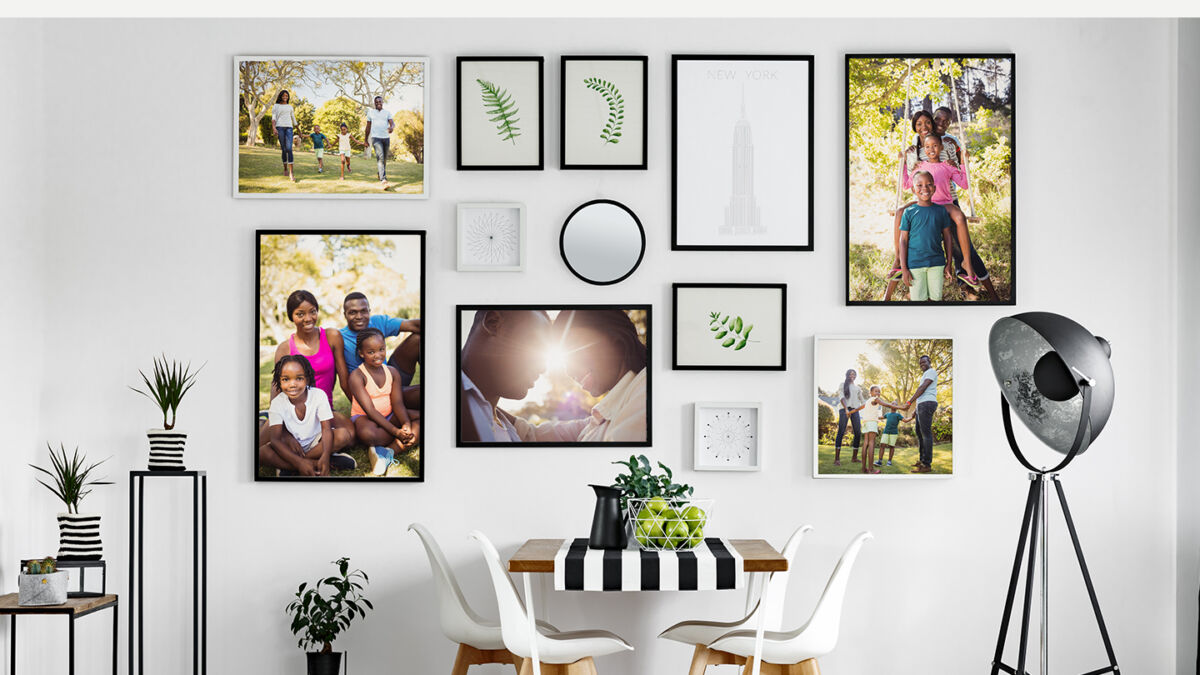
If you’re looking for a DIY project to take on at home, creating your own gallery wall is an easy and rewarding project that will give your space an entirely fresh look. This is also something you can add to as you find new frames and take new photos that you want to add to the gallery wall. Just like the other frames in your home, these can also be updated seasonally.
Here’s how to create your own gallery wall:
- Choose a colour palette. This can go for your frames (all one colour, or a mix of colours in a palette) and for your images (black and white or colour photos). A colour palette can help you keep a cohesive look and feel amongst all the prints on your gallery wall. Of course, if you prefer a more eclectic look with a variety of colours, go for it! Your space should reflect your style.
- Pick a theme. The theme could be your pets, family, friends, vacations, wedding photos, etc. They don’t have to all be from the same day, but choosing an overall theme will help you narrow down and select which images to feature. For instance, you could display photos of your pet throughout their life, or photos of various vacation destinations you’ve visited over the years. If you want to change your images seasonally, pick a spring theme for this time of year, selecting photos taken during previous spring seasons (or get outside and shoot some new ones!).
- Pick a display medium, and print your photos. Before you start printing, it’s important to decide how you want to display the photos in your gallery wall. As an example, do you want to go with framed prints or canvas gallery wraps? If you’re framing behind glass, you may want to opt for pearl versus glossy enlargements. Fine art prints are also an excellent choice to give your photos that gallery-quality look. Our Photolab also offers framed and matted prints if you want that matte look for your images. We recommend choosing one print style to stick to for all of your gallery prints.
- Choose a layout. Organize and assemble your images on the floor to see how they will look on display. This gives you the opportunity to make changes to your vision…before hammering any nails into the wall! It can help to put a vertical line of painter’s tape down on the floor to ensure your prints are being distributed equally on both sides of the tape and the overall ‘wall’ looks balanced. If you like clean lines, you may choose to have all of your prints fit nicely within a defined rectangle or square. Or, go with a more ‘imperfect’ look by having some prints stick out past the others.
- Measure out your display. Use painter’s tape once again to mark a vertical line, this time down the centre of the wall. Then measure your frames and tape a square/rectangle showing where you want each of your frames on the wall, keeping consistent with the spacing between your prints.
- Assess your gallery wall. Take a step back to assess whether you like the look. If not, peel the tape and try again!
- Hang your prints. Get your hammer, anchors and level out, it’s finally time to hang your prints!
3. Add Fresh Life to Your Coffeetable
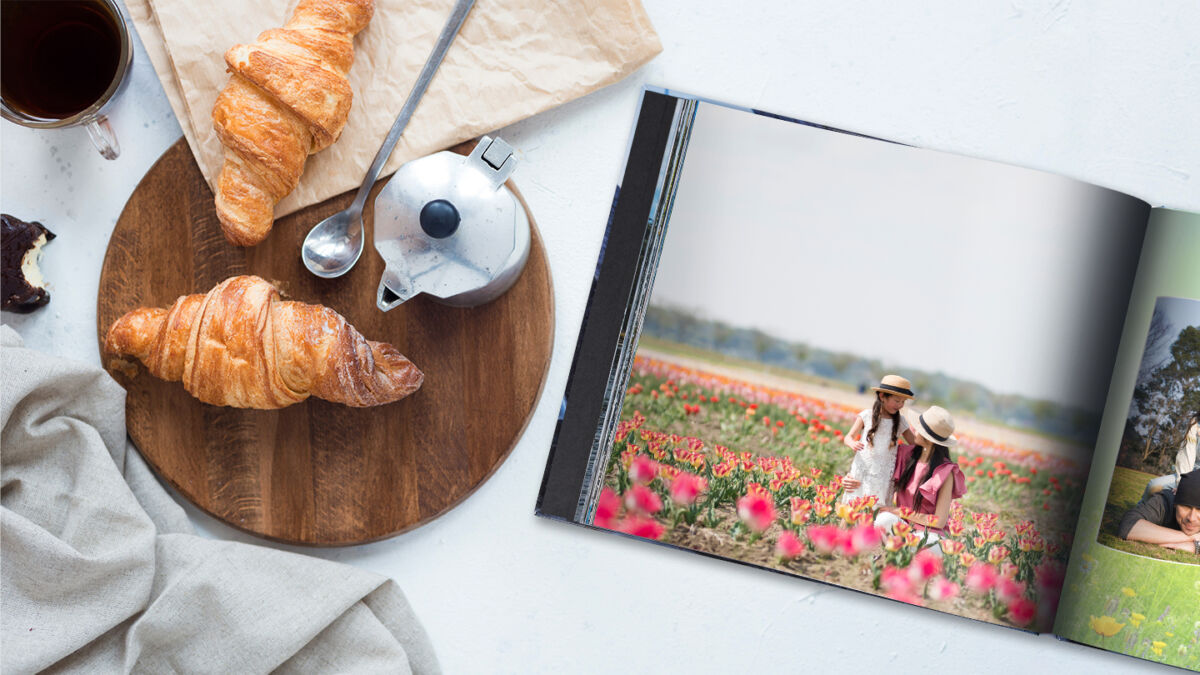
Don’t neglect your coffeetable, it’s easy to give it a refresh too! A new vase and a floral scented candle can breathe in some fresh new life, as can a bright new coffeetable book. A good coffeetable book is not only a conversation piece, and a place to store treasured memories, but it can also be a piece of décor that you can easily switch out from season to season. For spring, personalize a coffeetable book from our Photolab with some of your favourite springtime memories (scenic hikes, your garden, family activities, trips, etc.). You can even choose from spring templates to help theme your photo book. We recommend choosing the coffeetable book with a custom photo cover, or cover with a window; you will be able to personalize the cover with a spring-themed photo of your choice that will be seen when the book is sitting on your coffeetable, making it a perfect piece of seasonal décor.
4. Bring Spring Indoors with Photo Panels
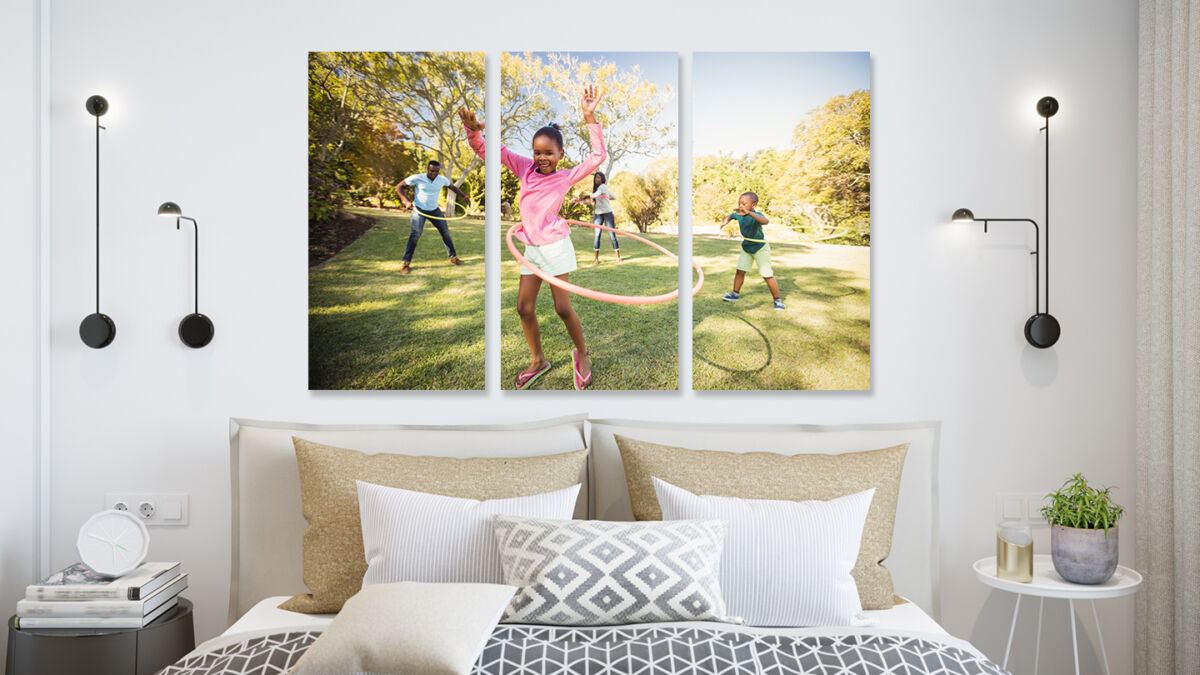
Liven up your space by going BIG with one of your favourite spring-themed images! While we have enlargements up to 44”x96” in size, another option is to have your image printed as multiple-panel split art, where your image is split over a few large prints. This style of wall art can make your images look even more eye-catching!
Our aluminum metal panels are a great choice for this split art style, as they are frameless and ready-to-hang. The high-gloss surface also makes colourful images pop really well, so they are perfect for brightening up your space with vibrant spring images. Lots of people seek out cherry blossoms and tulip fields for photo ops during the spring – those are great images to feature in this format, as would any other vibrant landscape images!
When hanging your split art, start with the middle panel first to ensure your prints will be centred on your wall. We suggest spacing the panels out about 2 to 3 inches apart if your panels are on the larger size. Smaller panels may look better with a little less spacing.
5. Brighten Up with Some Updated Pillows
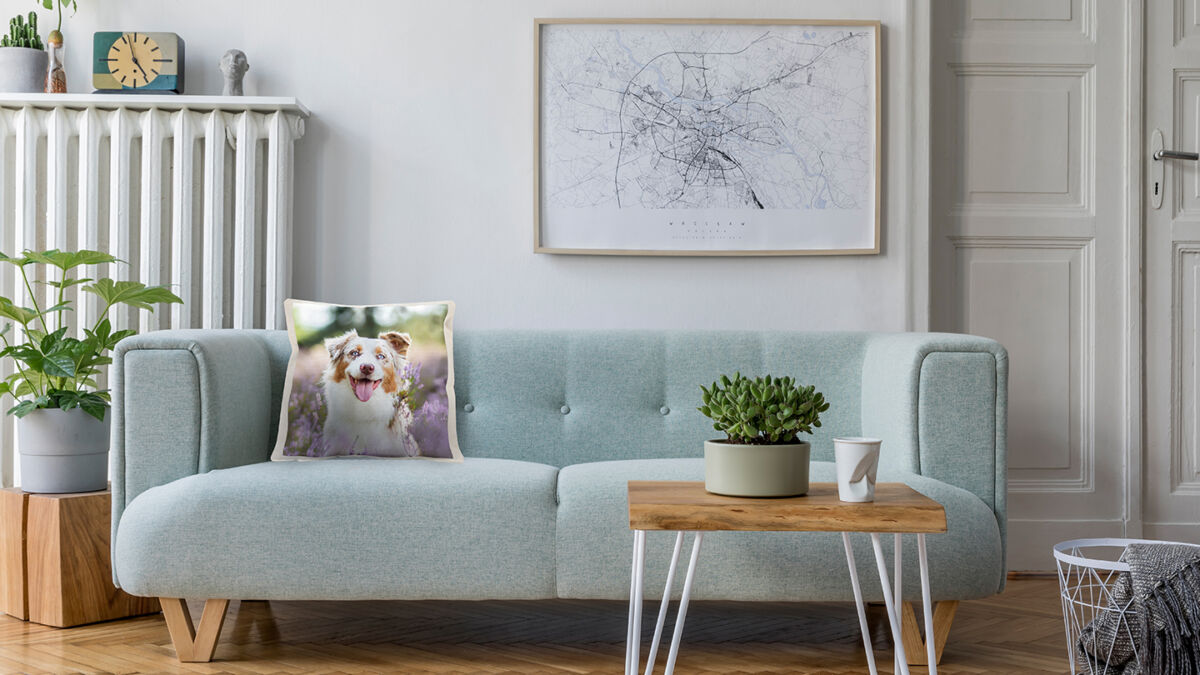
A tried and true way to add some brightness to your home in time for spring is to update your pillow cushions! A new cushion colour or pattern will do the trick, or you can customize something fun with our Photolab’s photo pillow cases. Choose a pet or family photo to feature, or if nature photography is your forte, a macro flower photo or other spring scenes would be a great way to customize your pillows for the season. They’re sure to make you smile every time you walk into the room!
Spring Cleaning Your Photos
Speaking of refreshing your home with photos this spring, your photos might need a little spring cleaning too! If you have lots of old photos in albums or collecting dust shoeboxes, now is a good time to digitize them to ensure they aren’t lost to damage and degradation. Digitizing them yourself can be a big undertaking, but our Photolab can help make the process seamless. Just pick up a Photo Scanning Box at your local Photolab, bringing it home and fill it with up to 800 photographs and documents (up to 8.5”x11” in size). Then just bring the box back to us in-store, and we’ll digitize them all for you and put them on a USB drive. Simple as that! We also have a Slide Scanning Box to help you digitize up to 80 35mm slides.
Once digitized, your photos will not only be safe, but you’ll have so many more opportunities to share those precious photos! Use them in any of our 5 ideas above, from printing and framing them, to including them in your coffeetable photo book, or printing them on a pillow! The options are endless once your photos are digital.
You can also check out this blog for more tips on organizing and preserving your irreplaceable photos.

