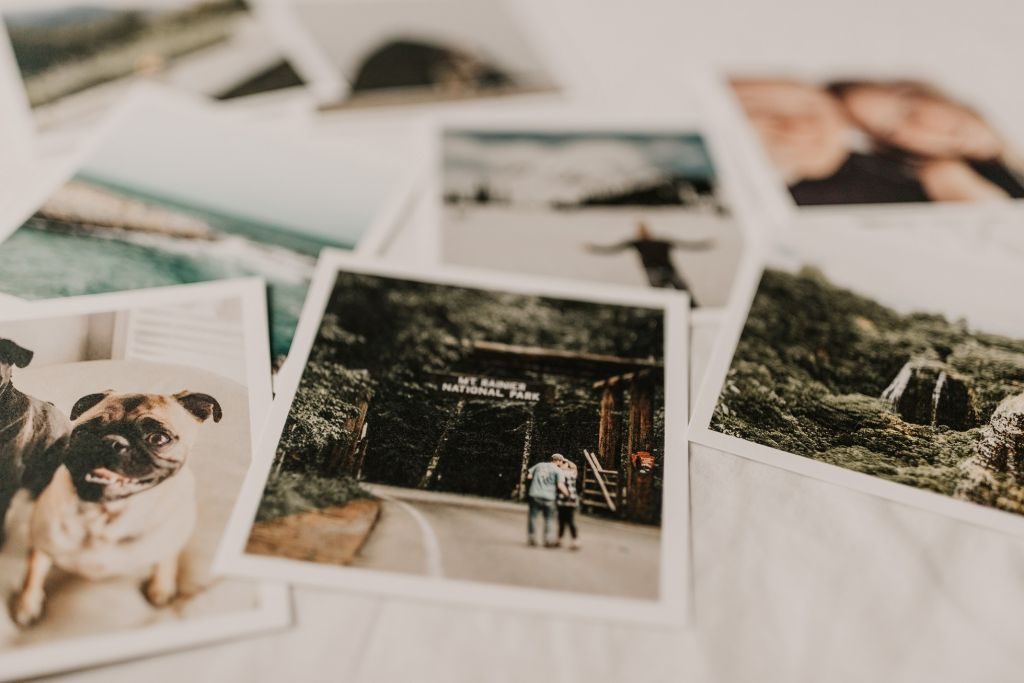
Photos hold incredible personal value. They capture special memories in a snapshot, which is why we often consider them irreplaceable. And yet many of us are guilty of leaving those irreplaceable photos to discolour and disintegrate in shoe boxes, or to be forgotten on unstable old hard drives. We’re reminding and educating people to keep photos safe from accidental loss or damage—and to appreciate the photos you have in your possession!
Here are a few ways to save both your print and digital photos, and ensure your irreplaceable memories will remain a part of your family for years to come.
Saving your print photos
We love print photos. There’s something about seeing your photos on display that truly brings them to life. But it’s important to understand your prints can be susceptible to damage and degradation, and that certain steps should be taken to ensure your photos remain safe in the long term.
Carefully remove photos from album
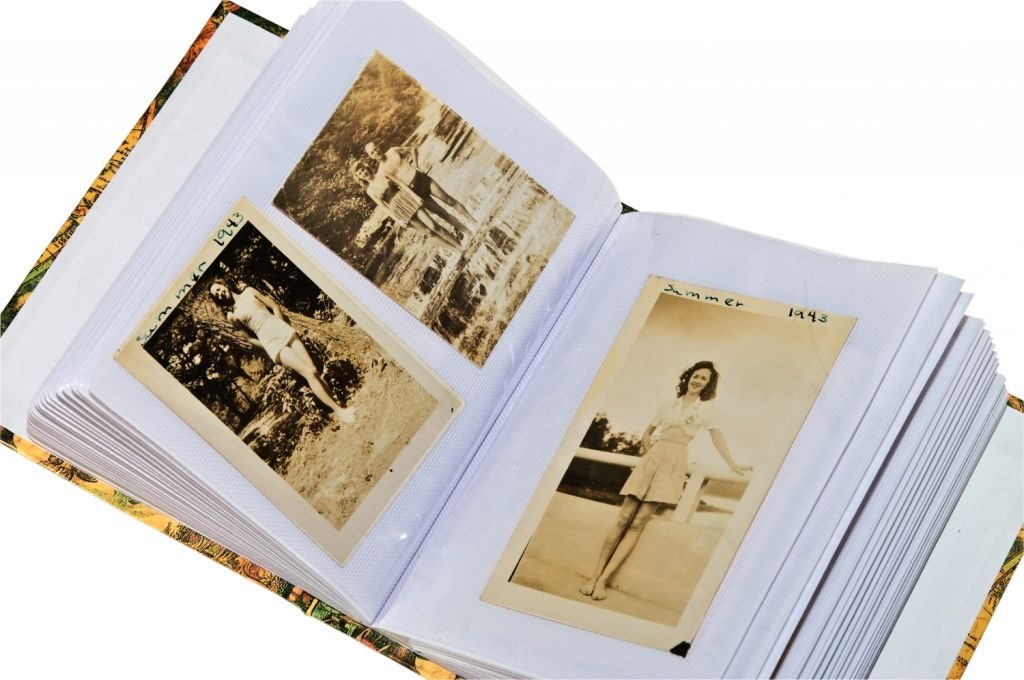
If you have photos in old, magnetic stick albums, those photos have very likely begun to degrade due to the acidic paperboard used. The best course of action is to preserve the layout of the photos (taking a picture of each page for reference works), and then remove the photos one-by-one. Start by removing the photo at the corners, and use a microspatula blade or dental floss to free the photo from the sticky page.
Make digital copies of each print
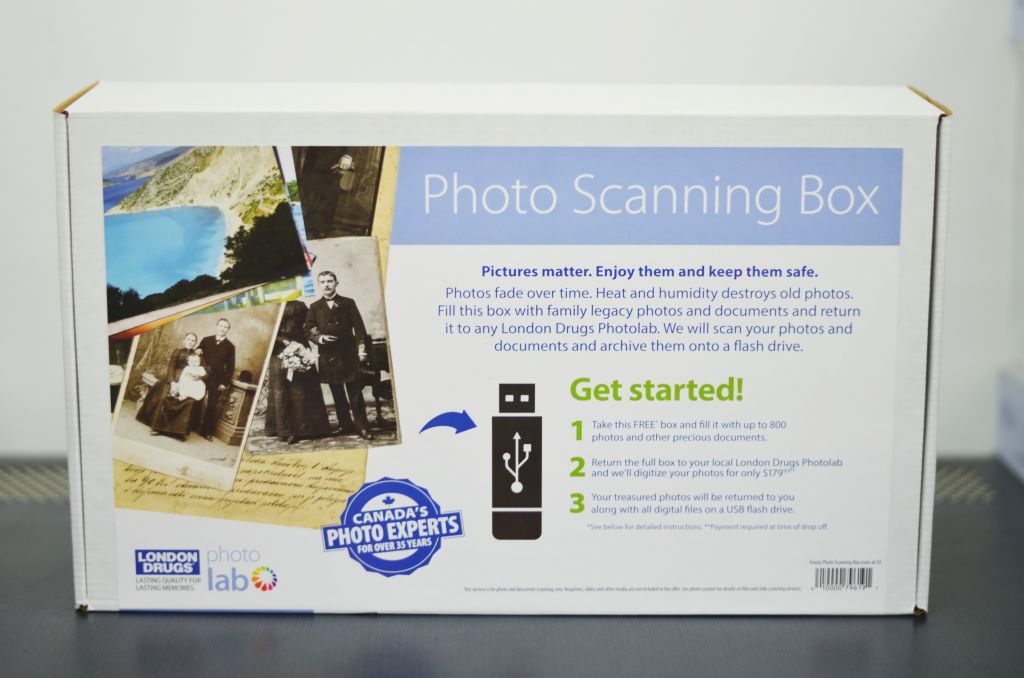
Once you’re done removing the individual photos, you can protect those precious images from further degradation by making digital copies. To digitize the old photographs, you can use an at-home scanner, or to save time, our Photo Scanning Box Service can help do large batch scanning. Pick up a box at your local London Drugs Photolab, fill it with up to 800 photographs and documents (up to 8.5”x11” in size), and bring it back to us in-store, where we’ll digitize everything for you. Then pick up your originals as well as the digital files on a USB drive!
Beyond just protecting your photos from general degradation over time, digitizing your photos now could also save you down the road, if your original prints are ever destroyed due to unforeseen accidents or disasters like flood or fire.
Upgrade to photo books
In future, instead of magnetic stick albums, we recommend either using standard sleeve photo albums, or photo books. Upgrading to our personalized photo books is ideal as you can easily re-order copies through our Photolab in case of accidental damage, and you can also send additional copies to family and friends. Photo books also make it easier to document dates, places, and people in your photos, all thanks to our customizable tools which allow you to add themes and text to each page.

Saving your digital photos
One of the most important aspects of saving your digital photos is organization. Often, people get in the bad habit of dumping their photos from the smartphones and cameras onto their computer, without really thinking much about how their photos should be organized. You end up with photos scattered all over your computer, with no real way of finding specific photos. Or if you have photos scattered over various devices, it can also be hard to keep track of which photos are stored where if you don’t have an organizational system in place. That’s how photos inevitably end up going missing.
Organize files into folders
First, pick a device that you’re going to save all of your photos to. This could be your desktop, laptop, or hard drive—somewhere you have room to store all of these photos in one place. Having all your photos on one device will make it easier to sort through everything at once.
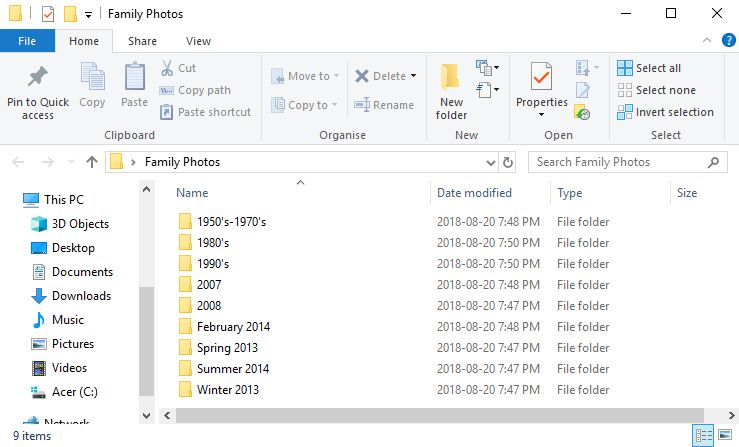
Then, the easiest way to start organizing your digital images is with folders. Decide how you want to divide them up. For example, you could organize based on season (ex. Summer 2018), simply based on year (ex. 1963), or by month (ex. February 2018). It all depends on how often you take photos. Within those folders, you can divide your photos up even more if you have specific activities photographed (ex. Trip to Mexico, Grandma’s 80th Birthday).
Rename image files and remove duplicates
Now it’s time to start cleaning up your image files. You can leave your file names as-is, or rename them to better describe each image. While you’re going through, this is also the time to delete any duplicate photos you find. You might realize you accidentally downloaded your Mexico photos twice, or that you have four photos of the exact same thing, and can just pick a favourite of the four to keep.
Add metadata to your photos
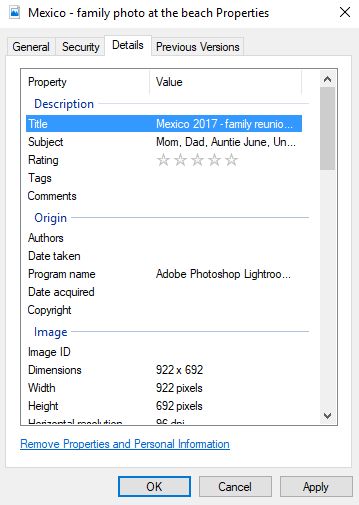
With old print photos, people often wrote on the back of images to indicate dates, locations, and people in the photo. But what about digital? Do you have to just rely on your memory? No need! That’s what metadata is for. Thankfully, your camera or smartphone likely automatically captures some metadata already, such as the date and time your photo was taken (as long as you have the time zone set correctly!).
If you’ve digitized old print photos though, you’ll need to add this information yourself. Just right click on the photo file to access its Properties, and you can edit the metadata under ‘Details’, as shown below. Add a title, details of who’s in the photos, date, etc.
Backing up your saved photos
The other essential aspect of saving your photos is backing them up. Ideally, you should be backing up your images on at least two other devices to ensure if one fails, your photos are still safe. Hard drives, flash drives, and cloud storage are all viable options. Just make sure you’re not keeping them all in the same space, in case of a disaster like fire or flood.
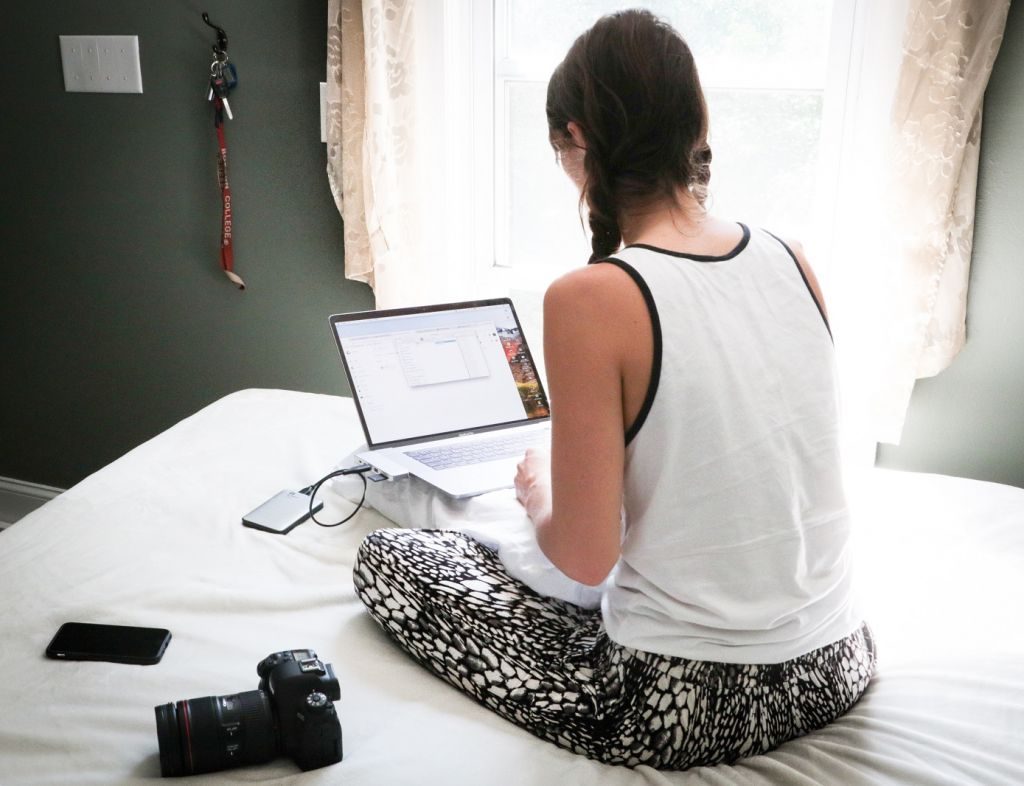
If you’ve been dumping your photos onto a hard drive and haven’t taken a look in a few years, it’s very possible the drive has failed and corrupted the files. Moral of the story? Replace hard drives every few years to ensure your photos are not lost forever.
Enjoy your saved photos
Once your photos are safe and sound, thanks to the measures outlined above, you can now enjoy them! If you’re planning on printing photo books, it will now be easy to organize photos into separate books based on your folder organization. And if you’re planning on ordering prints, enlargements or creative photo products like calendars, water bottles and greeting cards, you’ll now easily be able to search out the photos you’re looking for and pick some favourites to feature. And you’ll have that handy metadata to help you personalize your photo products with text!
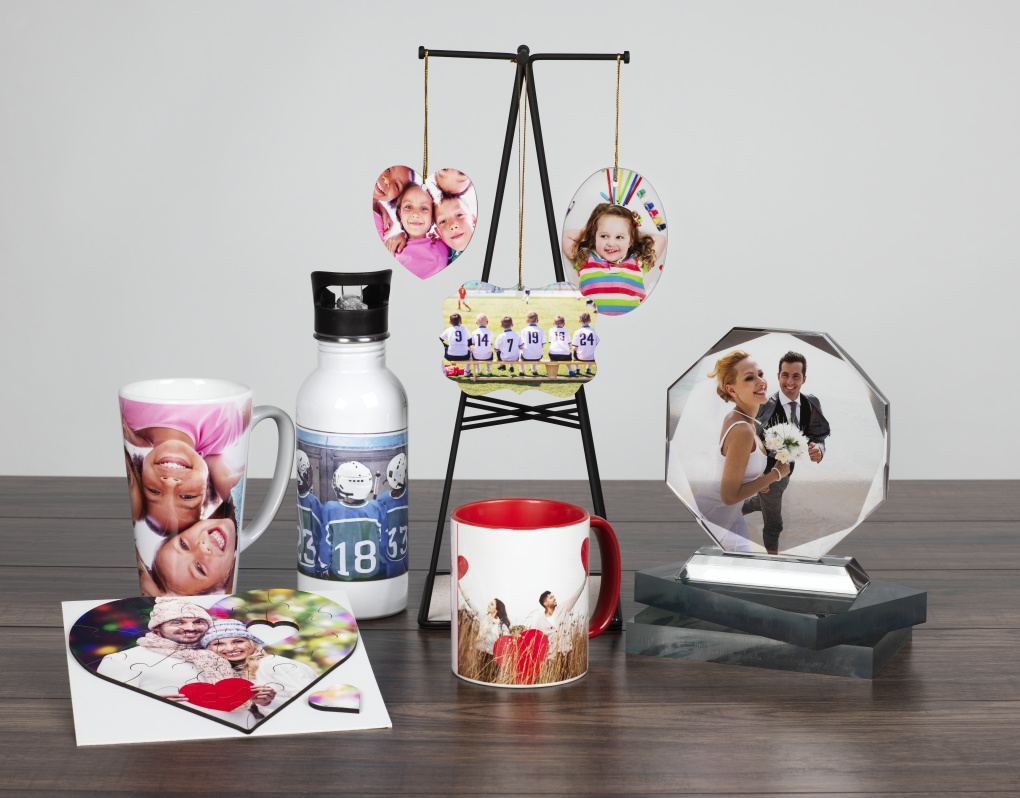
Best of all, you can rest assured that your precious images are protected digitally, so you can enjoy your photos in the present, and your family will be able to enjoy them in the future.
Our Photolab Experts are ready to help. If you need some direction on how to use our Photo Scanning Box, or some tips on how to create a photo book or other creative photo product, just visit us at your local London Drugs and we can walk you through it.
Happy Save Your Photos Day!


To remove photos from those old photo albums with sticky pages, the easy way is to warm them with a hair dryer. On most, not much heat and very little time is needed. Occasionally one is more sticky but a little more time blowing warm air on it, and it comes off. Hope this is helpful.