Give Your Home A Spring Refresh With These 5 Photo Ideas

A lot more time has been spent at home this past year. If you’re feeling like your space is getting a bit ‘stale’ and could use a design refresh right now, you’re not alone. Especially as we head into spring, now is a great time to brighten up your home with some fresh and colourful images! Try these 5 photo ideas from our LD Experts in the Photolab that will help breathe new life into your space.

1. Swap Out Your Framed Photos
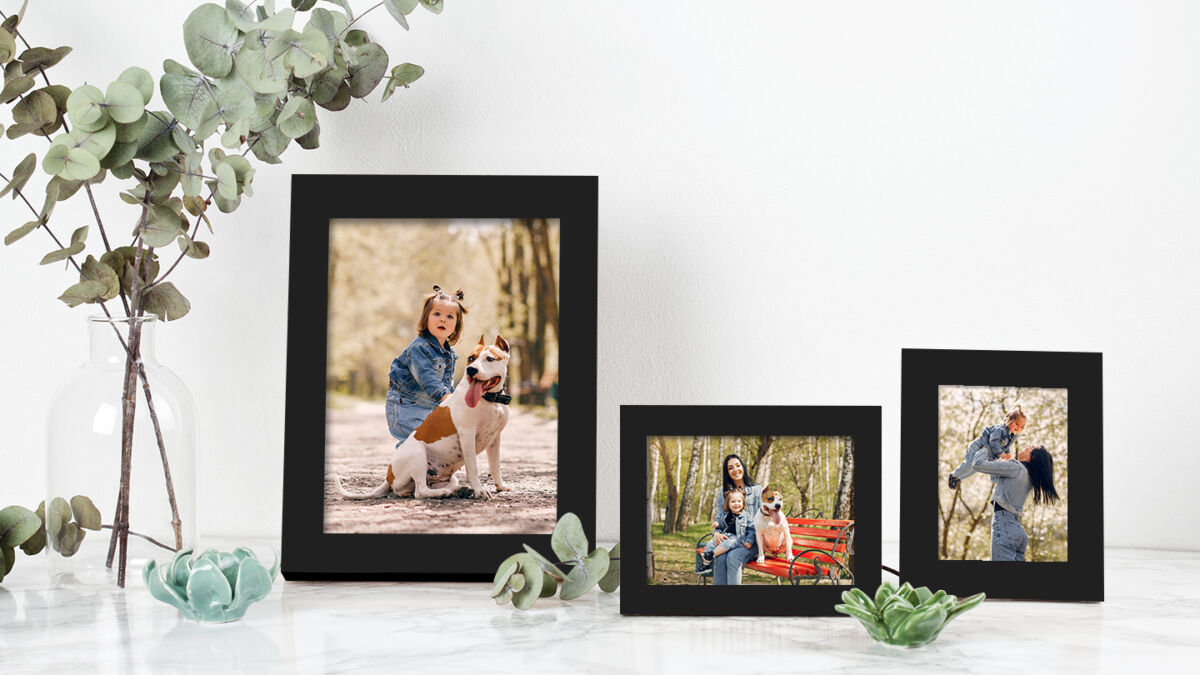
Freshening up your space is as simple as swapping out the photos in your existing frames! Pick some favourites from past spring seasons that will add some brightness and colour to your home. These could include landscape photos you’ve captured during spring or family photos of springtime events like Mother’s Day and Easter. Vacation photos are also a great way to brighten up your space.

We have a wide variety of print and enlargement sizes to fit all kinds of standard frames, from 4”x6” all the way up to 44”x96”. Pick between glossy or pearl finish, depending on your preference. For framed prints, we recommend pearl, as there isn’t as much glare with this mattified satin surface, making it a good option for displaying behind glass.
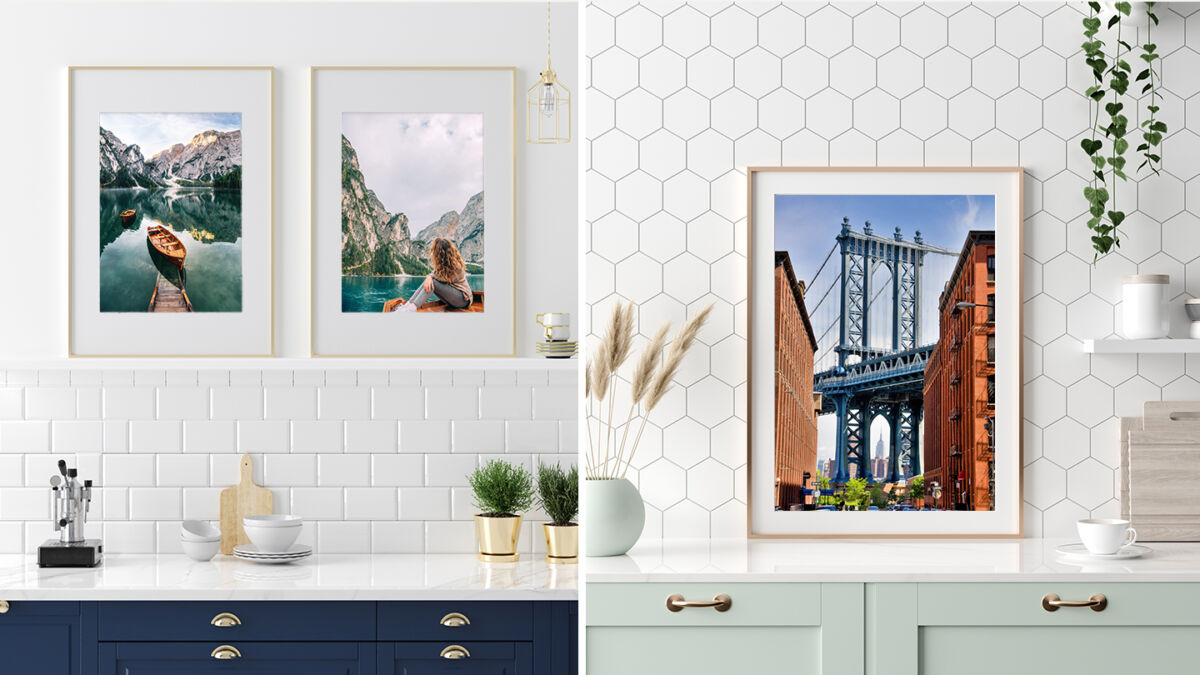
The easiest way to refresh your frames with new prints and enlargements is by downloading our London Drugs Photolab App on your smartphone (available for iOS and Android), uploading some of your photos directly from your phone, and ordering some prints. If your photos live on your computer, not to worry, you can always order from our Photolab website as well.

2. Create a DIY Gallery Wall
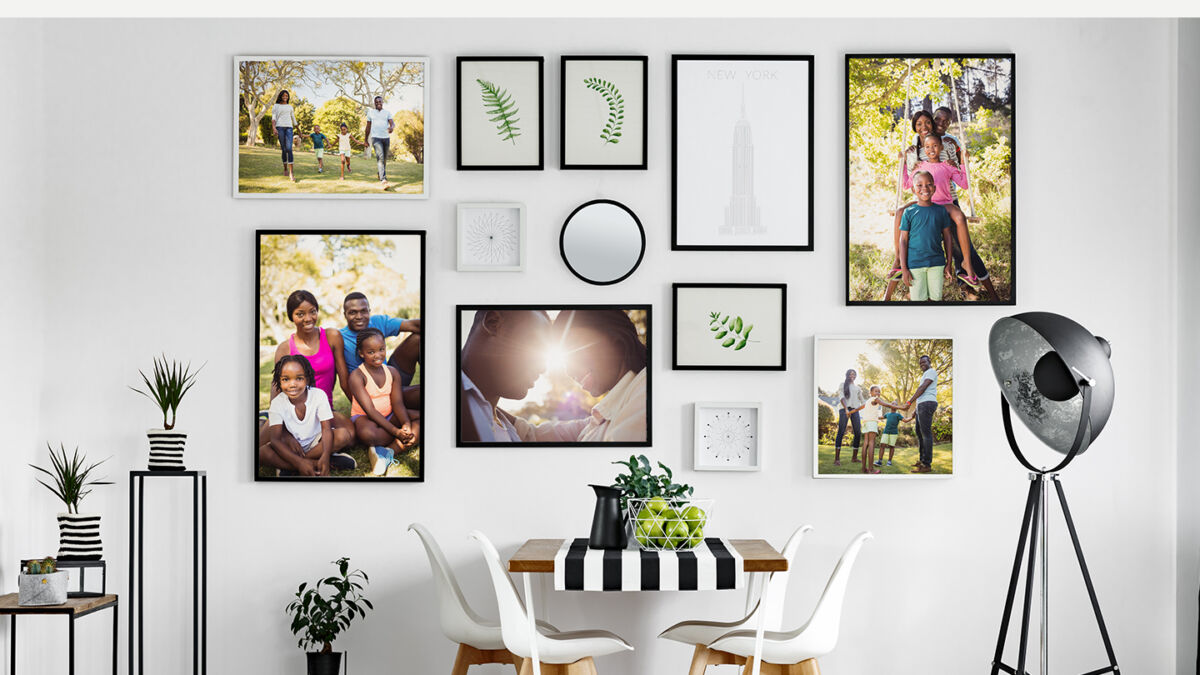
If you’re looking for a DIY project to take on at home, creating your own gallery wall is an easy and rewarding project that will give your space an entirely fresh look. This is also something you can add to as you find new frames and take new photos that you want to add to the gallery wall. Just like the other frames in your home, these can also be updated seasonally.

Here’s how to create your own gallery wall:

  1. Choose a colour palette. This can go for your frames (all one colour, or a mix of colours in a palette) and for your images (black and white or colour photos). A colour palette can help you keep a cohesive look and feel amongst all the prints on your gallery wall. Of course, if you prefer a more eclectic look with a variety of colours, go for it! Your space should reflect your style.
  2. Pick a theme. The theme could be your pets, family, friends, vacations, wedding photos, etc. They don’t have to all be from the same day, but choosing an overall theme will help you narrow down and select which images to feature. For instance, you could display photos of your pet throughout their life, or photos of various vacation destinations you’ve visited over the years. If you want to change your images seasonally, pick a spring theme for this time of year, selecting photos taken during previous spring seasons (or get outside and shoot some new ones!).
  3. Pick a display medium, and print your photos. Before you start printing, it’s important to decide how you want to display the photos in your gallery wall. As an example, do you want to go with framed prints or canvas gallery wraps? If you’re framing behind glass, you may want to opt for pearl versus glossy enlargements. Fine art prints are also an excellent choice to give your photos that gallery-quality look. Our Photolab also offers framed and matted prints if you want that matte look for your images. We recommend choosing one print style to stick to for all of your gallery prints.
  4. Choose a layout. Organize and assemble your images on the floor to see how they will look on display. This gives you the opportunity to make changes to your vision…before hammering any nails into the wall! It can help to put a vertical line of painter’s tape down on the floor to ensure your prints are being distributed equally on both sides of the tape and the overall ‘wall’ looks balanced. If you like clean lines, you may choose to have all of your prints fit nicely within a defined rectangle or square. Or, go with a more ‘imperfect’ look by having some prints stick out past the others.
  5. Measure out your display. Use painter’s tape once again to mark a vertical line, this time down the centre of the wall. Then measure your frames and tape a square/rectangle showing where you want each of your frames on the wall, keeping consistent with the spacing between your prints.
  6. Assess your gallery wall. Take a step back to assess whether you like the look. If not, peel the tape and try again!
  7. Hang your prints. Get your hammer, anchors and level out, it’s finally time to hang your prints!

 3. Add Fresh Life to Your Coffeetable
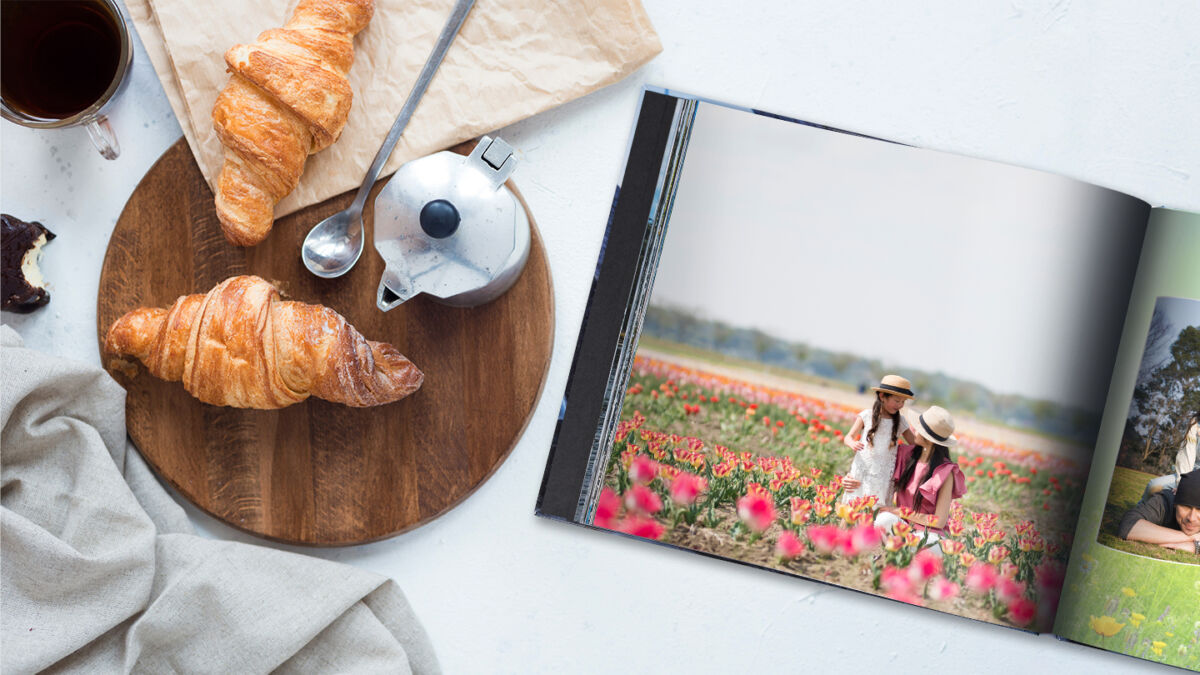
Don’t neglect your coffeetable, it’s easy to give it a refresh too! A new vase and a floral scented candle can breathe in some fresh new life, as can a bright new coffeetable book. A good coffeetable book is not only a conversation piece, and a place to store treasured memories, but it can also be a piece of décor that you can easily switch out from season to season. For spring, personalize a coffeetable book from our Photolab with some of your favourite springtime memories (scenic hikes, your garden, family activities, trips, etc.). You can even choose from spring templates to help theme your photo book. We recommend choosing the coffeetable book with a custom photo cover, or cover with a window; you will be able to personalize the cover with a spring-themed photo of your choice that will be seen when the book is sitting on your coffeetable, making it a perfect piece of seasonal décor.

4. Bring Spring Indoors with Photo Panels
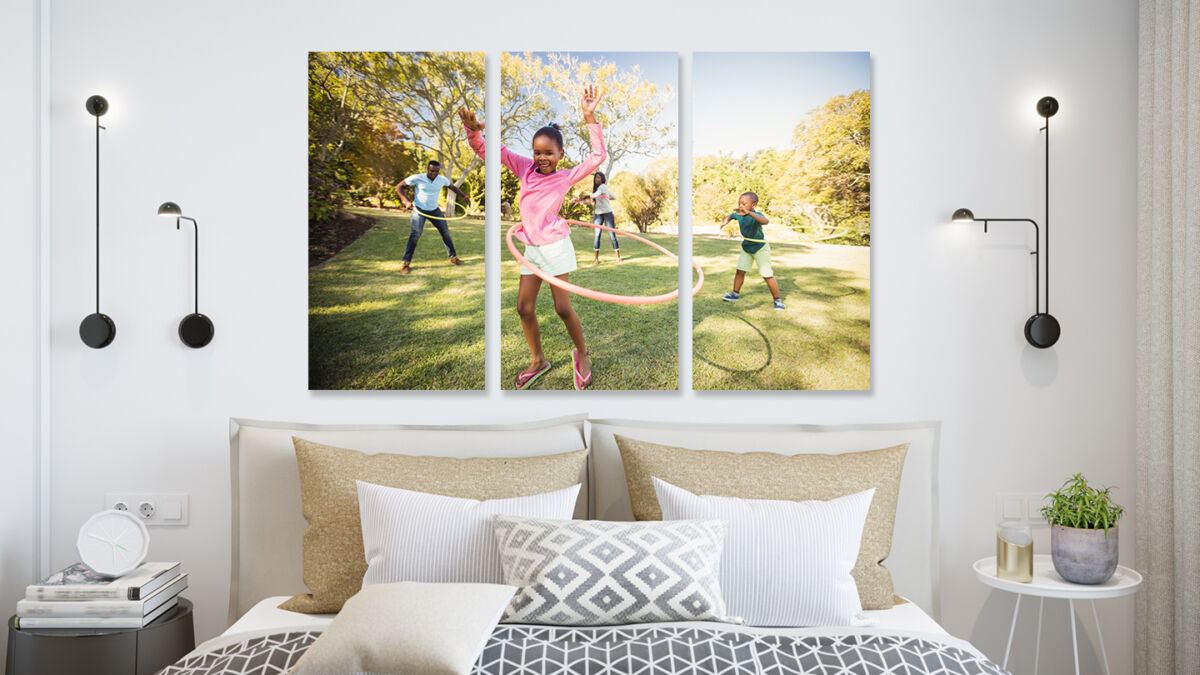
Liven up your space by going BIG with one of your favourite spring-themed images! While we have enlargements up to 44”x96” in size, another option is to have your image printed as multiple-panel split art, where your image is split over a few large prints. This style of wall art can make your images look even more eye-catching!

Our aluminum metal panels are a great choice for this split art style, as they are frameless and ready-to-hang. The high-gloss surface also makes colourful images pop really well, so they are perfect for brightening up your space with vibrant spring images. Lots of people seek out cherry blossoms and tulip fields for photo ops during the spring – those are great images to feature in this format, as would any other vibrant landscape images!

When hanging your split art, start with the middle panel first to ensure your prints will be centred on your wall. We suggest spacing the panels out about 2 to 3 inches apart if your panels are on the larger size. Smaller panels may look better with a little less spacing.

5. Brighten Up with Some Updated Pillows
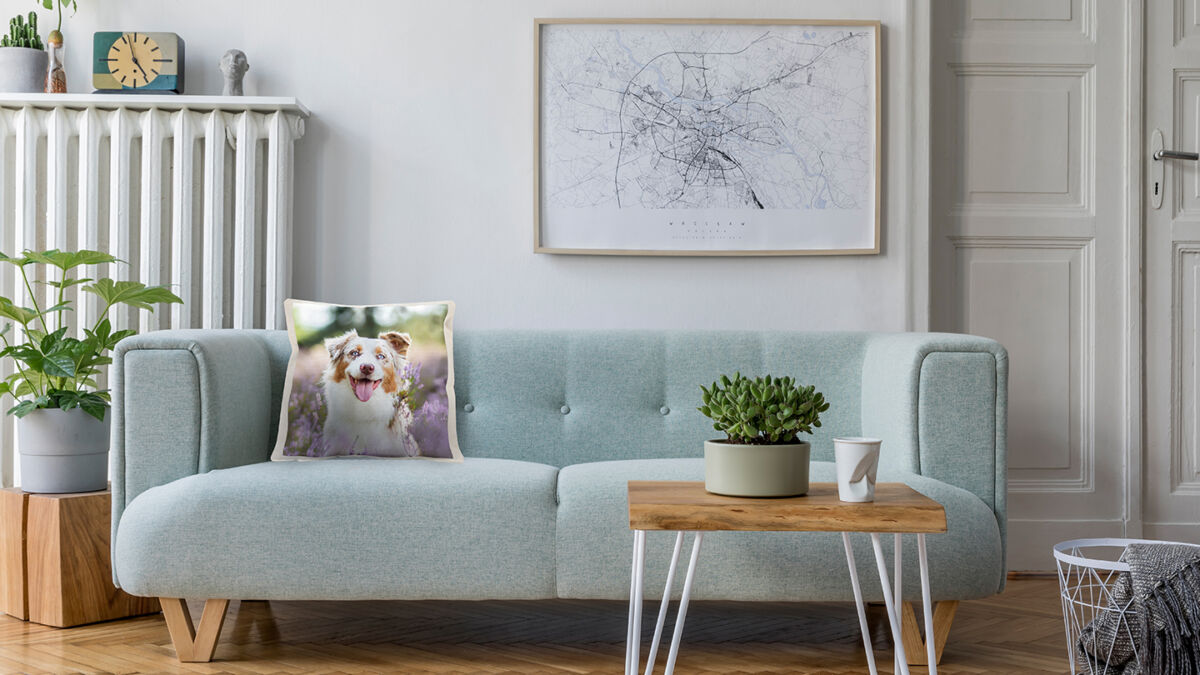
A tried and true way to add some brightness to your home in time for spring is to update your pillow cushions! A new cushion colour or pattern will do the trick, or you can customize something fun with our Photolab’s photo pillow cases. Choose a pet or family photo to feature, or if nature photography is your forte, a macro flower photo or other spring scenes would be a great way to customize your pillows for the season. They’re sure to make you smile every time you walk into the room!

Spring Cleaning Your Photos

Speaking of refreshing your home with photos this spring, your photos might need a little spring cleaning too! If you have lots of old photos in albums or collecting dust shoeboxes, now is a good time to digitize them to ensure they aren’t lost to damage and degradation. Digitizing them yourself can be a big undertaking, but our Photolab can help make the process seamless. Just pick up a Photo Scanning Box at your local Photolab, bringing it home and fill it with up to 800 photographs and documents (up to 8.5”x11” in size). Then just bring the box back to us in-store, and we’ll digitize them all for you and put them on a USB drive. Simple as that! We also have a Slide Scanning Box to help you digitize up to 80 35mm slides.

Once digitized, your photos will not only be safe, but you’ll have so many more opportunities to share those precious photos! Use them in any of our 5 ideas above, from printing and framing them, to including them in your coffeetable photo book, or printing them on a pillow! The options are endless once your photos are digital.

You can also check out this blog for more tips on organizing and preserving your irreplaceable photos.

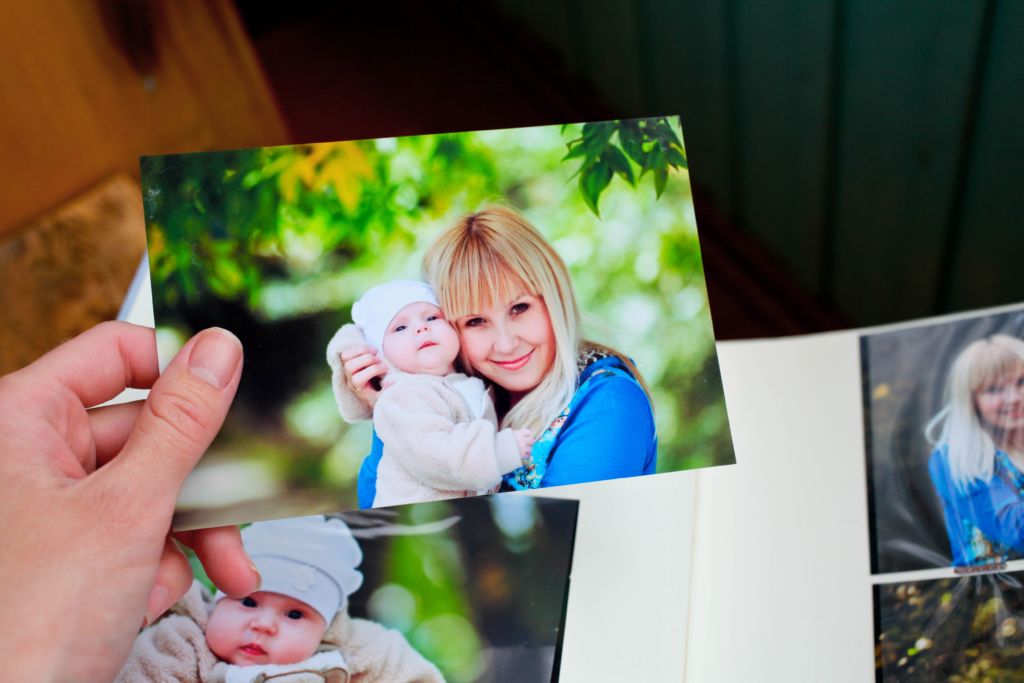
 

Print Your Photos Like a Pro with the Photolab App

London Drugs Photolab App

Ever taken a great photo with your phone or tablet and wished it was easy to have it professionally printed?


Photolab iOS app

It is easy with the London Drugs Photolab app for iOS and Android.

With the free Photolab app you can easily upload photos and order prints, create photo books, calendars, gifts and more from your local London Drugs. Pick up your prints and photo creations at your convenience from one of our 100+ locations across Canada in as little as one hour! Not local? No problem – we ship anywhere in Canada.

With the app you can:

  • Upload quality images from your device and get them printed with the touch of a finger.
  • Store your favourite photos and re-order prints anytime.
  • Create beautiful photo books, canvas gallery wraps, calendars, greeting cards, and hundreds of other personalized photo gifts.

Tell your friends and family they’re about to get a lot more of your gorgeous photos in their lives. Lucky them!

Get the app now:


12 Ways to Make Your iPhone Photos Look Amazing

Think you can’t take stunning photos with just your iPhone? Think again! We’ve got some handy tips to take your iPhone photos from drab to fab.

1. Composition

The best way to make beautiful and impressive photos is by thinking about how the subjects are positioned. In photography terms, that’s called composition. The rule of thirds is a good place to start working on your composition, and below are a few more tips to keep in mind when setting up a photo:

  • Negative Space is the area around and between the subjects of an image. One, single compelling subject will stand out more than a frame cluttered with objects. Try placing your subject against open sky, water, an empty field, smooth table top, or a large wall. Tip: tap the screen of your iPhone on the subject before you take the photo to ensure that it’s sharp and exposed correctly.

  • Perspective – When taking photos, most people stand straight, point the phone at the subject at eye level, and take the shot. If you want to create interest, try changing your perspective: stand above your subject, crouch lower and point the camera up (or even lie down!), move in closer, stand further away, or move off to the side. Take many shots of the same subject from different positions and see what kind of unusual perspectives you get.

  • Depth – Creating depth draws the viewer’s eye into the scene, especially in landscape photography. One way to create depth is to include leading lines in your composition. Use a road, path, railway track, river, fence or water line that leads from the foreground into the distance. Another way to create depth is to include an object in the foreground. Get rocks, flowers, leaves or other things that are close to you into the bottom or side of the frame, or if you can’t find any foreground objects, just shoot from a lower angle. Long story short, think in three dimensions, not just two.
  • Diagonal Alignment – We crave visual balance, and a creative way to achieve that balance is through diagonal alignment. If you have two main subjects in your scene, especially if it’s still life, try positioning them diagonally. If you can’t control the position of your subjects, you’ll need to move yourself around. (Hint: find a diagonal leading line.)
  • Symmetry is incredibly pleasing to the human eye, and it’s also one of the simplest ways to compose a great photo. This doesn’t always fit into the rule of thirds, but you’re allowed to break the rules once in a while to get a cool photo.

2. Patterns and Abstracts

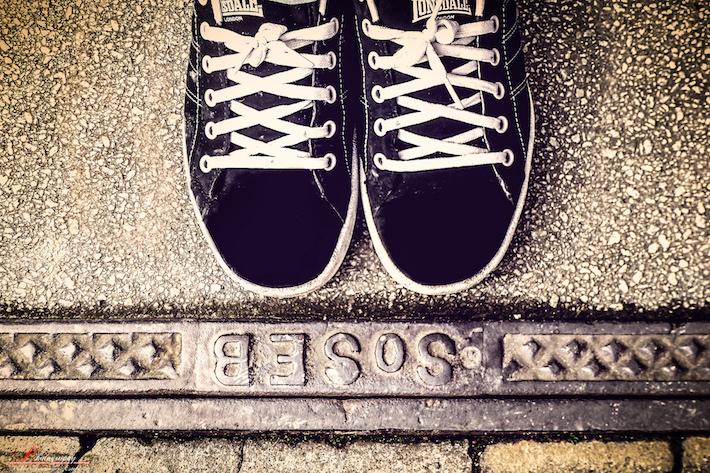
To make a strong visual impact, capture a pattern or abstract subject. Only showing the essence of something creates mystery and interest without revealing the entire subject. Try cropping a portion of a larger photo, or take a close-up shot of an everyday object that leaves the viewer wondering what it might actually be.

3. Texture and Details

Close-up images that capture intricate or delicate details can make for engaging visual content. Keep an eye out for pleasing textures and surfaces like peeling paint, moisture droplets, frost, wood grain, fabric, or animal fur.

Tip: iPhone lenses are limited, so you can’t get too close to your subjects. Instead, take the photo from a bit of a distance and crop it, and use the “sharpen” tool in your favourite photo editing app to enhance the details. (More on those tips later.)

4. Silhouettes and Shadows

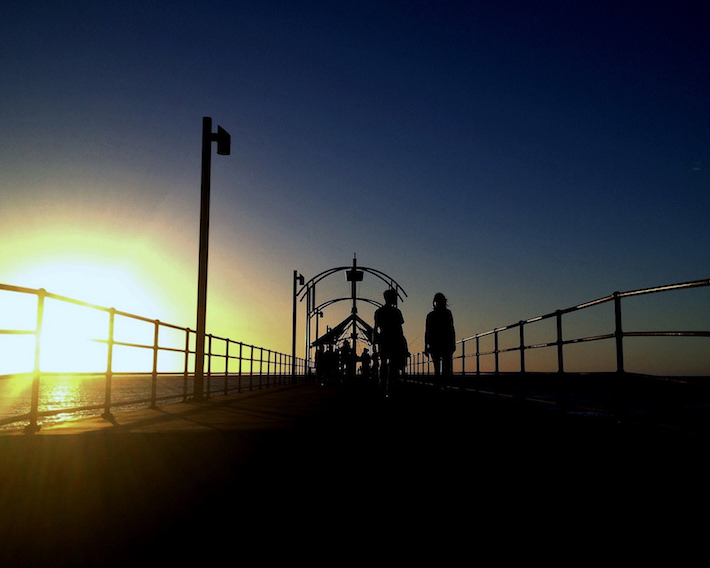
Silhouette photos are always eye-catching. To start, your subject needs to be positioned in front of a light source, and sunrise or sunset is the best time to capture the most beautiful silhouettes. If you’re shooting indoors, place your subject in front of a window, lamp, or a reflected light source.

Shadows are also fun to play with; once you place your subject in front of the light, try focusing on the shadow on the ground and see what striking shapes appear. 

5. Reflections

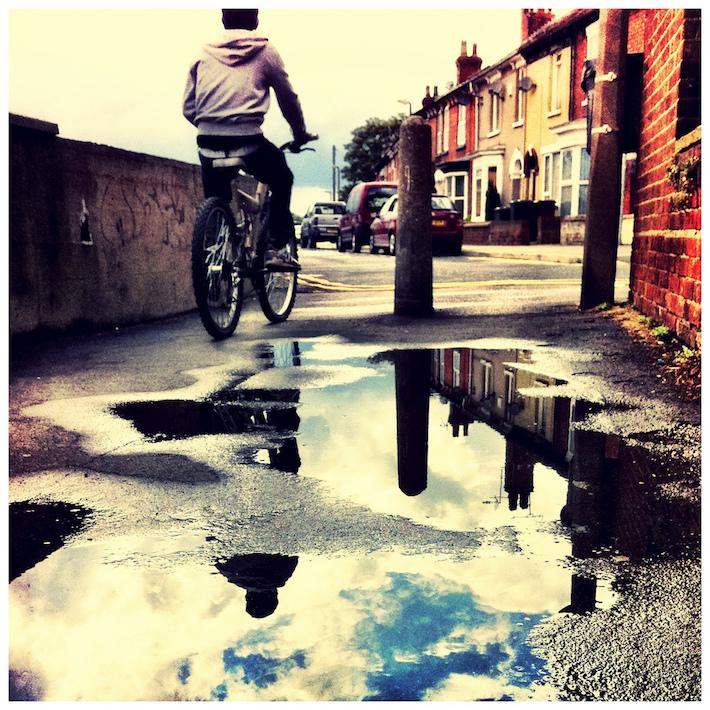
We already mentioned that the human eye loves symmetry, and a reflection is another beautiful way to capture that. A cool reflection can also create depth and mystery. Of course a calm body of water is a perfect place to find a beautiful reflection, but keep your eye out for other reflective surfaces to shoot: mirrors, a wet street, windows, ice, sunglasses, and glass buildings are all perfect.

6. Colour

Playing around with colour is a fun way to find your photography style. Think about what colours you are drawn to (muted, vibrant, bold, natural, etc.) Learning about complementary colours can also help you know what to look for and create even more visual impact. Whatever catches your eye will probably catch someone else’s eye too.

7. Candids

Posed photos are wonderful for family memories, but candid shots can sometimes tell a more captivating story. Try putting people in a setting where they can act naturally and not have to pose, like walking down a colourful street, chatting happily together, or looking at a beautiful sunset.

8. Natural Light

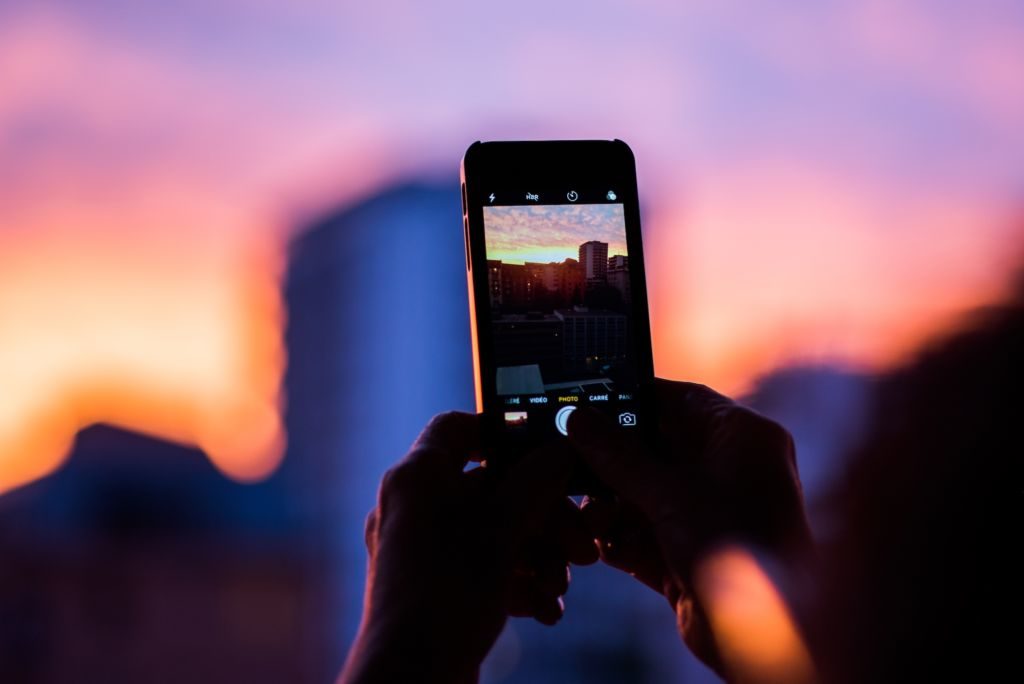
You may have noticed already that it’s nearly impossible to get a nice photo using the iPhone’s flash, so the best way to light your photos is with natural light. First, turn the flash off: open up your camera app, tap on the little lightning bolt in the upper left corner, then choose Off. Indoors, windows will be your best friend – just avoid direct sunlight, and don’t shoot directly into the window (unless you’re trying to create a silhouette on purpose).

If you’re shooting people, place them next to something naturally reflective like a light-coloured wall. If you are outdoors, overcast days are perfect for taking photos anywhere. If it’s a bright, sunny day, try to find a shady spot with some reflected light, or shoot during the “golden hour” (the period of daytime shortly after sunrise or before sunset). Night time photos can be trickier with an iPhone, so make sure there is some kind of light source nearby like a lamp or a streetlight.

9. Quantity

Now that we don’t have to worry about wasting precious film, we have the luxury of increasing our odds of getting a nice photo by taking lots of them. With landscapes and still life, take at least 3-5 photos for each shot (you never know when the wind will change or the sun will go behind a cloud!) and with people or animals, take even more.

Tip: Before you head out the door on a day you know you’ll be taking lots of photos, back up your phone, then clear out your Photos folder to ensure you’ve got enough memory.

10. In-phone Settings

  • Gridlines – An easy way to improve your photos is with the Grid function. It will superimpose gridlines on the screen that are based on the rule of thirds. Go to Settings, choose Photos & Camera, and switch Grid on. Experiment with lining up your subjects in the sections going up and down or across the screen.
  • Focus and exposure –  You can use the auto focus feature by tapping on what you want in the sharpest focus, and a square will appear and focus on the area you tapped. (This will also automatically adjust the exposure, too.)
  • Avoid zooming inIf you’re far away, it’s tempting to zoom in on your subject, but because the iPhone doesn’t have lenses that focus like an SLR camera, all that will do is make the photo look blurry or pixelated. Instead, get closer to your subject or take the photo from a distance and crop it later.

11. Filters and Editing

Photos filters are everywhere these days, since there are so many to choose from and easy to use. There are a few handy built-in filters in your iPhone. When you open a saved photo, tap on Edit in the top right corner of the screen, then tap on the little 3-circle Filters icon at the bottom. Scroll through the filters to choose the one that suits your mood. You can also adjust the levels manually by clicking on the dial icon, then choosing Light, Colour, or B&W. The Crop tool (the little turning square icon on the left) will help you change the size or zoom in to your photo, or you can turn it if necessary. These options could get your photo where it needs to be, but they are fairly limited. An editing app will take your photos to the next level, and there are many good ones in the App Store that are free or inexpensive.

12. Accessories

  • Mobile tripod – Smartphones make photography very easy, but if you want to elevate your selfie game, get yourself a mobile tripod. It will ensure your shot stays level and balanced, and because mobile tripods are barely bigger than your mobile device, they are easy to take anywhere.
  • External lenses – If you want to experiment with more angles and perspectives in your iPhone photography, invest in an external lens. From macro to fish-eye to wide-angle options, these add-ons can bring an entirely new look to your photos, without breaking the bank on a bag full of expensive gear.

We hope you will use these tips to start getting creative with your iPhone photos. Want to show off your best photos for all the world to see? Take them to our Photolab!

Exploring Fall Through a Filter

Autumn is a fantastic season for photographers, with bold natural colours, dynamic storms, and spectacular migrating birds and wildlife. With the natural world on dramatic display, this is the perfect time to experiment with filters.

Filters are a simple, inexpensive way to add punch to your photography. Fitting right over your favourite lens, filters change the way the light hits your image sensor.

Lovely landscapes
Imagine a gorgeous autumn vista, with rolling hills ablaze in red, orange, and gold. The sky is a clear bright blue dotted with puffy clouds. The challenge with this landscape—and most landscapes—is that the land and the sky require different exposures to capture them at their best.

Graduated filters will transform the way you shoot landscapes. The filter blocks out more light rays in the top half, and fewer toward the bottom. Your landscape will be bright and bold, with a crisp and detailed sky.

Cool Days, Warm Skin Tones
Red-cheeked kids in the pumpkin patch, a family game of touch football, or an autumn hike in the woods: the colours of the Canadian autumn form a brilliant backdrop for your family photos. When you are photographing people outdoors, consider using a sky filter. This filter has a pink tint that will add lovely warmth to your photos, enhancing the fiery fall colours and brightening skin tones.

Filter Over Troubled Water
Water in the autumn can be breathtakingly beautiful, with flat lakes reflecting bright foliage, a stormy ocean, or a tumbling river. Photographing bodies of water, particularly on bright days, can cause haze or glare. A polarizing filter blocks out errant light rays, resulting in clear, crisp shots. Many photographers leave a polarizing filter on their cameras all the time.

Beautiful Blur
A neutral density filter doesn’t look like much—just a plain, grey filter that blocks out light rays evenly. But lowering the amount of light that hits the sensor allows you to slow the shutter speed and achieve an artistic blur of movement. Streams and waterfalls are wonderful test subjects: with the filter in place, you can get a perfectly exposed shot of the rushing water.

Your London Drugs Camera Department carries a variety of filters for different makes and models of cameras. Bring your camera in and we can help you choose the perfect filter to take gorgeous autumn shots.

Choosing a New Lens

A new lens gives you a whole new perspective on your photography—you can get up closer than you imagined or capture sweeping vistas in crisp detail. Here are five steps to help guide you to the perfect lens.

READ MORE

Accessorize for Spring: Small Improvements for Dramatically Better Shots

Fine-Tune Your Photography: Accessories for Perfect Pictures
Digital SLR cameras have transformed amateur photography. Built-in sensors take the guesswork out of proper exposures, auto-focus practically ensures sharp shots, and computerized settings allow even the amateur to experiment with artistic effects.

READ MORE

Photography for the Active Lifestyle

Sometimes photography seems at odds with a busy lifestyle. Much of photography is slow and deliberate: setting up shots, testing light, waiting for the perfect moment.

READ MORE

Next Page »