If the onslaught of seasonal allergies is any indication, spring is here, and that means flowers are starting to pop up all over our yards and neighbourhoods. This is good news for the photography enthusiast, as there will be lots of new chances to capture colourful, vibrant flowers as they bloom. You don’t have to leave the comfort of your home either – you can experiment with taking photos of flowers in vases or planters inside your home, or out in your front or back yard garden. To help you capture stunning floral images you’ll be proud to showcase, our LDExperts are sharing all kinds of tips below, from shooting tips to what kinds of macro lenses they recommend, and which print surfaces will make your colourful spring images pop.
Lenses for Macro Photography
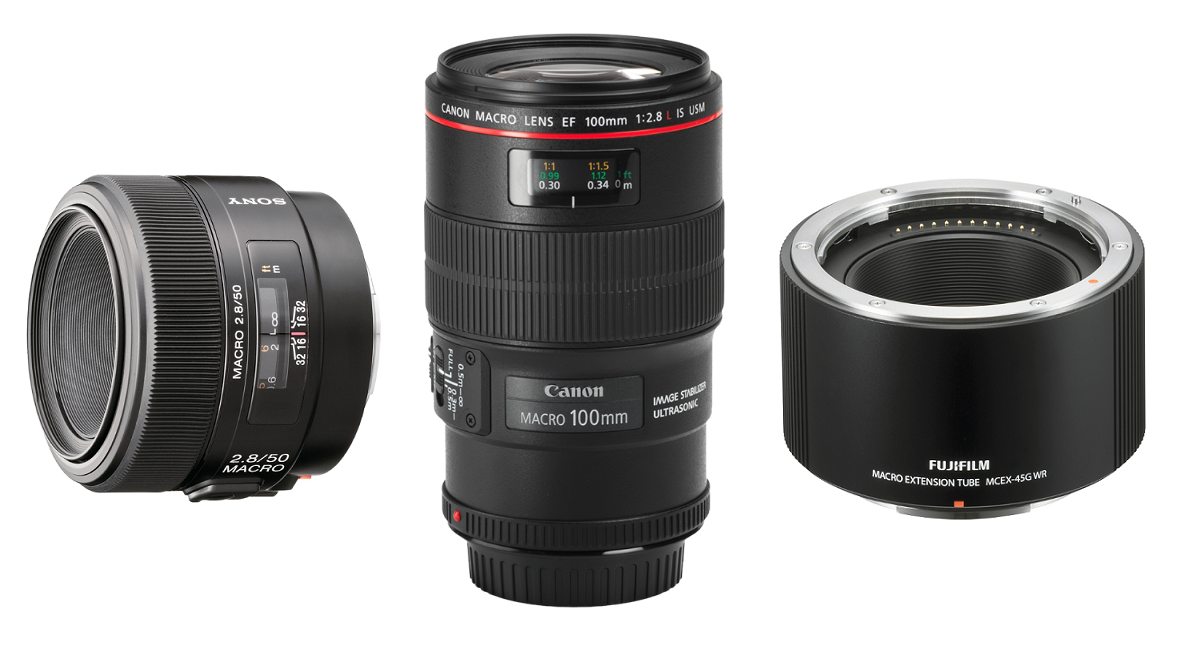
Bursting with colour, flowers hold a great deal of beauty, and often look even more stunning when photographed extremely close up, showing off their vibrant colour and unique details. A good macro lens will allow you to focus while the lens is very close to the flower. For this reason, we recommend giving a macro lens a try. You’ll be able to get extremely close to the flowers, filling the frame with fresh blooms, and easily isolating the smallest of subjects.
The best option for macro photography is an interchangeable lens system – either a DSLR or mirrorless camera – which you can then add a macro lens to. Look for a macro lens with 1:1 magnification ratio or higher. A 50mm macro lens will focus closer than a 100mm macro lens, but will still provide the same magnification. Whatever system or brand you use there will be a macro lens for it. You can browse our full selection here.
Or as an affordable alternative, try a macro extension tube that fits between your camera body and the lens, which will essentially turn your standard lens into a macro. However, this does reduce the total light the lens can transmit, so you’ll need to use a wider aperture or slower shutter speed to compensate.
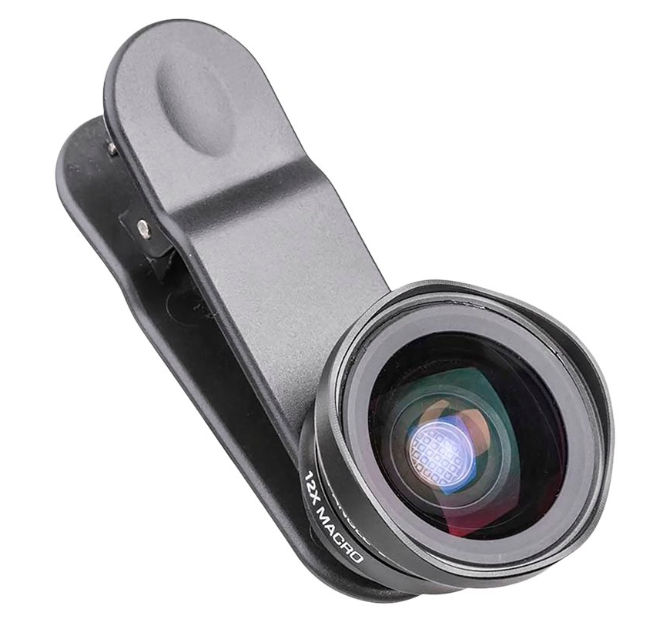
If your smartphone also acts as your primary camera, you could add a macro lens accessory to your smartphone, which will help you achieve somewhat similar results with the convenience of your phone. The lens is simply clipped on top of your phone’s built-in camera lens.
Technical Tips for Better Macro Flower Photos
Aperture
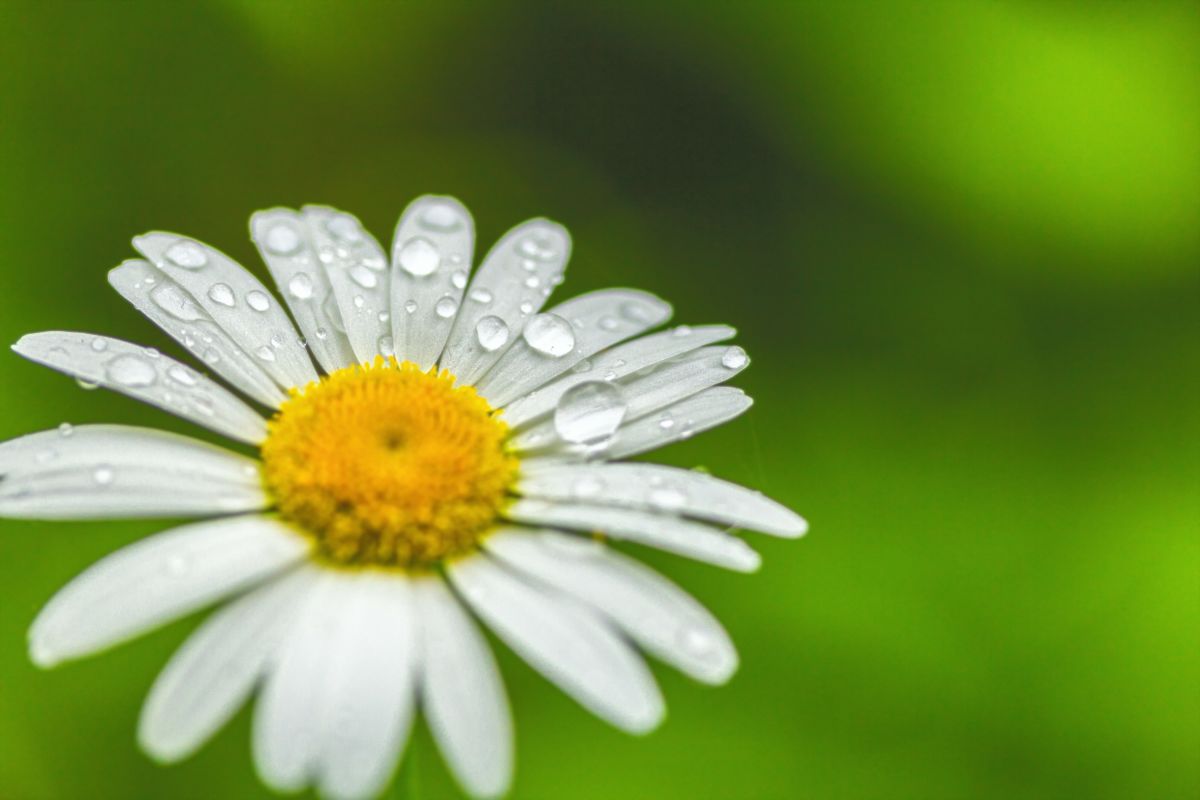
First, let’s talk about aperture. You’ll be choosing your aperture based on whether you want to keep most of the image in focus, or would rather draw only a main point of interest into focus. For instance, you may choose to have the entire flower in focus, or just a few key petals that have some water droplets on them. To keep most of the image in focus, you’ll want to use a narrow aperture (a higher f/stop), versus if you only want part of your image in focus, try a wider aperture (a lower f/stop). Just switch to Aperture Priority Mode on your camera (Av on Canon, A on Nikon), choose your f/stop, and your camera will automatically adjust the shutter speed.
Focus
Because of the shallow depth of field you will be dealing with when shooting macro, your focus needs to be very precise. As a result, you may not want to rely on auto-focus. Consider switching to manual focus to ensure the sharpest possible image. You could also switch to a single point auto-focus in your settings, which will help you focus on a particular part of the flower.
ISO
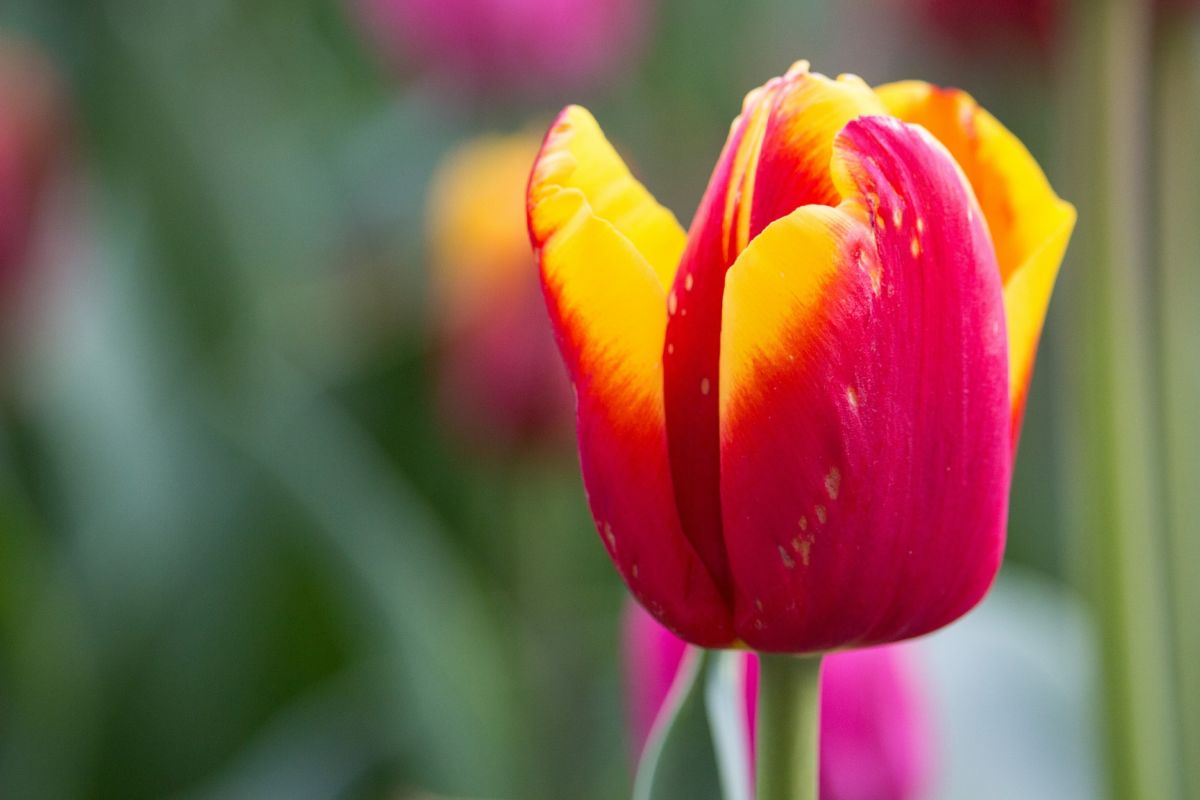
To ensure the best quality image, make sure you are using the lowest ISO setting possible for your exposure. If you do need to use a higher ISO, to help avoid camera shake and ensure the image is sharp, consider using a tripod which help with eliminate camera shake.
Shooting Tips for Macro Flower Photography
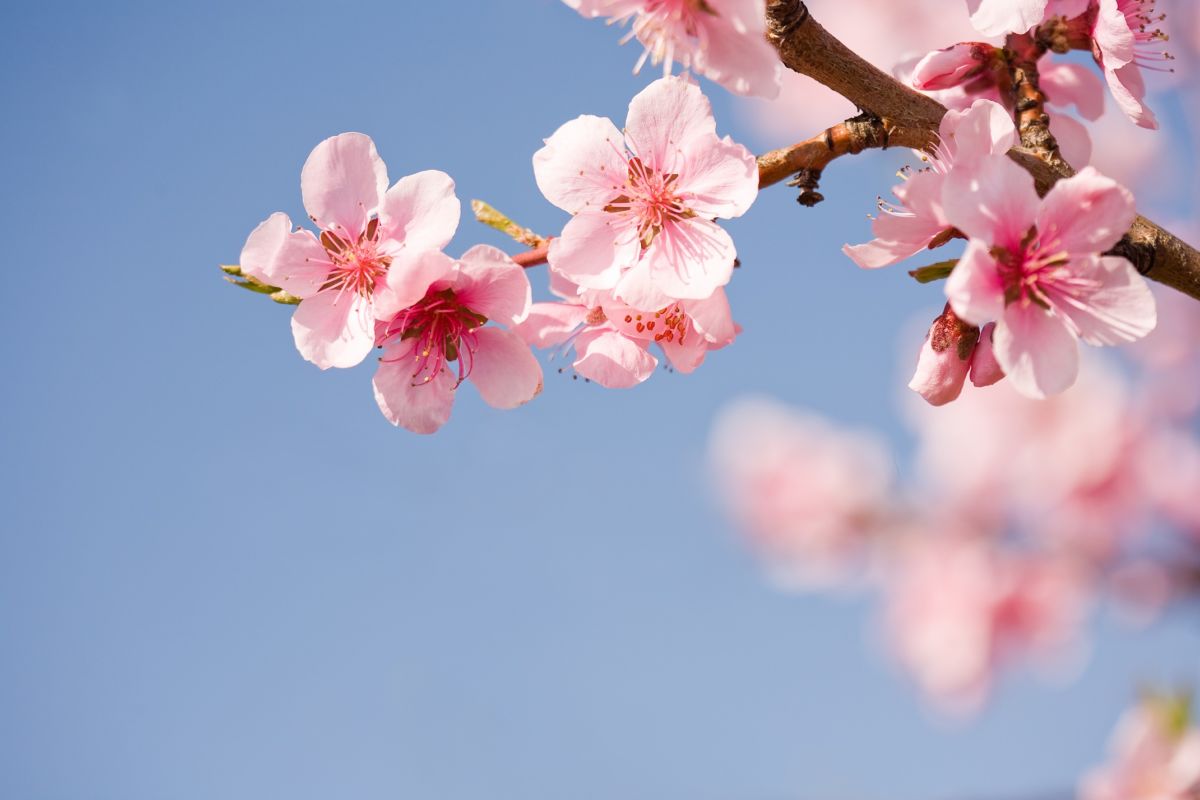
Ready to start shooting spring blooms? Here are 9 photo tips to try:
- Avoid harsh lighting or shaded areas which can cause unflattering shadows by shooting on an overcast day.
- Use a good polarizer to make the blue skies deeper, but also saturate colour from the flower, and eliminate glare and shine on the flower’s surface.
- Find one flower that stands out from the rest, or an insect like a bee on a flower, and focus your shot on that subject.
- Hard to find a flower that stands out? Shoot from a lower angle, up at the flower, with the sky as your background.
- Use a tripod that allows you to get very low to the ground (it’s best if it has legs that release and can spread wide).
- Try different coloured backgrounds, such as a background of green grass, versus a sea of colourful flowers in the background.
- Experiment with the distance your flower is from the background, as this will change the depth of field (blurring the background to different degrees).
- Use a frontal fill flash, which will increase the sharpness of your image, and boost the look of saturated colours.
- Try shooting in the rain and mist, when water droplets are visible on flower petals. No moisture to work with? Carry water in a spray bottle, or add glycerin to the water so that the droplets stay better on the petals and leaves.
Prints That Will Highlight Your Flower Images
If you’re looking for a print to do your colourful floral photos justice, look no further than our Photolab’s aluminum metal panels. They have a high gloss finish that will make your photos look incredibly sharp and vibrant. Coated aluminum sheets are infused with dyes that will especially bring out the colour in your rich, detailed floral images. Perfect for making those bright flowers pop! Many photographers also choose this print surface because of its durability and resistance to fading.
Choose between aluminum panel montage walls, an aluminum panel with black frame, collages, or your standard full image aluminum panel. We can print these up to 40×60 in size! Turnaround time is quick – just 5 business days for smaller panels. Panels larger than 16×20 may take up to 14 business days. You can order through our website, or using our London Drugs Photolab App (available for iOS and Android). If you’d like a little guidance from our LDExperts, or want to see a sample, just visit us at your nearest London Drugs location!


