When it comes to photography, the world really is our oyster. There are seemingly endless opportunities to capture scenic landscapes, stunning landmarks, and people from every walk of life. Our LDExperts Robin Hoffman and Shidan Bartlett, both avid photographers, are sharing tips for photographing their favourite spots around the world and right at home. Keep reading below to learn their tricks of the trade, and be inspired for your next photography excursion!
Hawaii, USA with LDExpert Robin
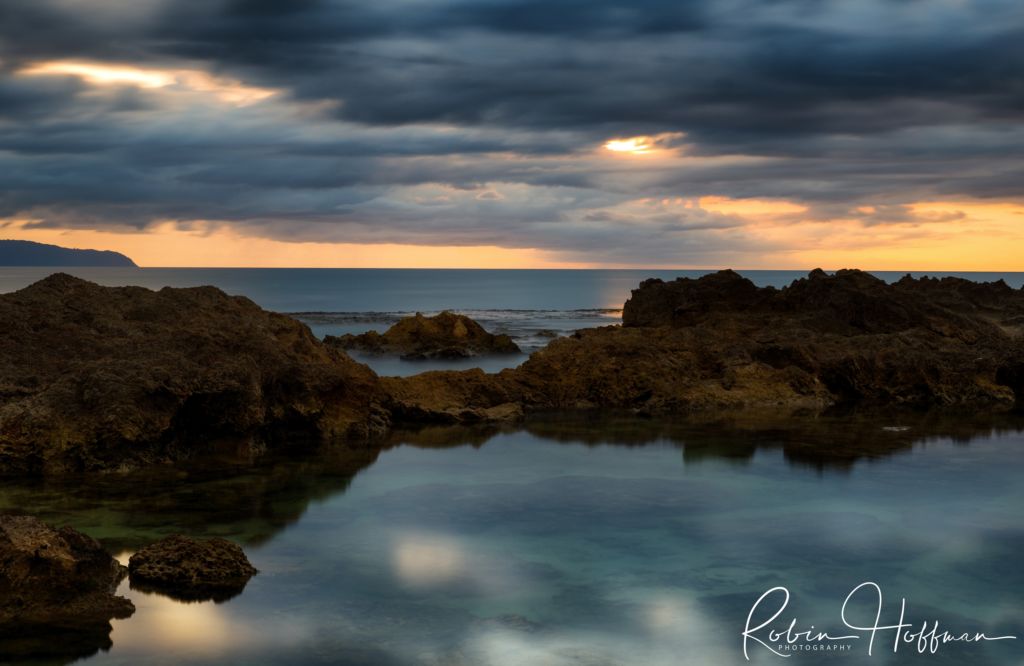
Photo by Robin Hoffman
Like most things, travel photography takes planning and forethought. I think that I love the “planning” part of our vacation as much as the actual travel. To get photos that aren’t just snapshots you need to plan ahead and have the right gear. I generally start researching a year or more in advance by searching out locations before travelling. This is the key to knowing what you want to see and photograph before you even arrive. I like to Google search images of the locations I am visiting so I can see different vantage points and what each looks like at different times of the day. A great example of this was during my husband and my recent trip to Hawaii. I had many spots I wanted to photograph but didn’t know where the spots were or how to get there. My solution was to book a private tour guide that specialized in photography. The guide in Maui was particularly helpful because instead of worrying about driving on the Road to Hana we sat back and were able to concentrate on the scenery and photography instead. A local will always know spots off the beaten path and, when someone else is driving, it gives you the opportunity to relax and enjoy yourself.
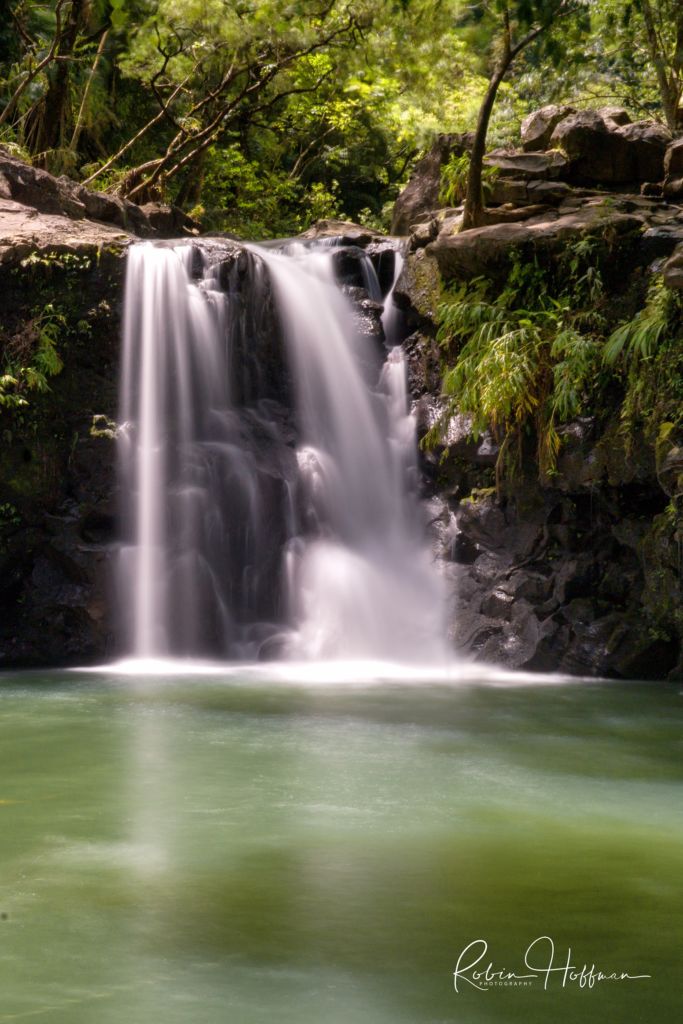
Photo by Robin Hoffman
Our guide took us deep into the Bamboo Forrest to shoot the waterfall photo you see above, on a hiking trail that I know I would not have found myself or that I wouldn’t have attempted without a guide. The trail was made more challenging after a hurricane the previous week but our guide helped us get to our location unscathed for the most part.
Packing for the location you are going to is equally important. It is easy to get caught up in an “I will take everything just-in-case” scenario. Remember that you will need to haul your bag around sometimes on long hikes so be mindful of weight. It is easy to lose the patience needed to time a great shot if you’re tired from lugging around unnecessary gear. It is equally important that you remember to take all the things that you don’t typically travel with as well. This is where pre-planning helps.
Again I make a list of everything that I think I “might” need as I am looking for my locations. Once I am done deciding on the scenic gems I want to shoot, I can add and subtract equipment from the list. A great example is that I rarely travel with a tripod as they add weight to my already over-packed suitcase (I am in no means a light traveller) but, for our trip to Hawaii, I knew it was a must. I would need it for the many waterfall and long exposure shots I was planning for on the islands. I also knew that with shooting in midday sun I would need a 10-stop neutral density filter. A wired shutter release was also necessary, so I could get those beautiful silky waterfalls or the glass-like water at sunset. Both of these shots required anywhere from 3-second to 2-minute exposures that would not be possible without the right equipment.
The settings to get shots like these will depend on time of day and what kind of filters you are using. The waterfall photo above was a 3-second exposure at f/16 and a 100 ISO using a circular polarizing filter instead of a neutral density filter. Meanwhile, the sunset photo was taken after hiking out onto very sharp lava rocks and shooting 30-second to 2-minute exposures as the sun set. The key to long exposure is to take lots of photos using different settings until you find something that works for you.
Veracruz, Mexico with LDExpert Shidan
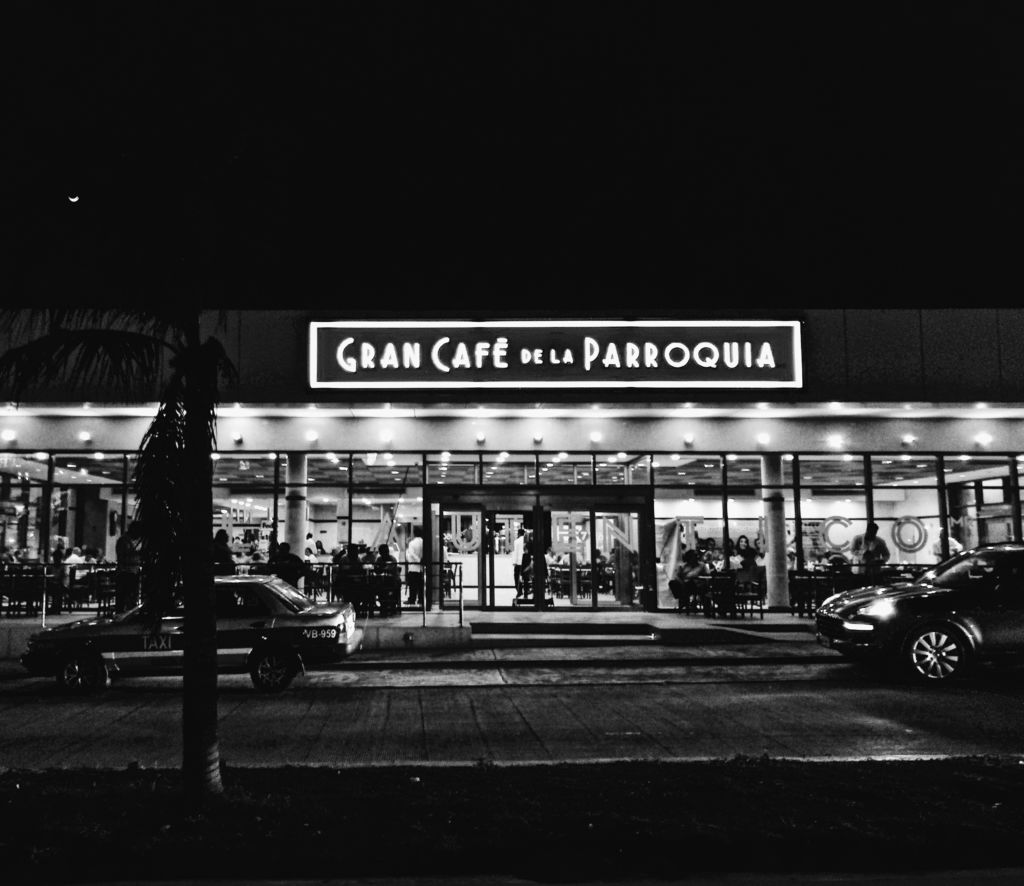
Photo by Shidan Bartlett
While travelling sometimes I only have my iPhone with me for quick captures, as my gear is in the hotel safe if going out late at night. The capture in front of ‘El Gran Cafe de la Parroquia’ was from Veracruz, Mexico. This was taken in a moving car with my iPhone! The exposure was 1/15 of a second, with the help of the iPhone’s stabilized lens, it turned out nice. The iPhone’s wide 28mm equivalent lens lets you capture the whole cafe. This cafe has been one of the most well known and historic in all of Mexico, established in 1808! I decided to use the VSCO app (available for iOS and Android) to convert it into monochrome. It is a street capture, seeing the people inside and the tradition of coffee, I loved framing the iconic sign in the photo.

Photo by Shidan Bartlett
Once inside, I again used the iPhone to capture the very beautiful Italian machines that must be several decades old. Remember to capture the details when you visit places, it gives more context to where you are, and allows you to tell detailed stories of where you were.
White Rock, Canada with LDExpert Shidan
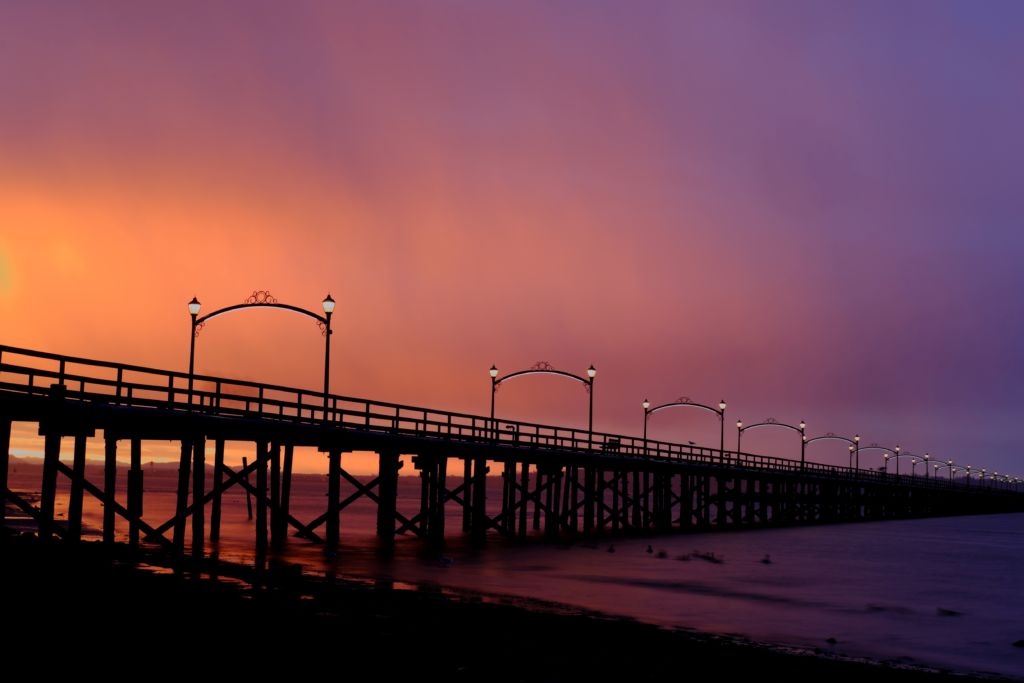
Photo by Shidan Bartlett
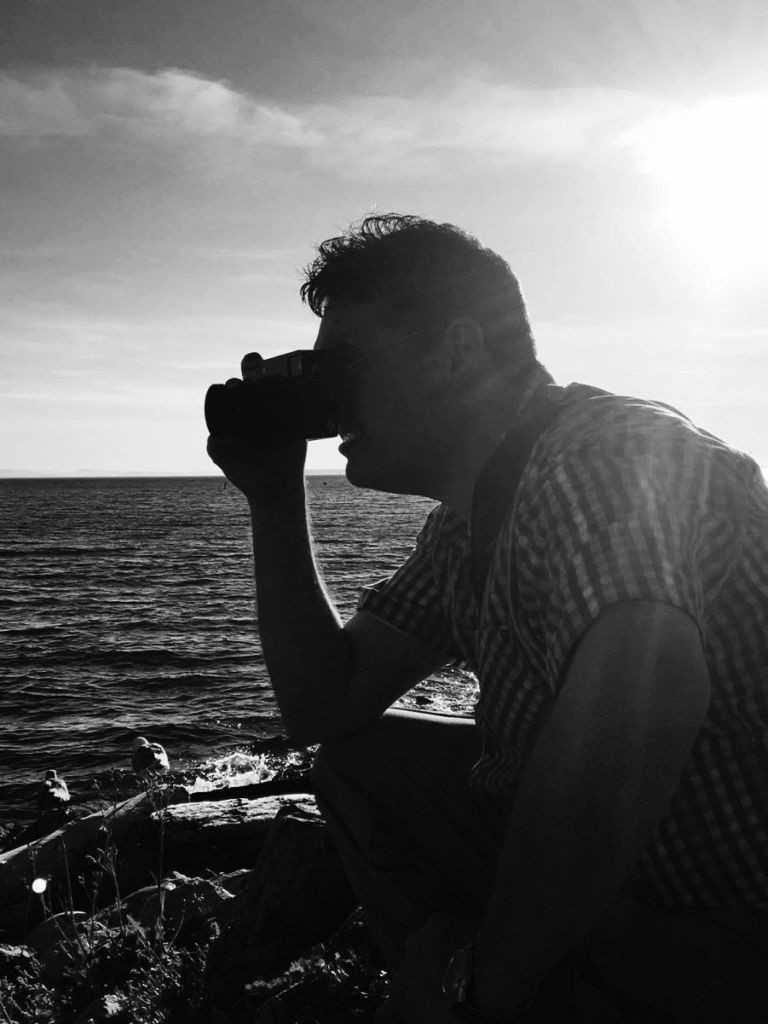
Here is a local photo taken at dawn from the beach in White Rock, BC, of the famous White Rock Pier. This was taken using my sturdy Manfrotto aluminum tripod amongst the rocks. The exposure was 2 seconds, aperture of f16 and ISO400. The 2-second shutter slows the movement of the family of geese in the water in the right of this photo with a beautiful graceful movement. If I would have shot with a longer exposure, I would need to use an ND8 or ND64 filter; the geese wouldn’t appear in my photograph then, but the water would be extra smooth on the shoreline and under the pier. I chose the family of geese, as I feel it added something special to this photo.
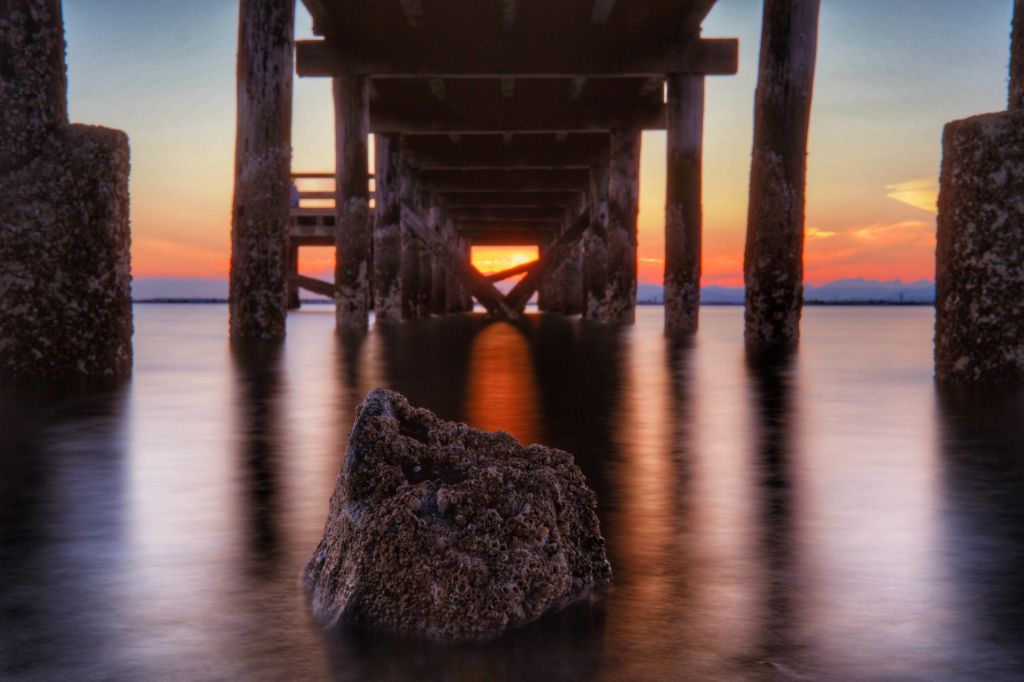
Photo by Shidan Bartlett
The photo above is of a ‘Golden Hour’ sunset at Crescent Beach in Surrey, BC. Notice the low angle and leading lines of the pier. This photo was taken with a very small Manfrotto Pixi tripod to keep the angle super low while under the pier. The tripod was a couple of inches in the water, and maybe 6 inches above, so I could capture my foreground subject, the large rock. Use your camera’s self-timer or remote app from your camera manufacturer to release your shutter and avoid any further camera shake. I took several exposures with my circular polarizer filter to ensure I got the exposure and contrast I was envisioning for this photo. To soften the water to that silky smooth look and accentuate that beautiful setting sun and sky my favourite exposure was this one at 14 seconds long, the aperture was f16 and ISO200. Some HDR processing was also applied in post using the Snapseed app (available for iOS and Android) to bring out more dynamic range details in both the rock and barnacles.
Paris, France with LDExpert Robin
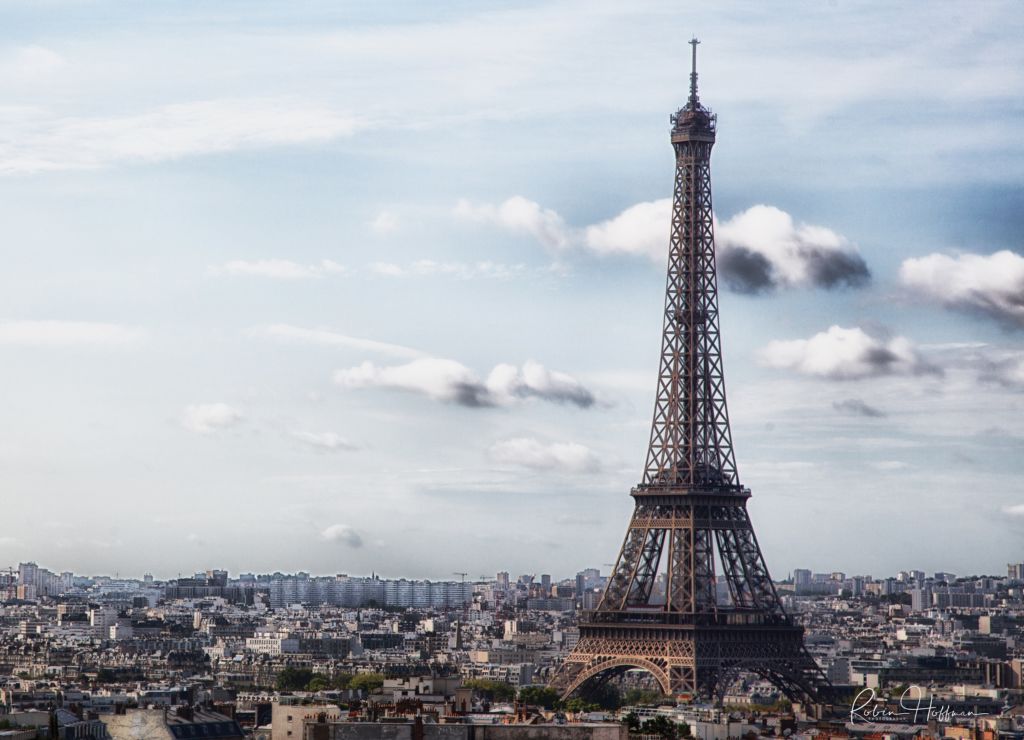
Photo by Robin Hoffman
Paris was at the very top of my bucket list for a very long time. I wanted nothing more than to shoot photos of the Eiffel Tower and Notre Dame Cathedral. Again, these two locations required a great deal of planning before travelling. First was finding a location that would actually be a great vantage point to see the Eiffel Tower itself. After a great deal of research, we found that climbing to the top of the Arc de Triumph would give us an incredible spot to emphasize how imposing the tower was and how it dominated the city skyline. After climbing many stairs to the top, I realized I forgot my circular polarizer at the hotel but did my best to cut thru the haze using HDR settings in my camera. In some ways, I actually enjoyed my time at the top of the Arc de Triumph more than at the top of the Eiffel Tower and took many shots from its vantage points. I do HIGHLY recommend shooting from this location and not forgetting your circular polarizer.

Photo by Robin Hoffman
Next it was on to the iconic Notre Dame Cathedral. I feel so blessed to have had time in this stunning structure before it was damaged by fire. I loved walking around inside and out. Some of the vantage points in the back courtyard where hardly any people gathered provided much cleaner shots of the great cathedral. Again, this was a location that required graduated neutral density filters or a circular polarizer to photograph properly. As it was cloudy/rainy the whole time we were in Paris, both of the photos above were shot with f/stops of f/16 and ISO 400-800. I also recommend trying to shoot early in the morning or later in the evening as the light is better and there are fewer tourists around. The polarizers gave more contrast, particularly to the sky but also to the highly detailed structures. Again, take your time and experiment with the manual and built-in settings in your camera.
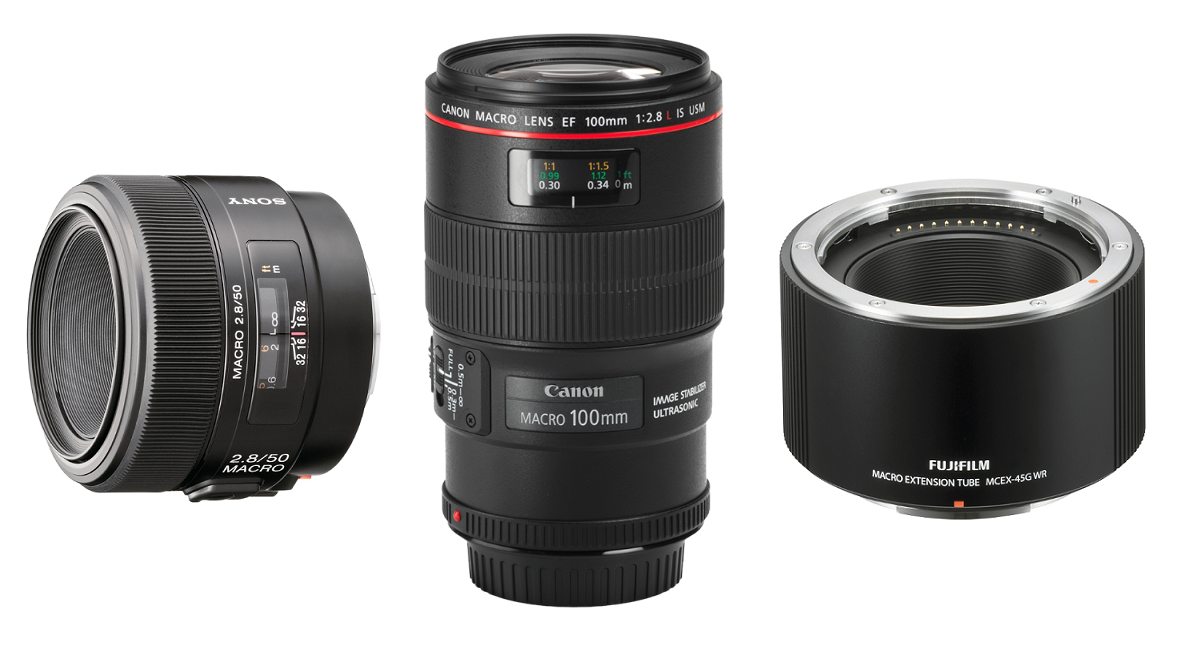
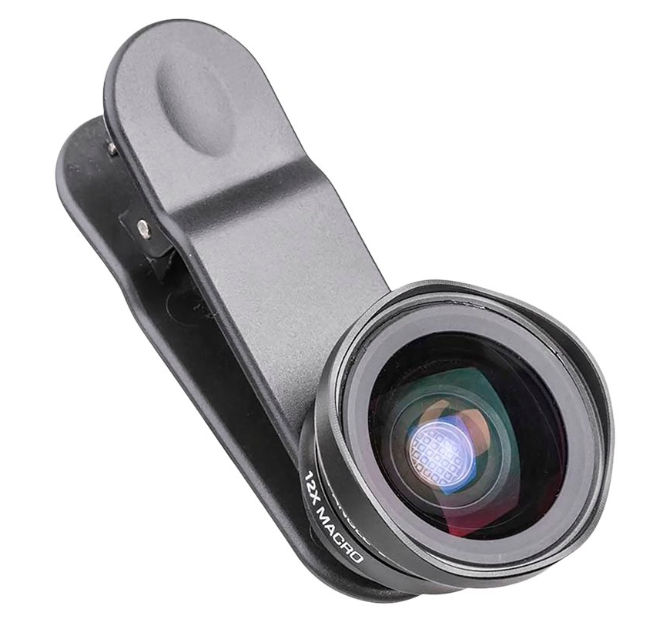
Here is a shortlist of some of the equipment I find most helpful when travelling:
Most of all, have fun and remember you are on vacation!
Banff, Canada with LDExpert Shidan
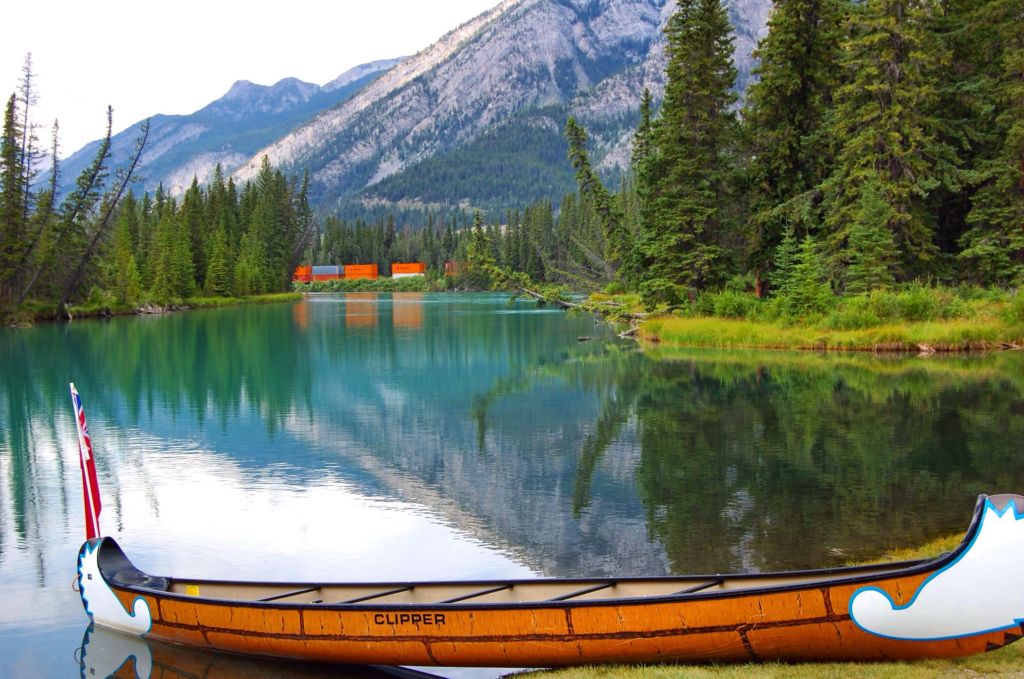
Photo by Shidan Bartlett
Sometimes the weather doesn’t cooperate while you travel and then suddenly it does! This is the Bow River at Banff National Park in Alberta, Canada. There was a quick break of rain this day, and instead of continuing to explore the many quaint shops in Banff, I grabbed my Nikon DSLR and went for a walk to the river before the rain came back! A foreground subject really helps with your framing and composition. Whether it is a canoe, a flower or something else, it gives a nice depth, and adds to your photograph – in this case contrasting colour! The canoe, in the shot above, was great by itself, but hearing the train coming really forced me to be more patient with my shot, instead of walking away to take a photo somewhere else. I waited and waited. I loved the colours of the train’s cargo cars with the canoe in the foreground. To get that beautiful river reflection, it helps that this was taken during the break in the rain, and even though it was very cloudy, it still was a beautiful and inspiring photographic memory. For this shot, I used an exposure of 1/200 second at f7 and ISO 200.
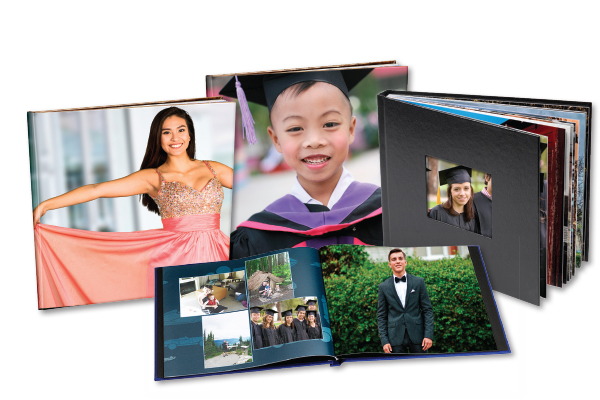
I also wanted to share with you a cool behind-the-scenes photo of the London Drugs Photolab at work printing some of my prints of this shot as 24×36 enlargements, and the process of making some photo books of my photography. These were all actually ordered with our London Drugs Photolab App!
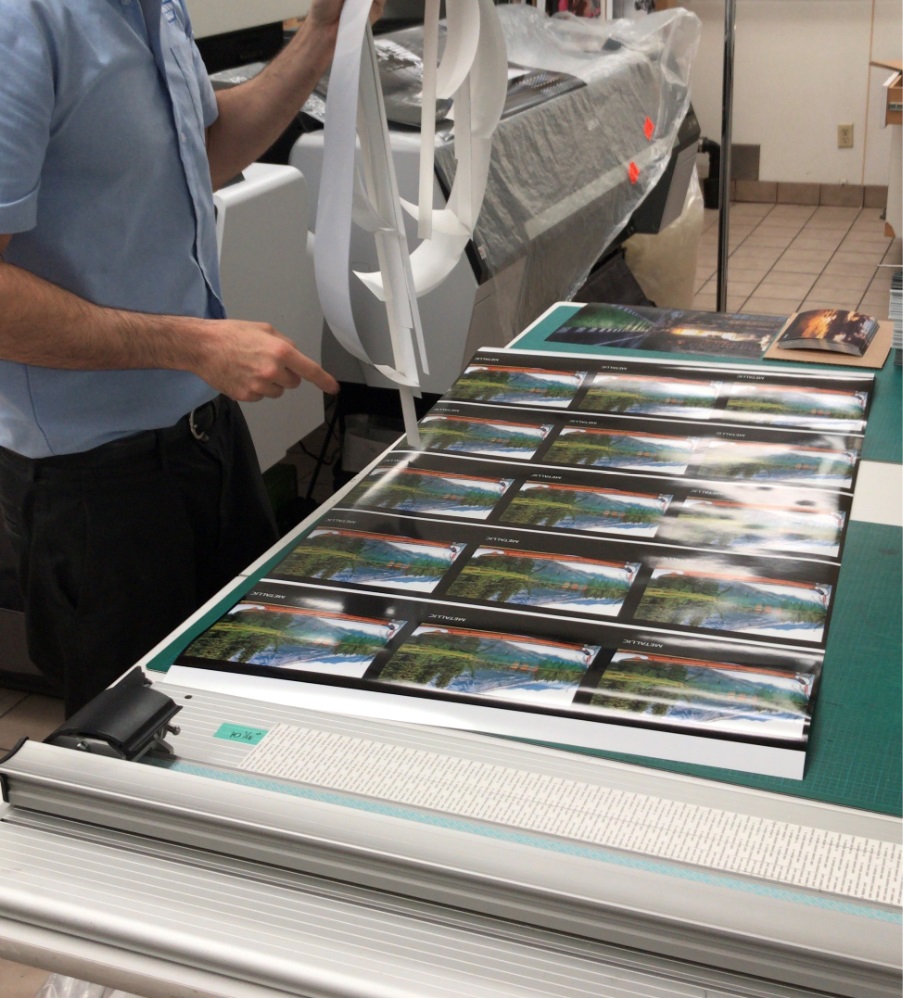
Photo by Shidan Bartlett
Proudly Displaying Your Photos of the World
We all see the world in a unique way – and we capture it in unique ways too! When you’re printing your photos, it’s important to choose a print surface that suits – or even enhances – your unique image. A vibrant shot like Robin’s waterfall photo in Hawaii would look even more stunning on an aluminum metal panel, which would bring out the bright lush green hues. Meanwhile, Shidan’s black and white photo of the Gran Cafe in Mexico would look phenomenal on a textured bamboo or canvas print.
Taken photos on your travels using your smartphone? LDExpert Shidan knows the easiest way to showcase them:
As an LDExpert I love to recommend our London Drugs Photolab app (available on iOS and Android) to print all of life’s moments you cherish and even create your own stellar wall prints as well as fabulous photo books from not only your DSLR or Mirrorless cameras but also from our smartphones. Smartphones today take phenomenally better photos than they did in 2009. Sensor, lens technology, and the advent of computational photography, have seriously advanced the quality of everyone’s photography, but my iPhone won’t replace my Fujifilm mirrorless camera or my Nikon DSLR anytime soon! However, like Seattle-based photographer and social artist Chase Jarvis says, sometimes “the best camera is the one that’s with you”. I like to think of my iPhone as complementary to my cameras, and I must say, it is the must-have accessory to use, WITH your camera!
 About LDExpert Robin Hoffman
“The world is a book, and those who do not travel read only one page.” ~ Saint Augustine
Let me introduce myself, my name is Robin and I am a Photo/Electronics and Mobile Specialist for London Drugs in Kelowna, BC. My love of photography has been a part of me my whole life starting when I was little girl. I would get film with my allowance so I could take photos with my Diana toy camera. My photography has come a long way since that toy camera and has evolved into shooting with a Sony A7R Mark III. While I have worked part-time with London Drugs for the past 14 years, my passion lies with photography and travel. As wonderful of a company as London Drugs is to work for, if I am being honest, I work to be able to buy more camera gear and to take at least one bucket-list worthy trip per year.
Follower Robin on Twitter: @ScrapgoddessBC
 About LDExpert Shidan Bartlett
Hello, my name is Shidan Bartlett, a Photo Electronics and Audio Video Department Manager in our Richmond No.3 Road location. I have been a Photography Expert with London Drugs for over 23 years! I am also a local photography instructor and workshop facilitator. Photography has been my passion since I was given my first camera, a Nikon Nikkormat, when I was 18 years old. All the camera gear out there today (and yesterday!) take fantastic photos! You need to be inspired to go out and be creative, take a moment to plan and make those great photos! Share your photos and print your photos. To quote Chase Jarvis, “the best camera is the one that’s with you”; don’t be afraid to not only shoot with your iPhone or smartphone, but to also use it as another tool, and accessory to compliment your camera equipment! Check www.londondrugs.com for London Drugs photographic learning events and photowalks in your area.
Follow Shidan on Instagram: @ShidanBartlett