 Upcycler and crafter extraordinaire Denise Corcoran (Thrifty By Design) has a passion for turning ‘junk’ into new and funky pieces. From refinishing furniture to repurposing discarded items like wine corks into jewellery, she believes there is no limit to what a bit of time and know-how can create and save from the landfill. Here Denise shares 5 of her favourite upcycled crafts.
Do you ever look in your recycle bin and think you could make crafty magic happen with your recyclables? I do. All the time!
So many items you find in your recycle bin can be repurposed into fun rainy day projects. From mason jars (which you can find at London Drugs!) to cereal boxes to tin cans… there are simple DIYs that turn used objects into treasure. And the bonus for all of us is that you help keep these objects out of the landfill. Here are a few easy upcycled crafts to get you started!
1. Mason Jar Lanterns
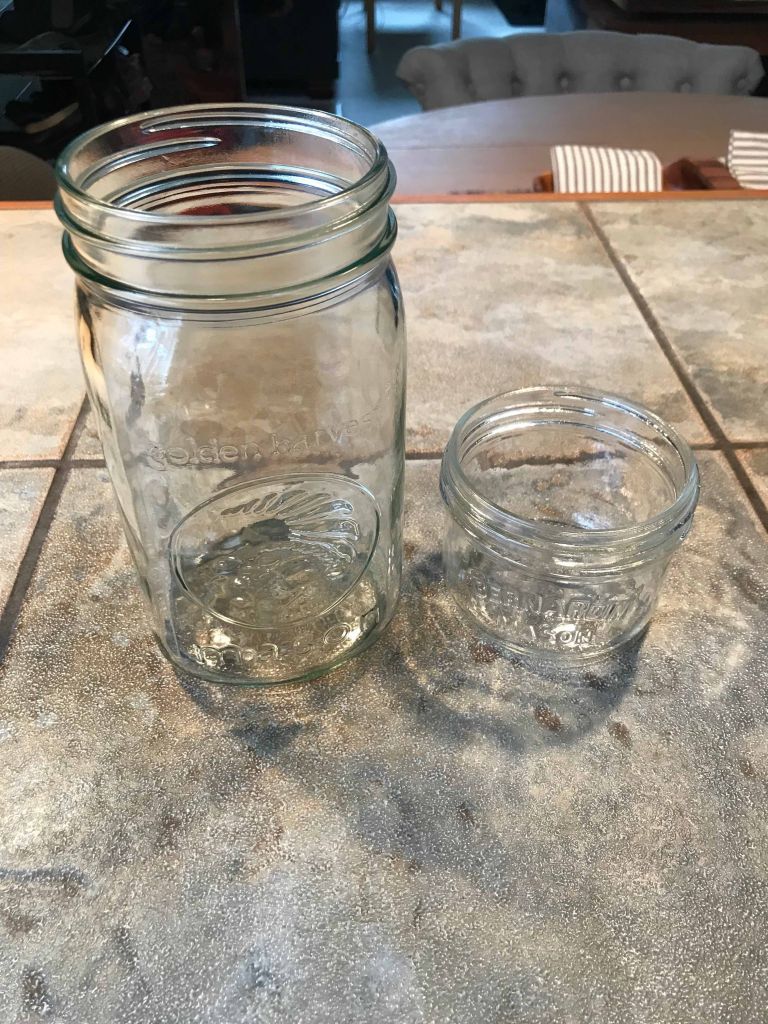
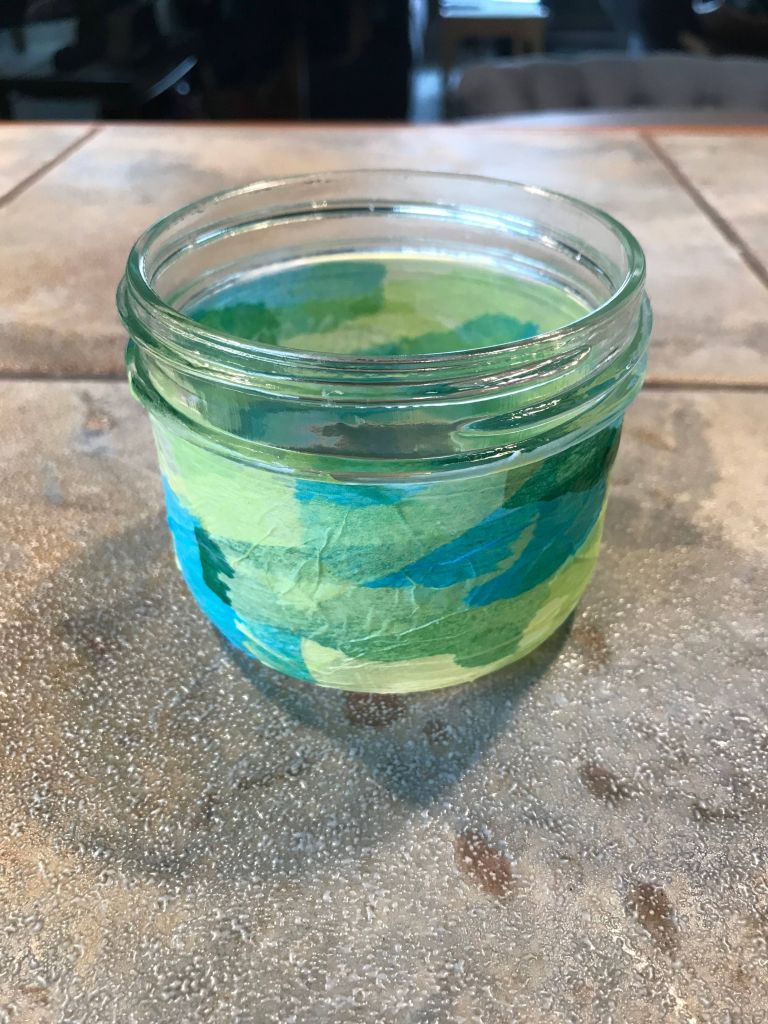
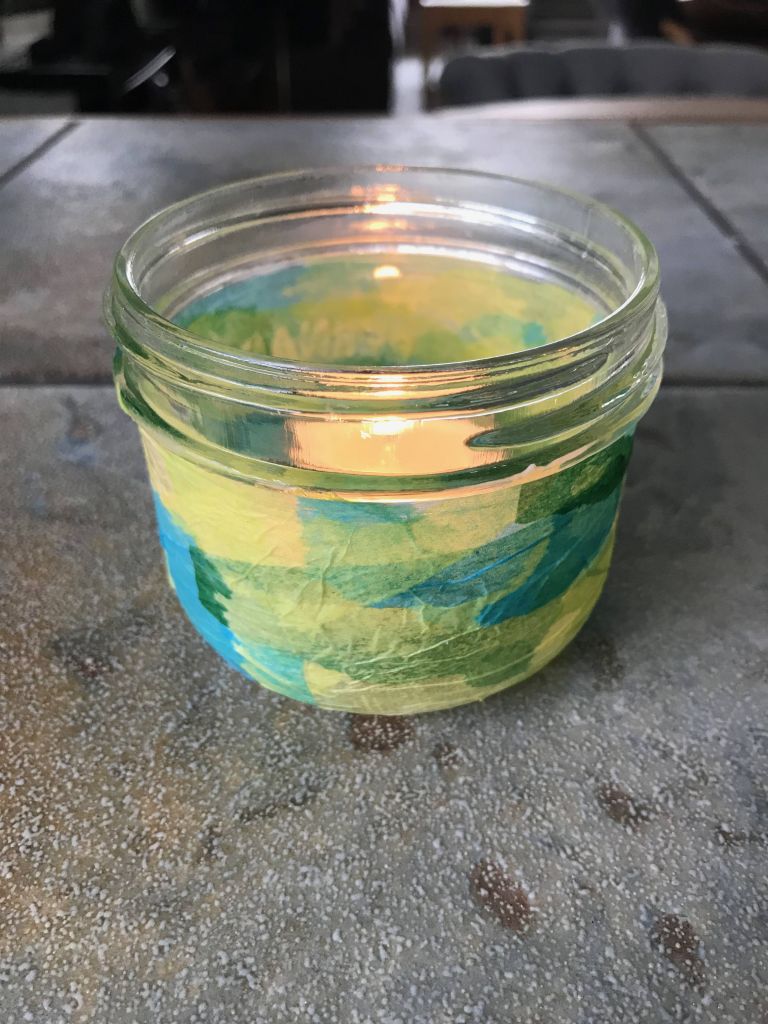
Mason jars are super trendy when it comes to upcycling. One easy project is to refashion the mason jar into a lantern. By decoupaging tissue paper on the outside then adding a tea light in the mason jar, you’ve crafted an easy lantern. You can even step it up a notch by taking a Sharpie and adding a face or design to the decoupage.
Step 1: Grab some mason jars of various sizes and ensure they are clean.
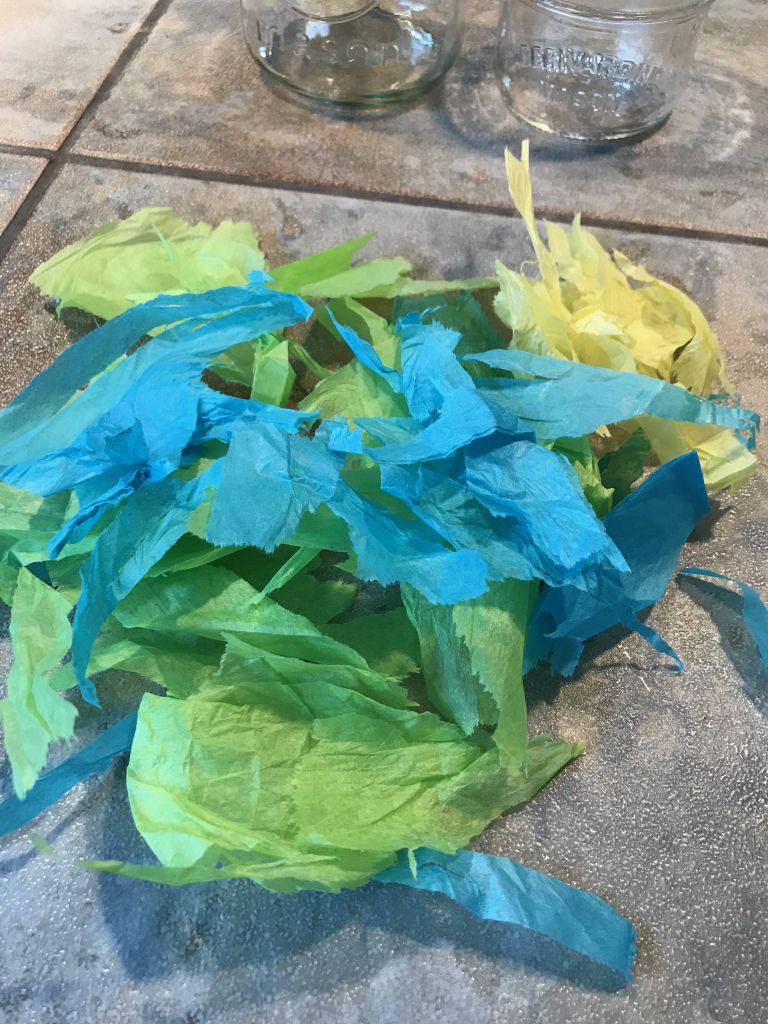
Step 2: Tear up pieces of tissue paper. Either use one colour or try mixing it up with various colours.
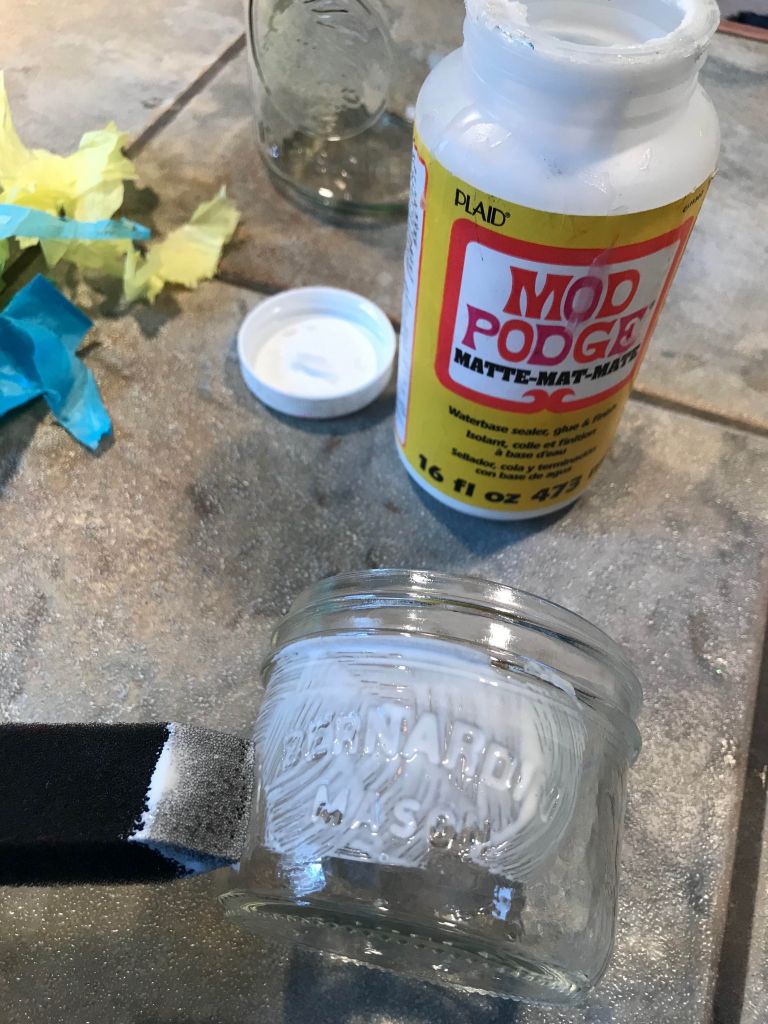
Step 3: Add a coat of Mod Podge or liquid white glue to the mason jar.
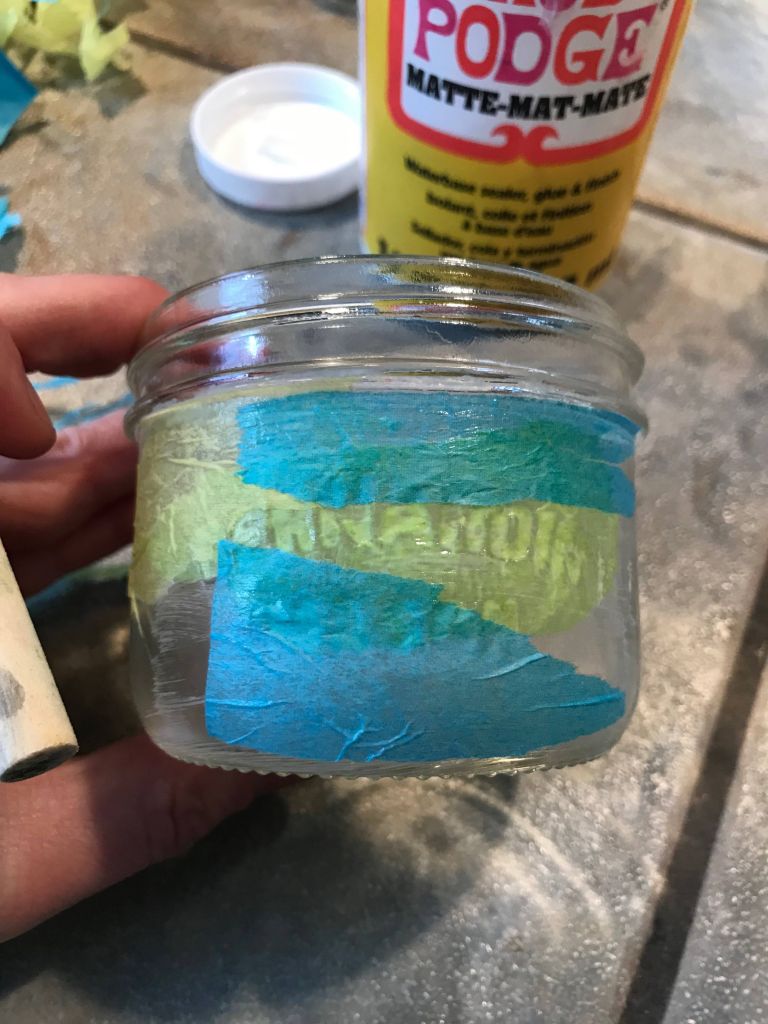
Step 4: Add pieces of tissue paper to the glued area. Then coat the tissue paper with more Mod Podge to smooth out the paper and seal it.
Step 5: Continue step 3 and 4 until the mason jar is completely covered with tissue paper. Allow to dry.
Step 6: Insert a regular or LED tea light into the mason jar to create a lantern.
2. Cereal Box Organizers
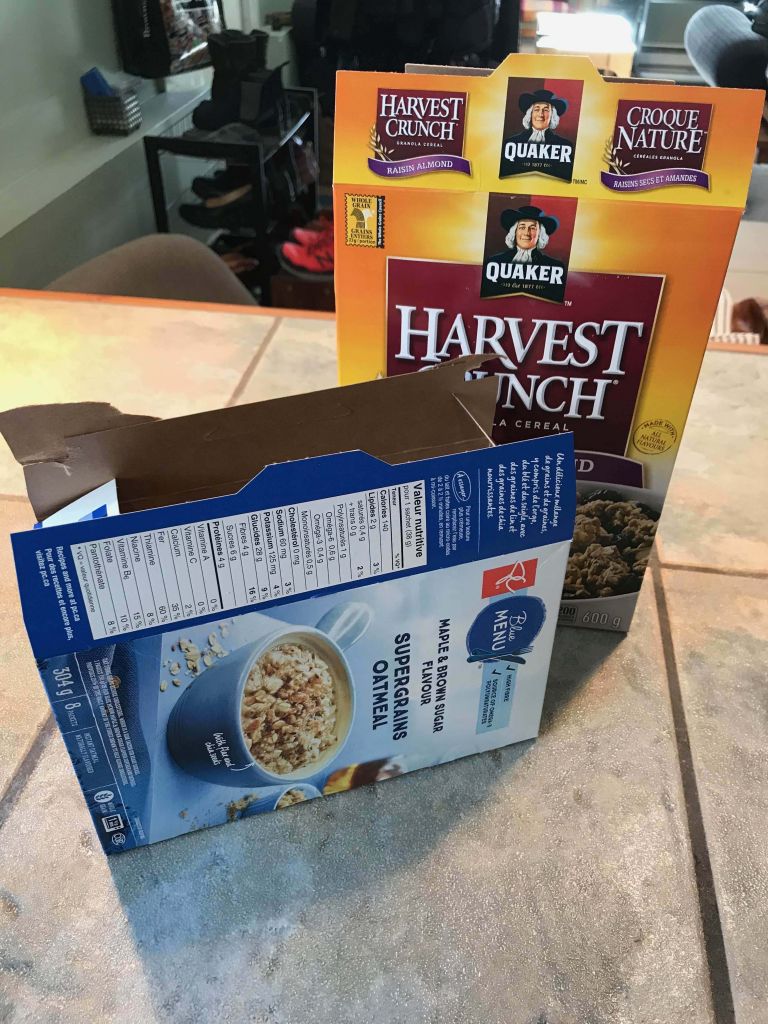
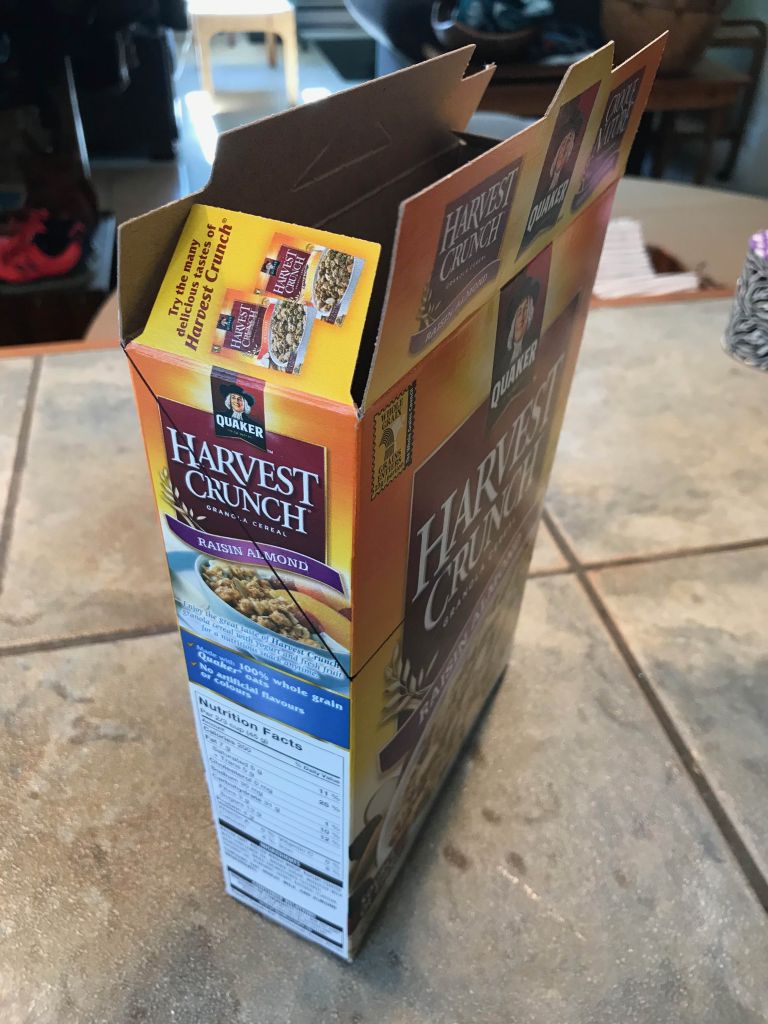
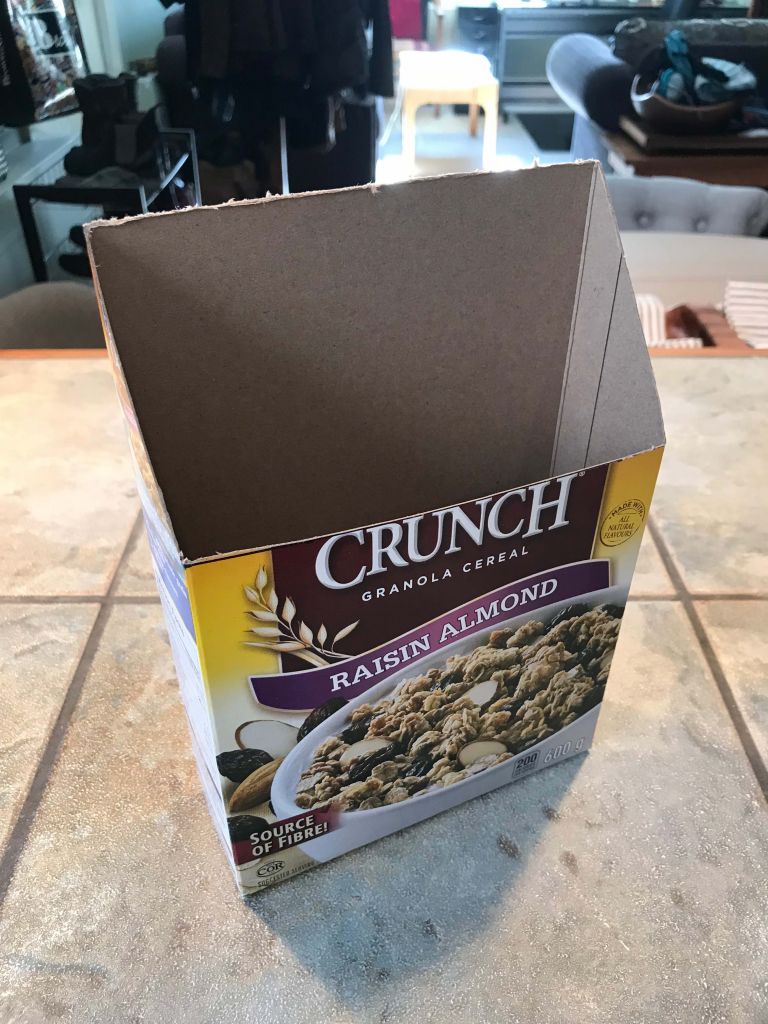
One of my favourite go-to items from my recycle bin is cereal boxes. They’re perfect for DIY stationery, art, gift boxes, or gift tags. They’re also perfect for your office to organize your papers, magazines, or mail. It doesn’t take much to turn an empty box into a swanky organizer for your kitchen or office.
Step 1: You can use any size of cereal box to create your DIY office organizer.
Step 2: Measure and mark where you want to trim the cereal box.
Step 3: Use scissors or an X-acto knife to trim the box.
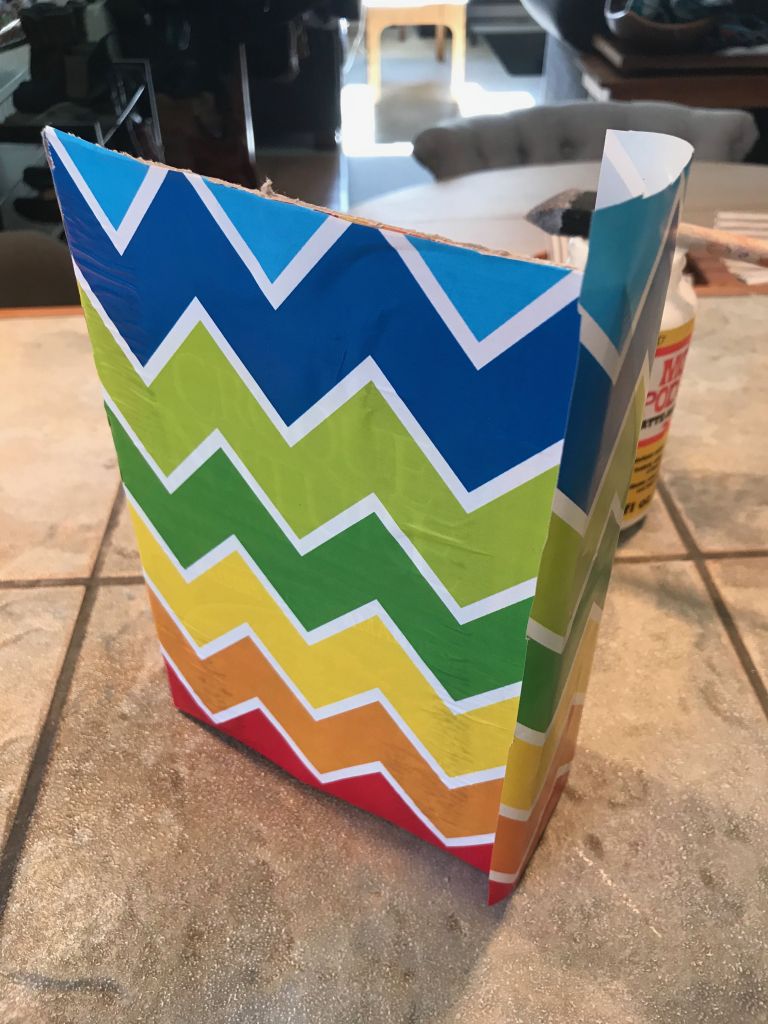
Step 4: Cover the cereal box in old wrapping paper using a glue stick or Mod Podge.
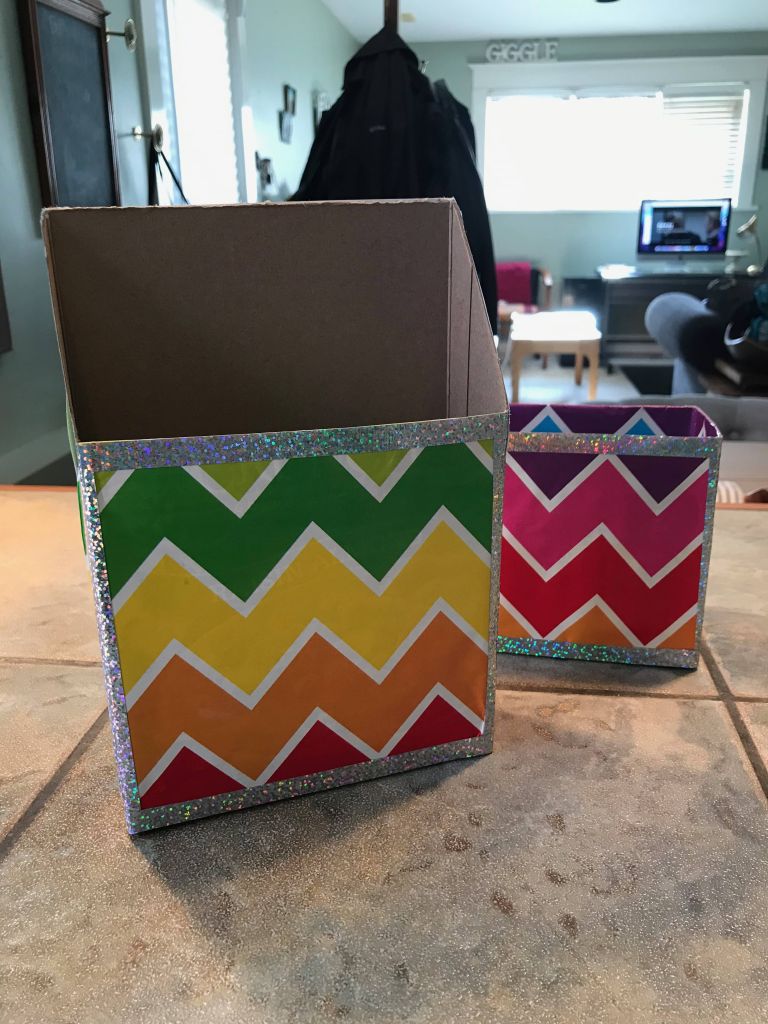
Step 5 (optional): Jazz up your organizer with ribbon or funky tape trim to add a bit more pizzazz.
Step 6: Upcycle more boxes to create a set of organizers.
3. Wine Cork Stamps
There are some super fun DIYs out there when it comes to upcycling wine corks. You can turn wine corks into a boat, fridge magnets, or even repurpose them into jewelry. So many possibilities! On a cold day why not stay in, make wine cork stamps, then use them to decorate handwritten notes or to create your own stationery. Just be careful when creating your stamps since you’ll need an X-Acto knife.
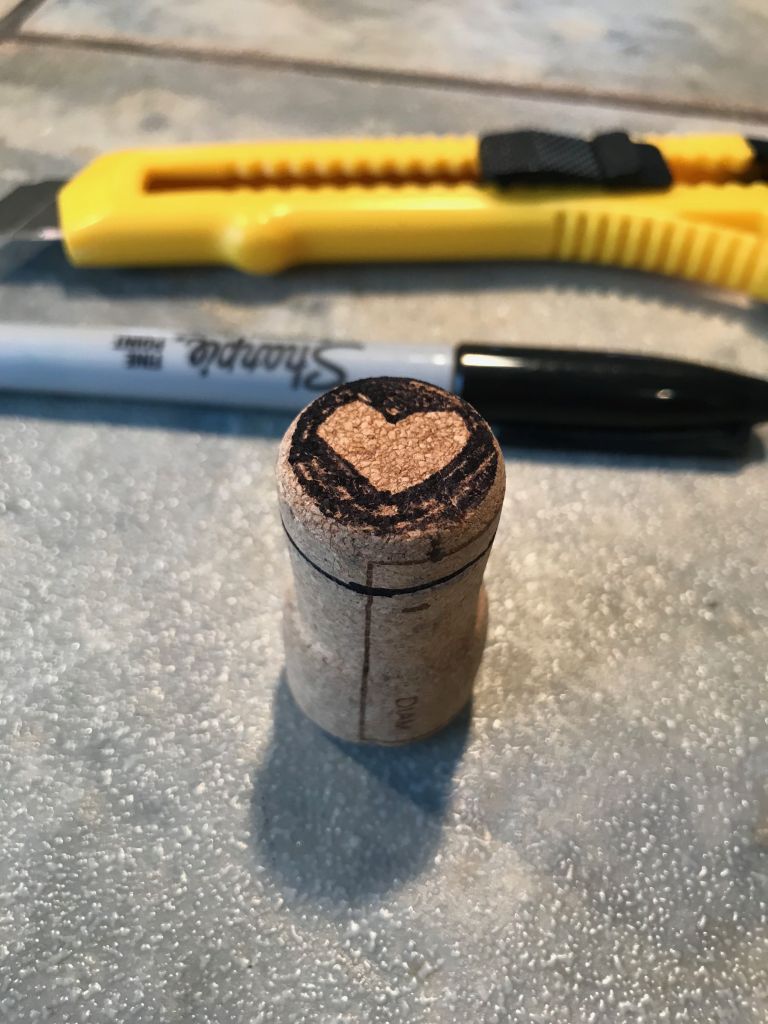
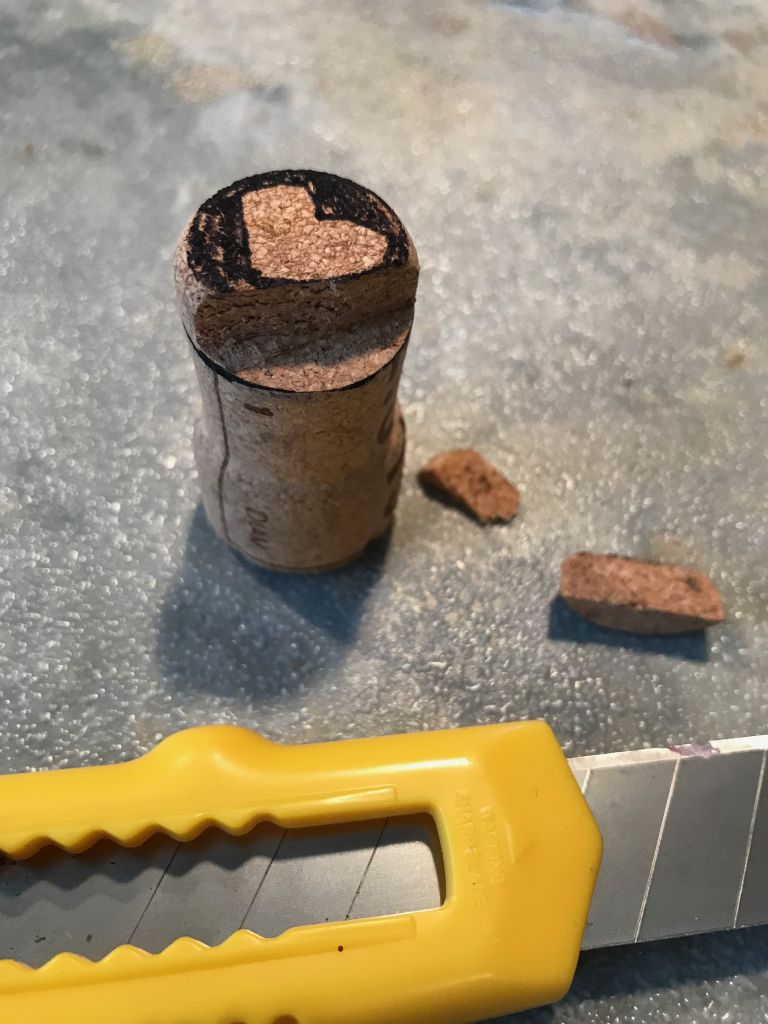
Step 1: Find wine corks with dense cork to use for your stamps. With a pen, outline your stamp design. Also add a line about a 1/4 inch along the wine cork.
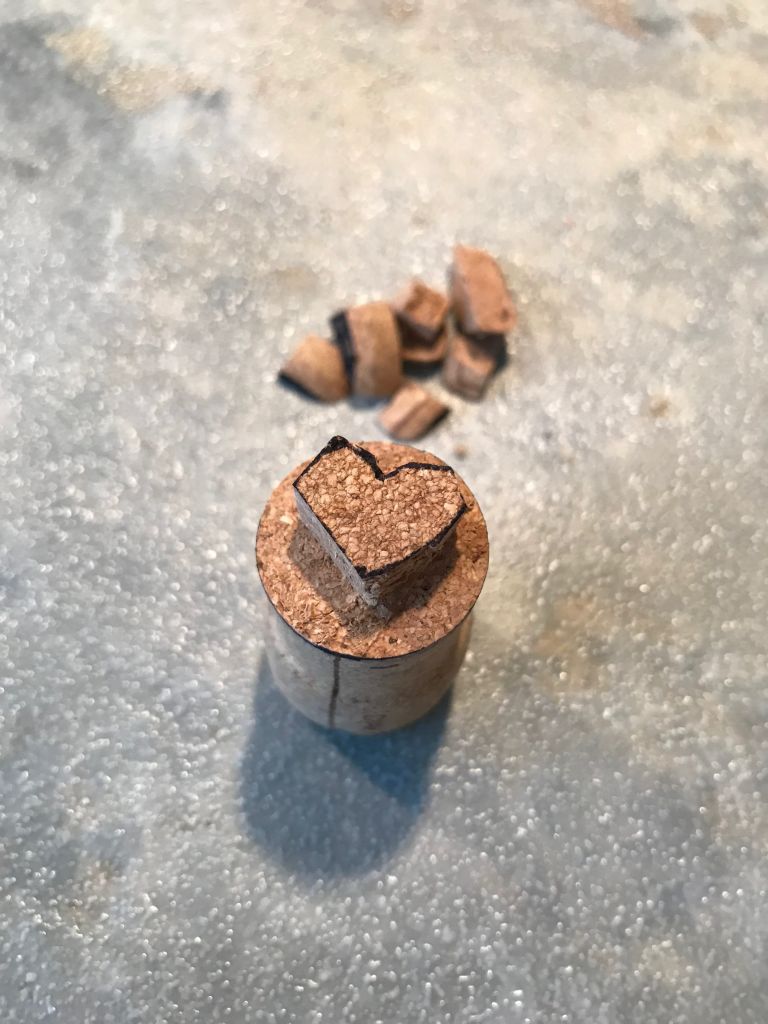
Step 2: Cut your design out using an X-Acto knife. Cut into your design and then into the line along the side of the wine cork. This will remove the cork to create your stamp.
Step 3: Keep cutting until you’ve fully exposed your design.
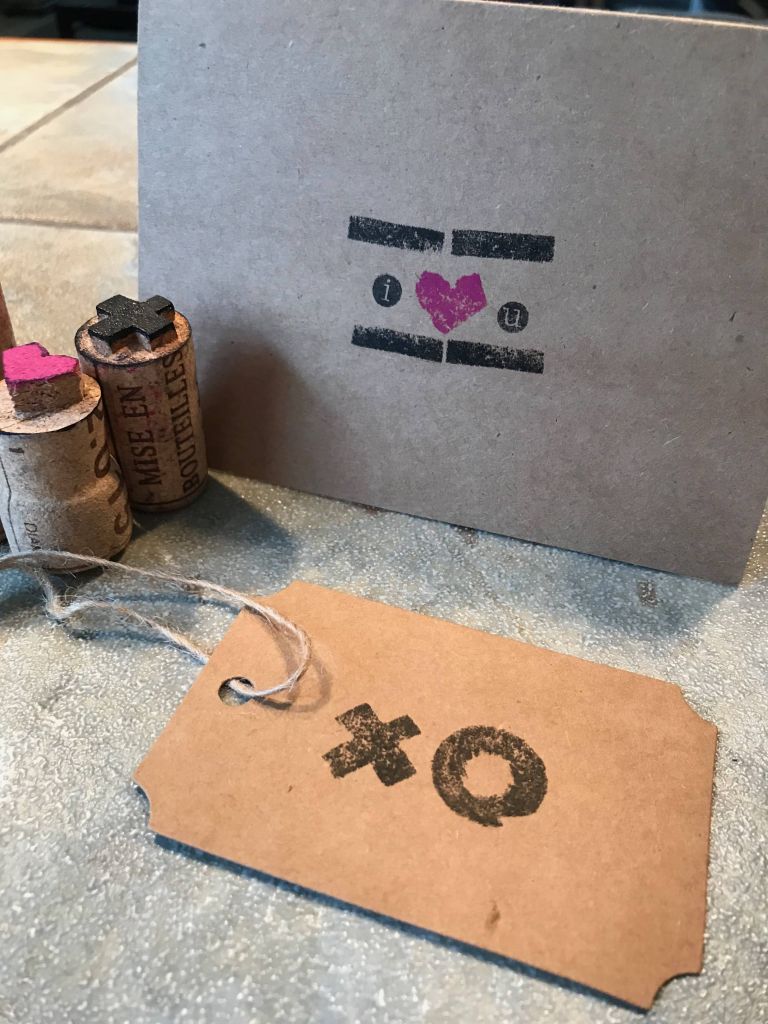
Step 4: Start stamping! You can use an ink pad or acrylic paint to create your design for DIY cards, gift tags, etc.
4. Tin Can Shaker
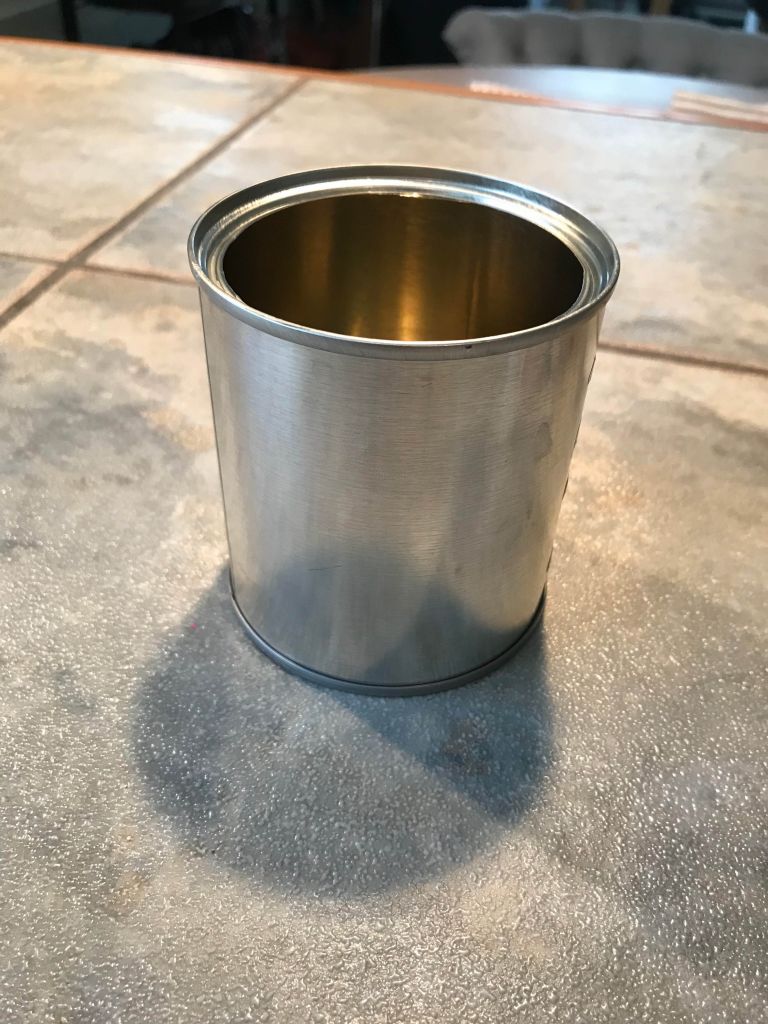
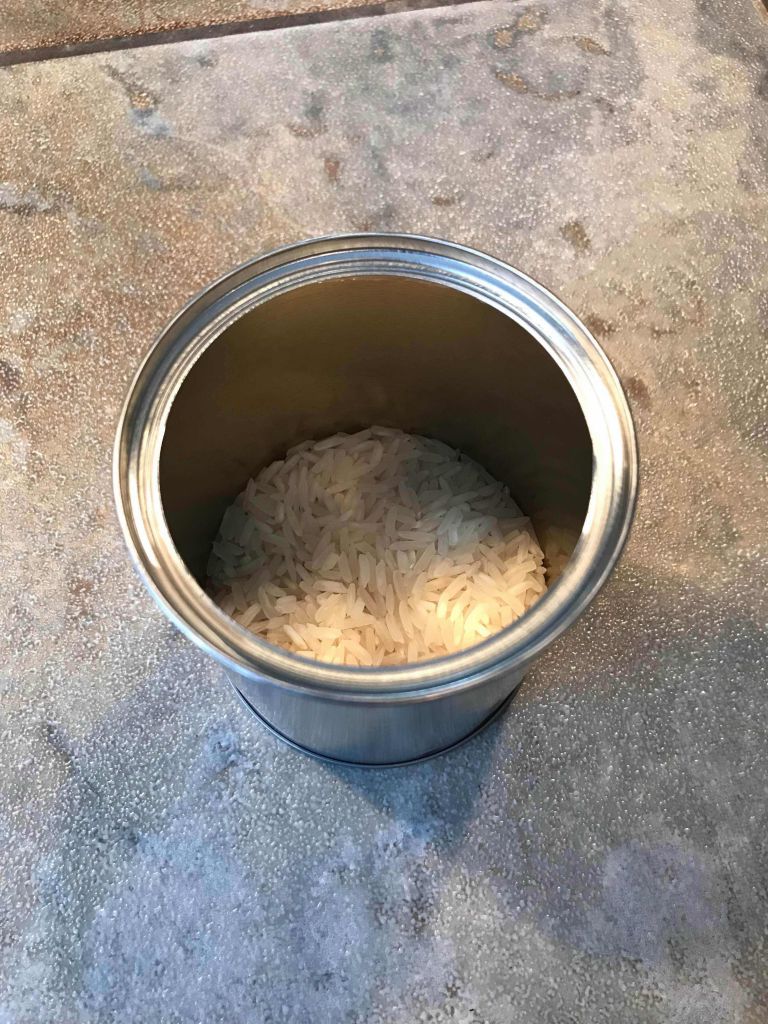
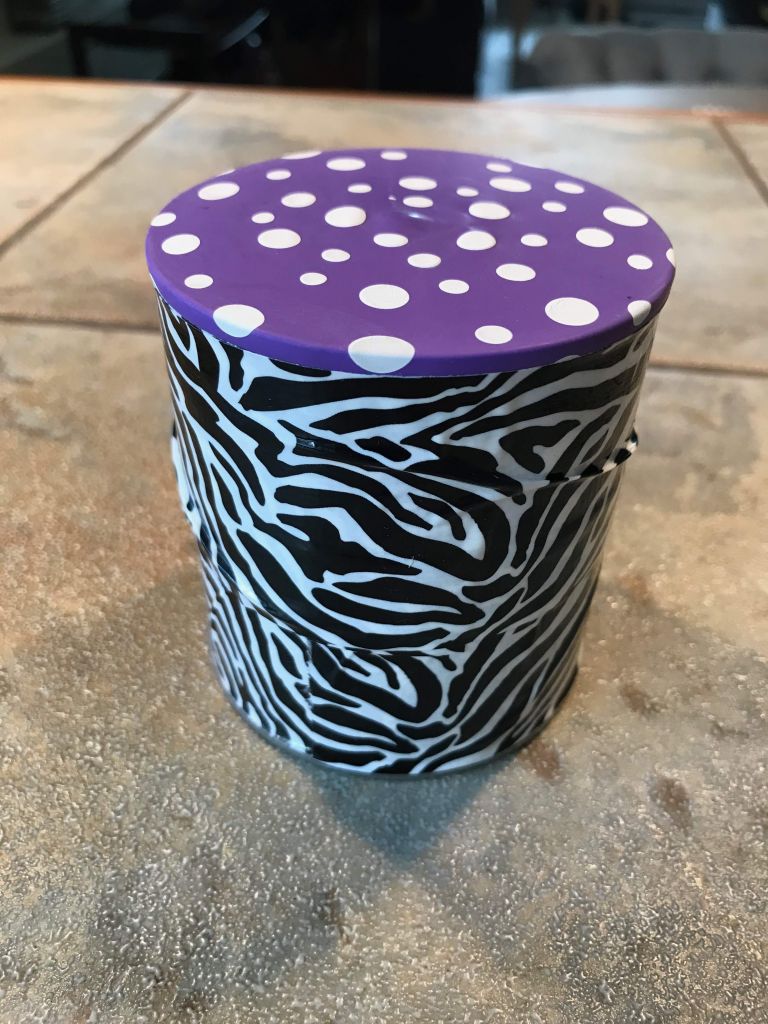
Depending on the size of the tin cans you have on hand, you can refashion them into a pencil holder, a planter, or maybe even a cute robot. I love turning a boring tin can into a musical instrument. All you need is rice and beans for the inside of the can, and a balloon and duct tape for the top. It’s that easy to take your junk and make some funk. One of my top go-to craft materials is duct tape. You can get patterned duct tape that is an easy way to jazz up your shaker.
Step 1: Grab a tin can from your recycle bin. You can use any size for your DIY shaker.
Step 2: Fill it with rice, dried beans, or anything else that will be good for making music. You don’t need much — maybe 3-4 tablespoons.
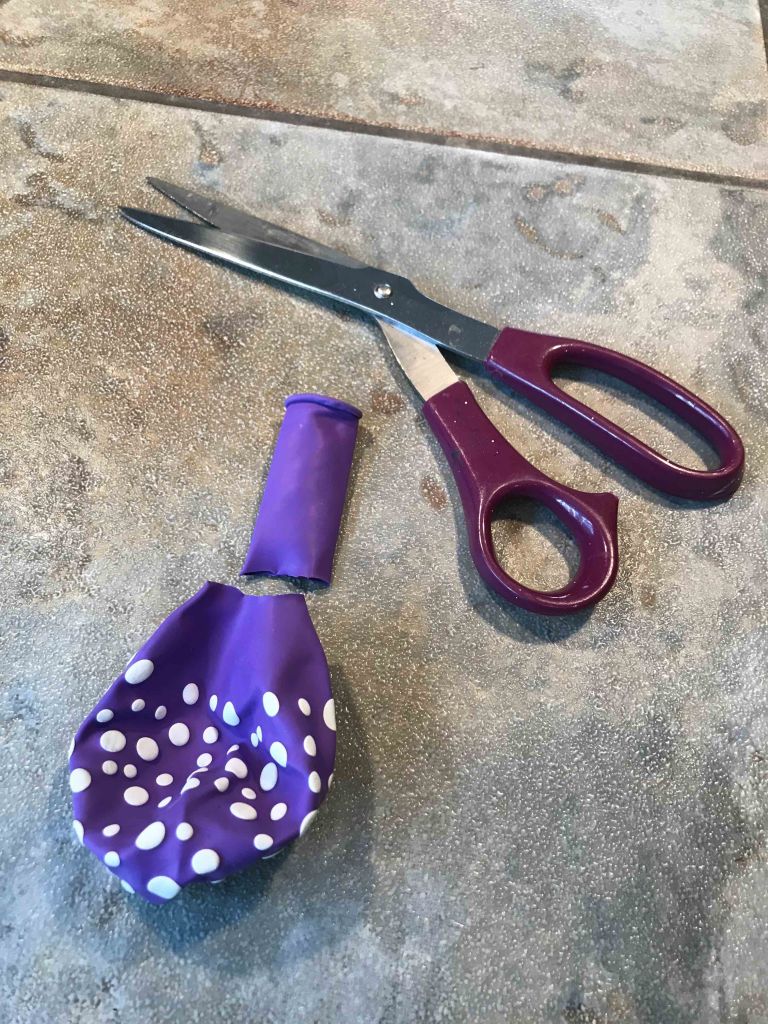
Step 3: Cut the opening of your balloon. You want to remove this since you’ll be stretching the balloon over the opening of the tin can.
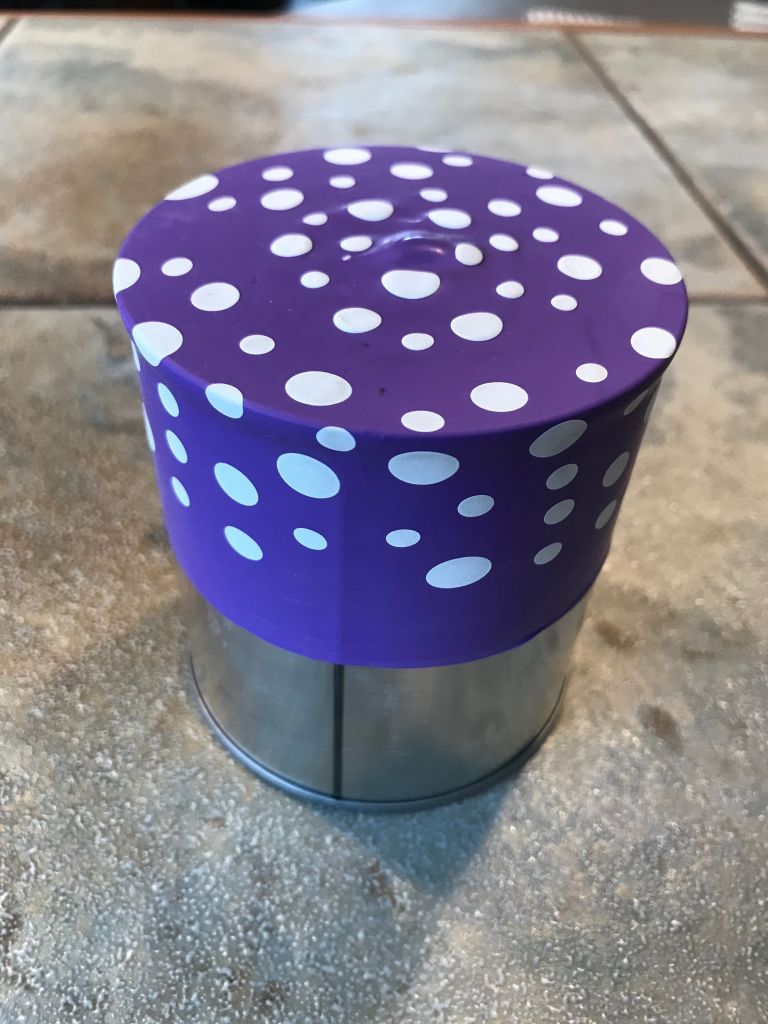
Step 4: Stretch the balloon over the opening of the tin can. Ensure it’s tight and that the balloon stretches down the tin can.
Step 5: Cover the tin can with funky duct tape. This ensures the balloon stays in place plus adds some funk to your shaker. Feel free to add other embellishments.
5. CD Mosaic Frame
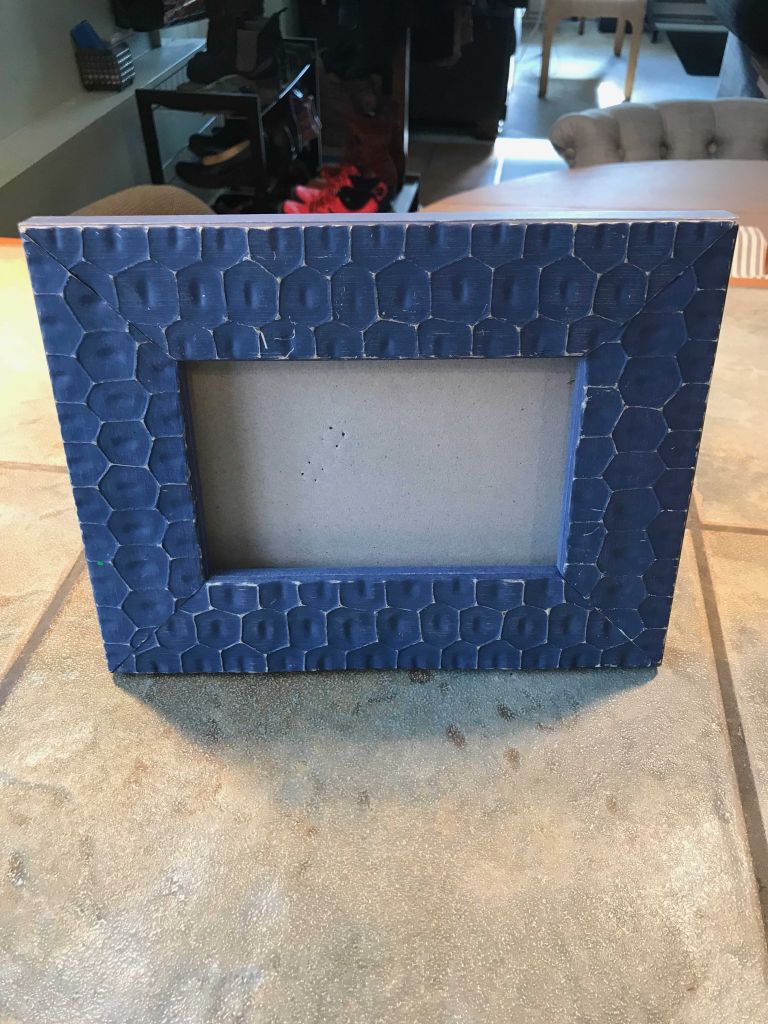
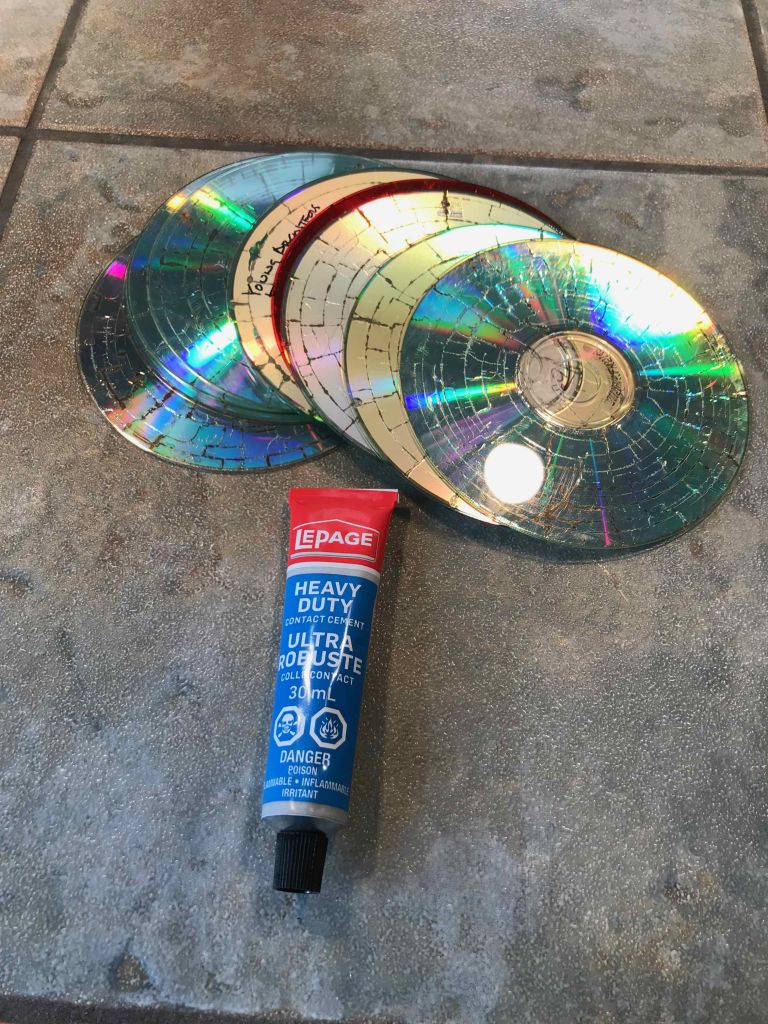
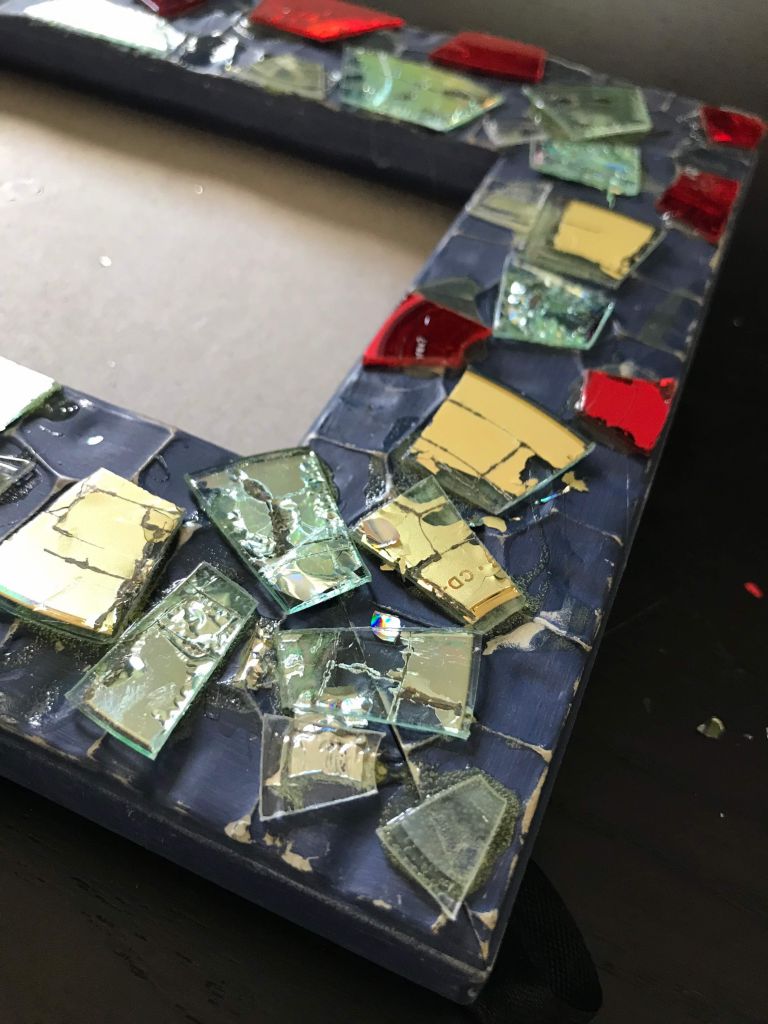
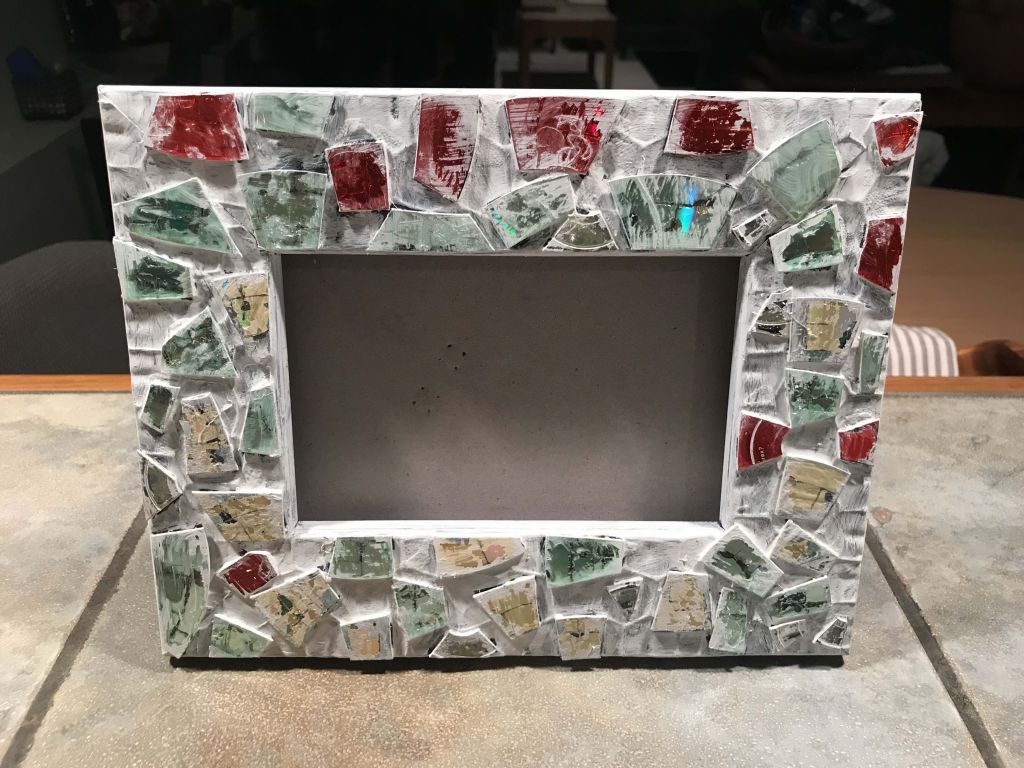
You can take an old CD and make gold with it. CDs can be cute animals, coasters, or even art. You can even upcycle the CD case into a frame for your art! A cool but messy DIY would be to cut up old CDs and create a mosaic. You can dress up an old frame or table using repurposed CDs, adhesive, and craft paint. I use white craft paint to mimic grout around the pieces of CD.
Step 1: Take an old frame or score one from a thrift store that has a flat surface.
Step 2: Gather your supplies — a pair of scissors, old CDs, and some adhesive.
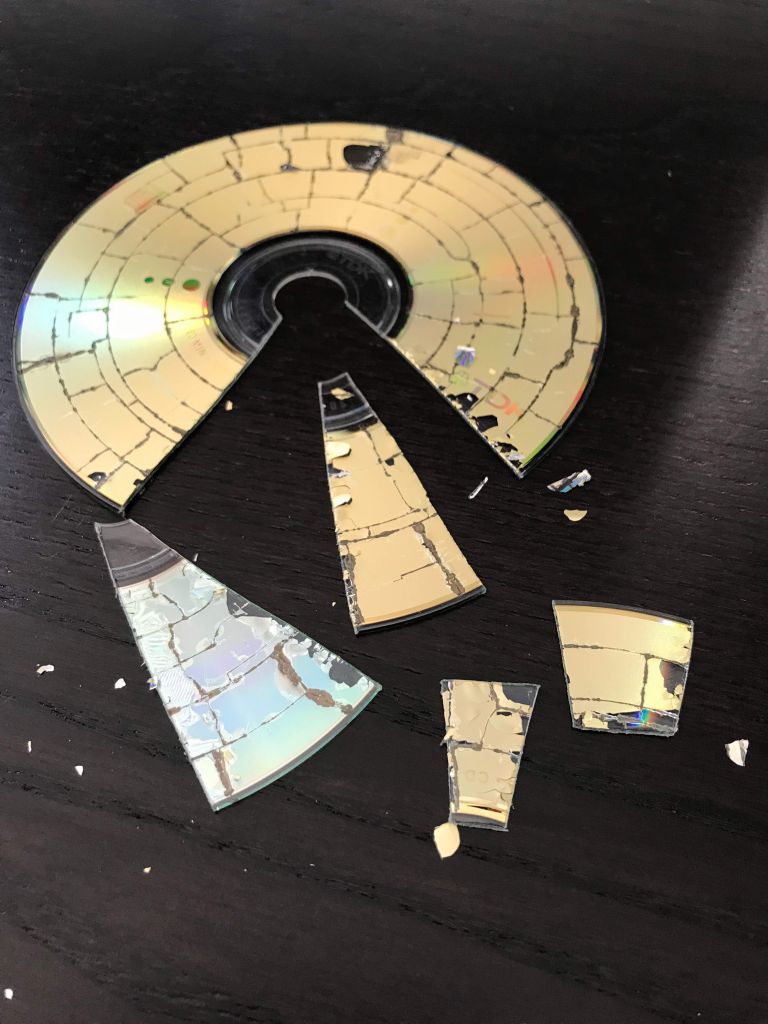
Step 3: Cut up your old CDs. This can be a bit messy so be prepared. Cut the CDs into a variety of sizes.
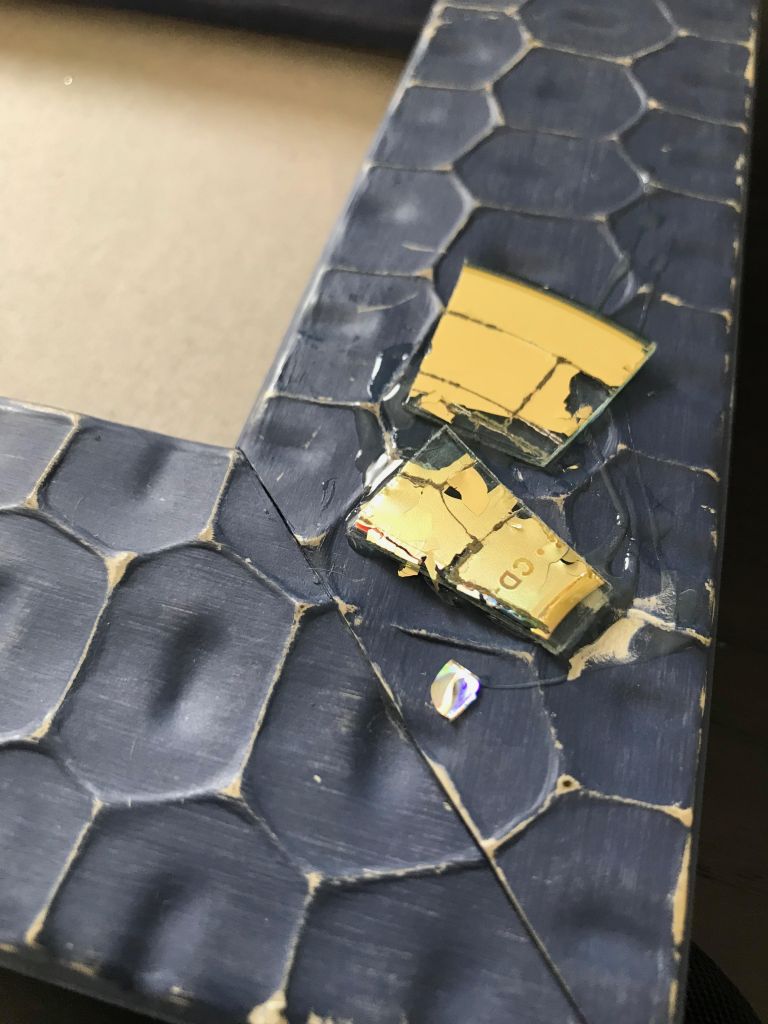
Step 4: Add glue to the surface of the frame then add your pieces of CD.
Step 5: Keep adding pieces until the frame is covered.
Step 6: Cover the frame with white acrylic paint. Allow to dry. Rub or scratch the CD pieces to remove the white paint. Then you’re done.

