It’s time to start planning awesome Halloween costumes for 2017. TV studios have been particularly kind to those who are costume-inclined this year. Check out our list below for 7 Awesome Pop Culture-Inspired Halloween Costumes for 2017. And if you should happen to try any of these, please, please share a photo with us on Instagram, Facebook, Twitter, or in the comments below.
- A Handmaid – The Handmaid’s Tale
This one is actually easier than you might think. Grab a vibrantly red (but very modest) long dress from a second hand store, and order yourself a bonnet to match. Advanced Handmaid’s can use poster board to create the full bonnet as seen on the iconic show. Here are a few versions of the costume to inspire your rebellion. Blessed be the fruit.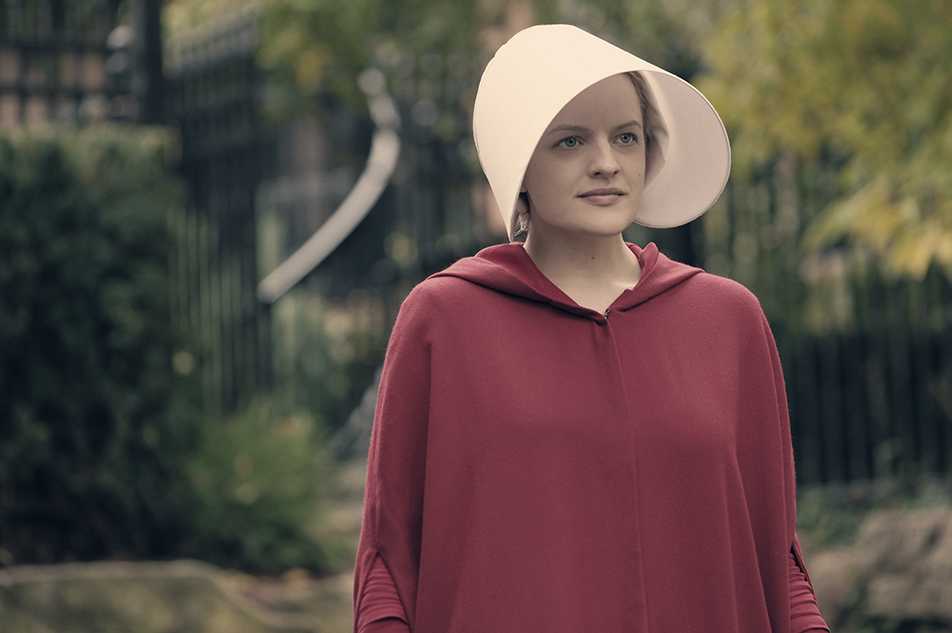
Photo credit: George Kraychyk/Hulu
- A Dragon – Game of Thrones
Are you excited that Winter has finally come? What better way to celebrate than to channel your enthusiasm into an easy dragon costume for Halloween? This great blog has instructions on how to make no-sew dragon wings so that you can take flight against the white walkers or the Lannisters. You may not look as fearsome as Drogon, Rhaegal, or (gulp) Viserion, but you’ll inspire enough awe with how little time it took you to pull together this look. Dracarys!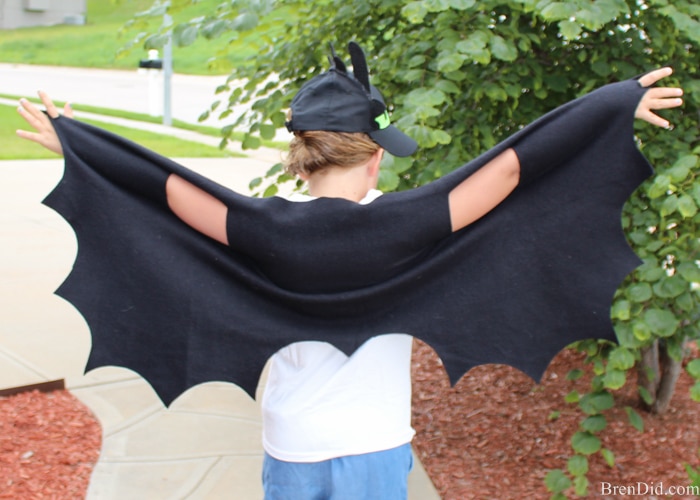
Photo credit: Brendid
- Diana Prince – Wonder Woman
Flex your amazonian muscles in a Wonder Woman costume this year. This video from Mashable gives a method for a DIY version that isn’t super simple, but doable for those inclined to spend some time with vinyl fabric. You can also do a simple version with a graphic t-shirt and a pair of cuffs (for deflecting bullets, of course). Merciful Minerva!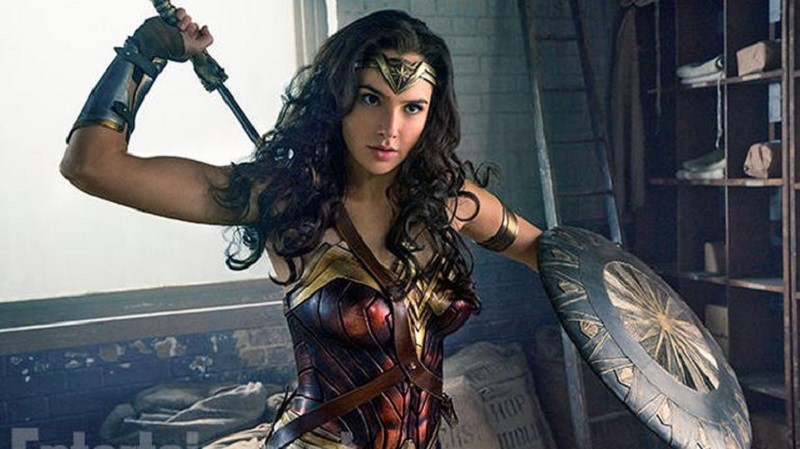
- Redshirt – Star Trek: Discovery
Gene Roddenberry’s universe is coming back to TV for the first time in 12 years, and we expect to see many a redshirt (or even better Lieutenant Commander Michael Burnham) on October 31st. Here’s a super cute version for little kids. Live long and prosper!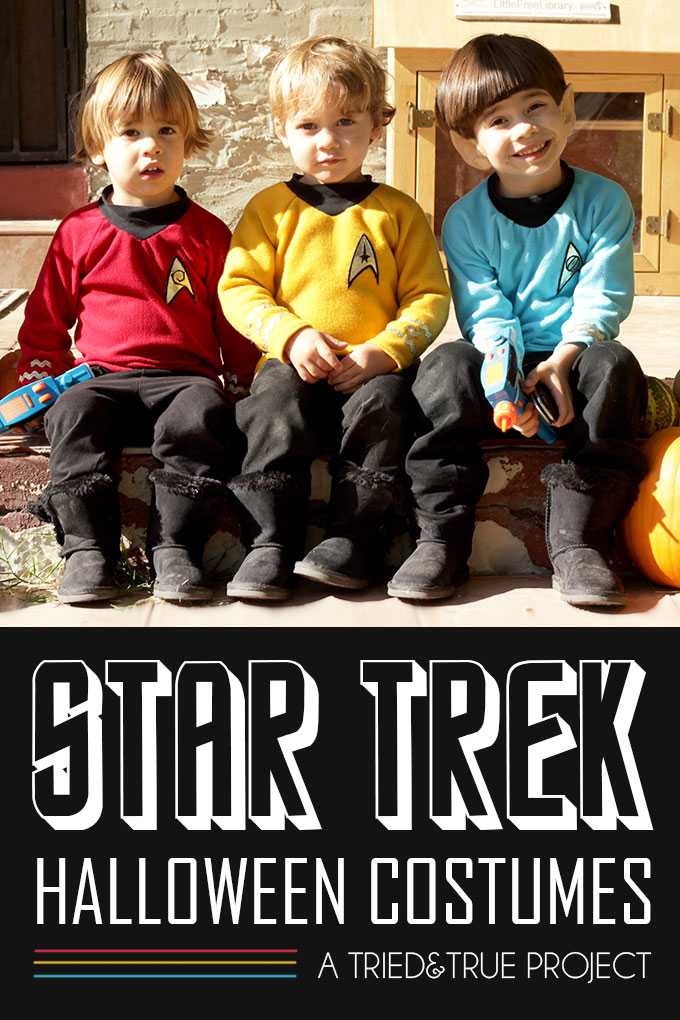
Photo credit: Tried and True
- Wrestler – GLOW
There is never a bad time to bust out truly huge 1980s hair and high-cut leotards. The characters in the Netflix Original show are based on a real group of pretty awesome women, and you can honour them with your Zoya the Destroya costume. Totally rad!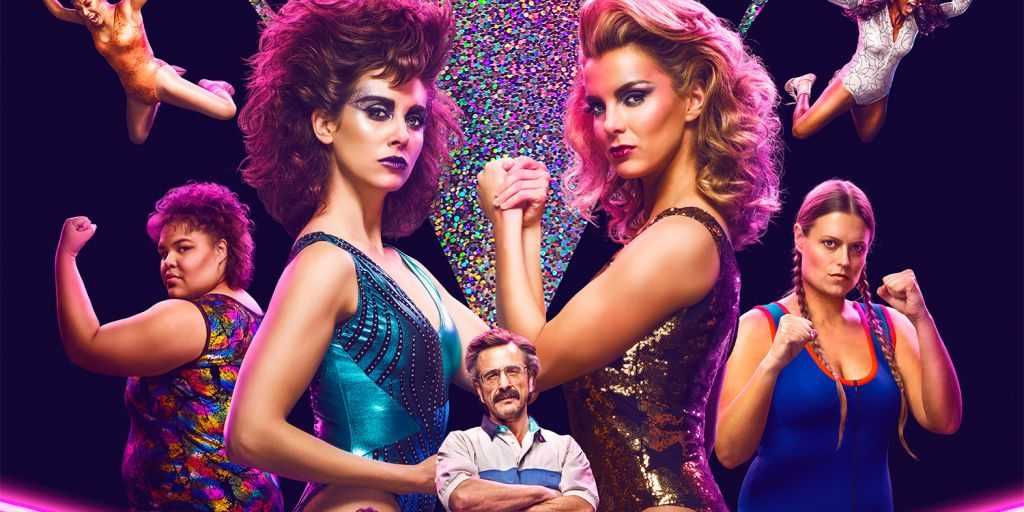
- Your Favourite Overwatch Character
Is someone in your household obsessed with Overwatch? Ours too. This cosplay site offers links to kits that will give you a spot-on look for any of these striking characters (we’re team Symmetra and team Lucio). Certainly the DIY-ers among you can find even more creative ways to channel your favourite warrior. Catch phrase!


Don’t forget to share your photos with us on Instagram, Facebook, Twitter, or in the comments below. Happy Halloween!


 Fierce Kingdom by Gin Phillips