Do you ever wonder why some webcams feel like you’re using MSN video in 2004? If you’re working or learning from home, your webcam plays an integral role in communicating with the world. If you have a newer model camera, and don’t want to invest in a webcam, Canon, Fujifilm, GoPro, Nikon, Olympus and Sony have all developed ways to allow you to use their cameras as webcams. Find your manufacturer below for instructions on how to turn your camera into a webcam. Be warned that some of these are in beta versions and can contain errors. Certain manufacturers also don’t warranty the use, so be sure to follow the instructions closely.
Canon
What you’ll need: A compatible camera, a USB cable, Canon Webcam Utility. Be sure that your EOS Utility application is not running as it will interfere with the Webcam Utility. Make sure your camera is in movie mode (if equipped).
To install, download the software from Canon here.
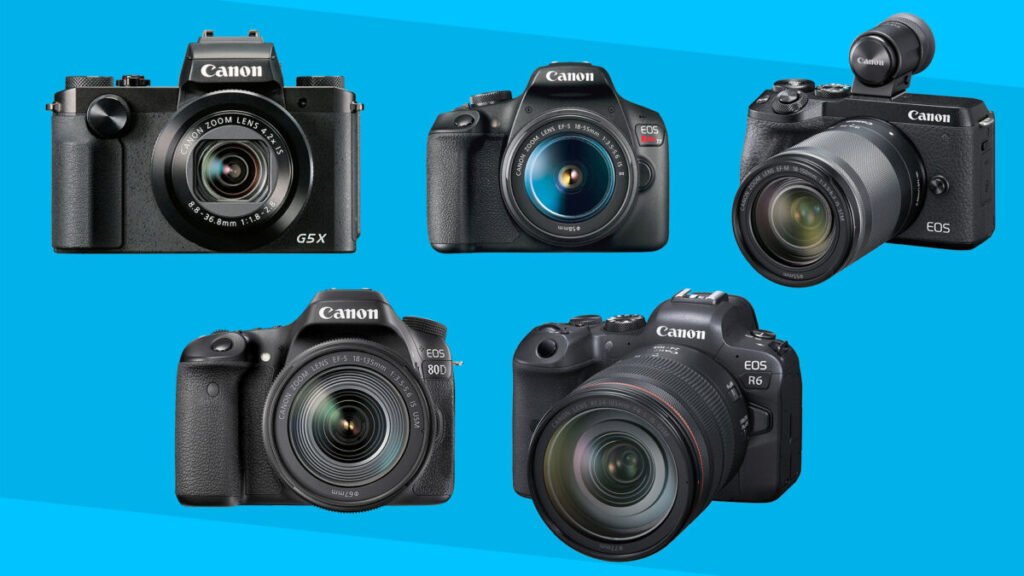
Compatible cameras:
- EOS-1D X Mark II
- EOS-1D X Mark III
- EOS 5D Mark IV
- EOS 5DS
- EOS 5DS R
- EOS 6D Mark II
- EOS 7D Mark II
- EOS 77D
- EOS 80D
- EOS 90D
- EOS Rebel SL2
- EOS Rebel SL3
- EOS Rebel T6
- EOS Rebel T6i
- EOS Rebel T7
- EOS Rebel T7i
- EOS Rebel T100
- EOS M6 Mark II
- EOS M50
- EOS M200
- EOS R
- EOS RP
- PowerShot G5X Mark II
- PowerShot G7X Mark III
- PowerShot SX70 HS
Fujifilm
What you’ll need: a compatible Fujifilm camera with the latest firmware, a USB cable, a compatible streaming application (Google Meet/Microsoft Teams/ Skype/Zoom).
To configure your camera, in the main set up menu, go to “connection Settings”> USB Mode and select Webcam. You can then use the exposure compensation button to adjust your exposure. Once in Webcam mode, it’s plug and play.
To install, download the software from Fujifilm here.
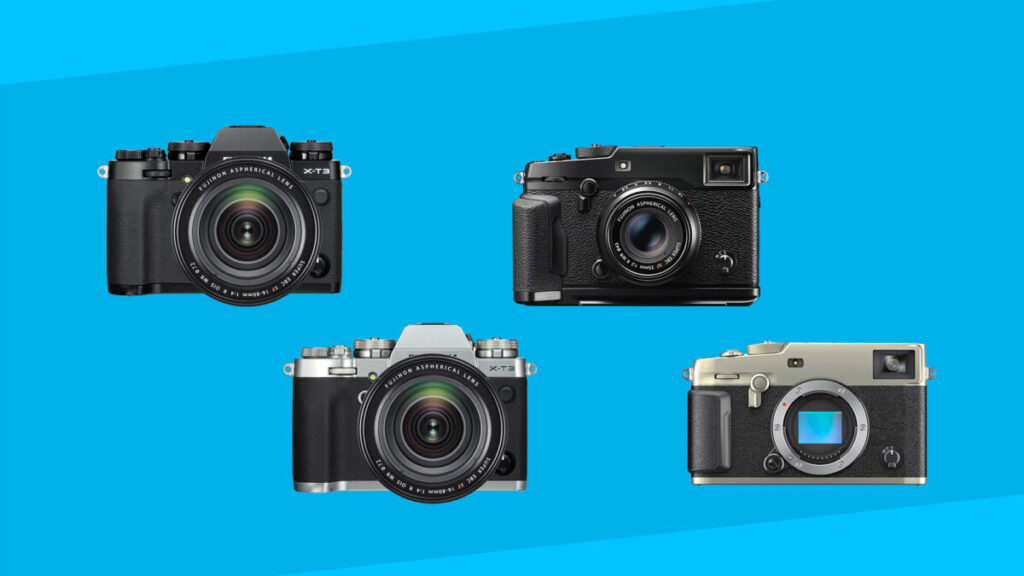
Compatible cameras:
GoPro
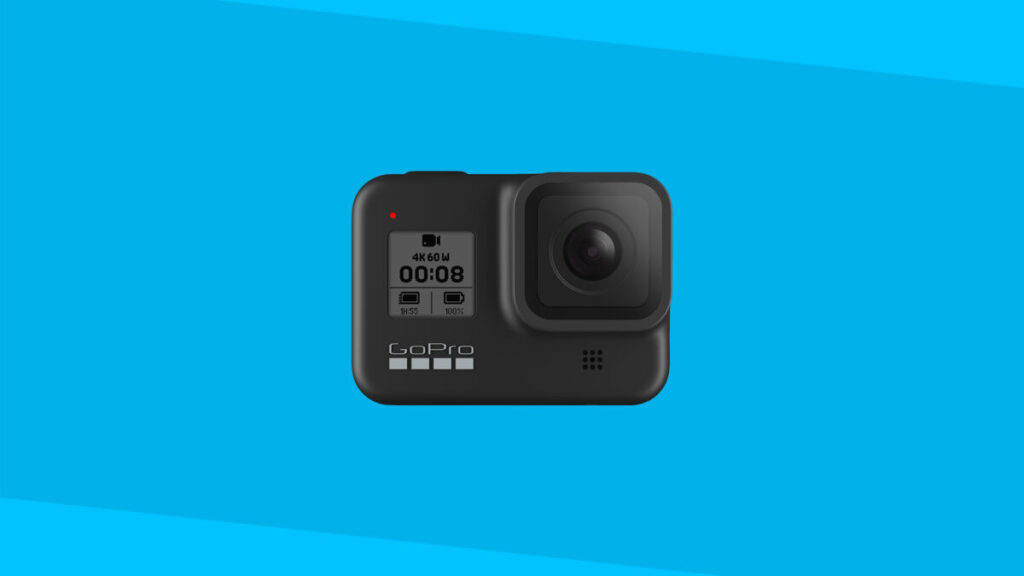
What you’ll need: GoPro HERO8 Black with the newest firmware, a USB-C cable, a mounting option, and GoPro Webcam desktop utility. Currently they support Mac and PC versions, however the PC application is still in beta. Click here to download the GoPro webcam desktop utility app.
To use an older model requires the use of a HDMI-to-USB video converter, and a GoPro with an HDMI output. The HERO7 Black, Hero6 Black, HERO5 Black, or HERO4 Black, should all be compatible using this method.
Nikon
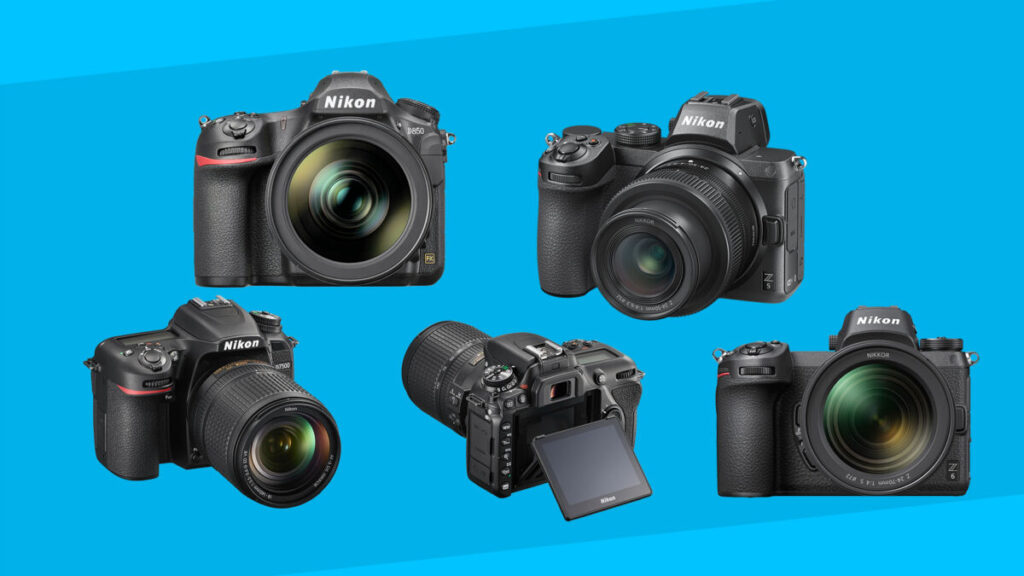
What you’ll need: A compatible Nikon camera, a computer with Windows, USB cable, Charged battery, video conference software, Nikon Web utility software.
They plan to expand to offer a Mac version in the near future. Click here to download. Once the software is installed, it’s a simple plug and play procedure.
Compatible cameras:
Olympus
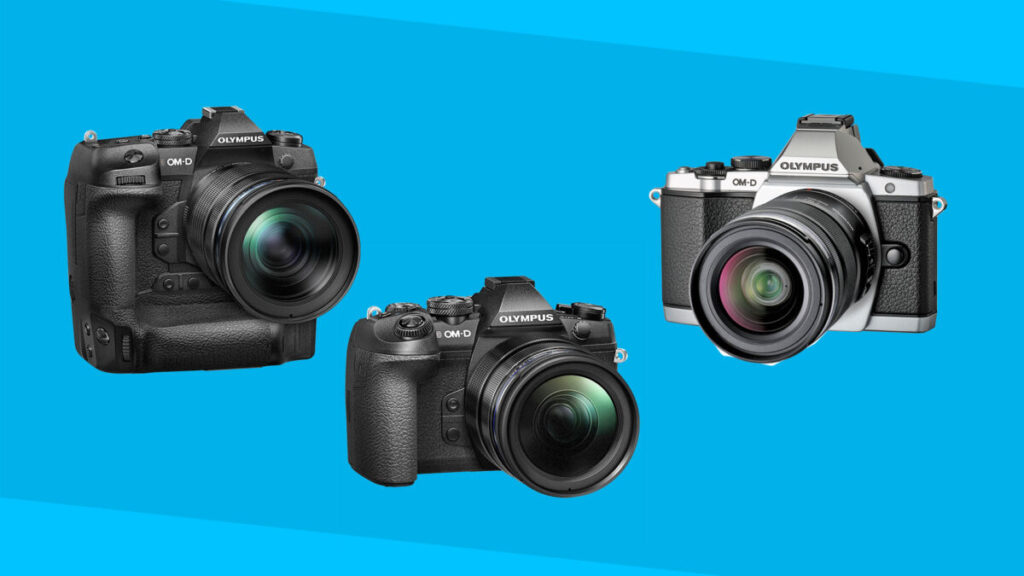
What you’ll need: A compatible Olympus camera with a memory card, a USB cable, and OM-D Webcam Beta.
Olympus require you to follow detailed steps to ensure proper function. For full details and to download and install the software from Olympus, click here.
Compatible cameras:
Sony
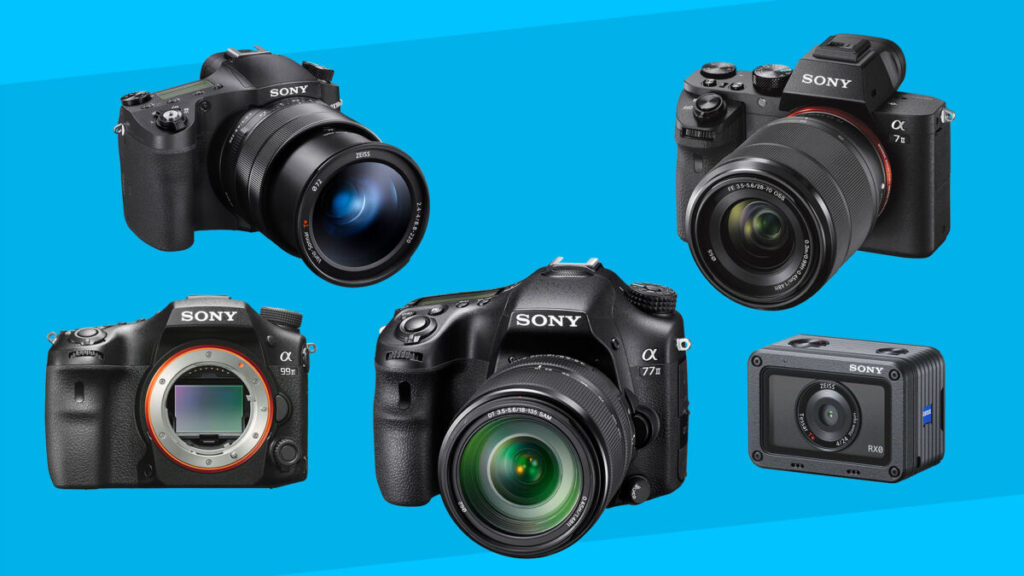
What you’ll need: A compatible Sony Camera with the latest firmware, Sony’s Imaging Edge Webcam software specific to your model, a USB and a Mac or PC.
On models without ‘Control with Smartphone’ option, it’s a simple plug and play. For cameras with Smartphone control, you will need to go into your settings to configure them to work. You can download the Sony Imaging Edge Webcam software here.
Compatible cameras:
E-mount
- ILCE-9
- ILCE-9M2 (a9 MKII)
- ILCE-7M2
- ILCE-7M3
- ILCE-7RM2
- ILCE-7RM3
- ICLE-7RM4 (a7R IV)
- ILCE-7S
- ILCE-7SM2
- ILCE-7SM3 (a7S III)
- ILCE-5100
- ILCE-6100
- ILCE-6300
- ILCE-6400
- ILCE-6500
- ILCE-6600
A-mount
- ILCA-77M2
- ILCA-99M2
- ILCA-68
Digital Still Cameras
- DSC-HX95
- DSC-HX99
- DSC-RX0
- DSC-RX0M2
- DSC-RX100M4
- DSC-RX100M5
- DSC-RX100M5A
- DSC-RX100M6
- DSC-RX100M7
- DSC-RX10M2
- DSC-RX10M3
- DSC-RX10M4
- DSC-RX1RM2
- DSC-WX700
- DSC-WX800
- ZV-1
We hoped this help upgrade your at home webcam experience! Remember to also check out our vlogging lighting accessories and tripods online or in store to ensure you look your best on your next video call!