Beginner’s Guide to Winter Photography

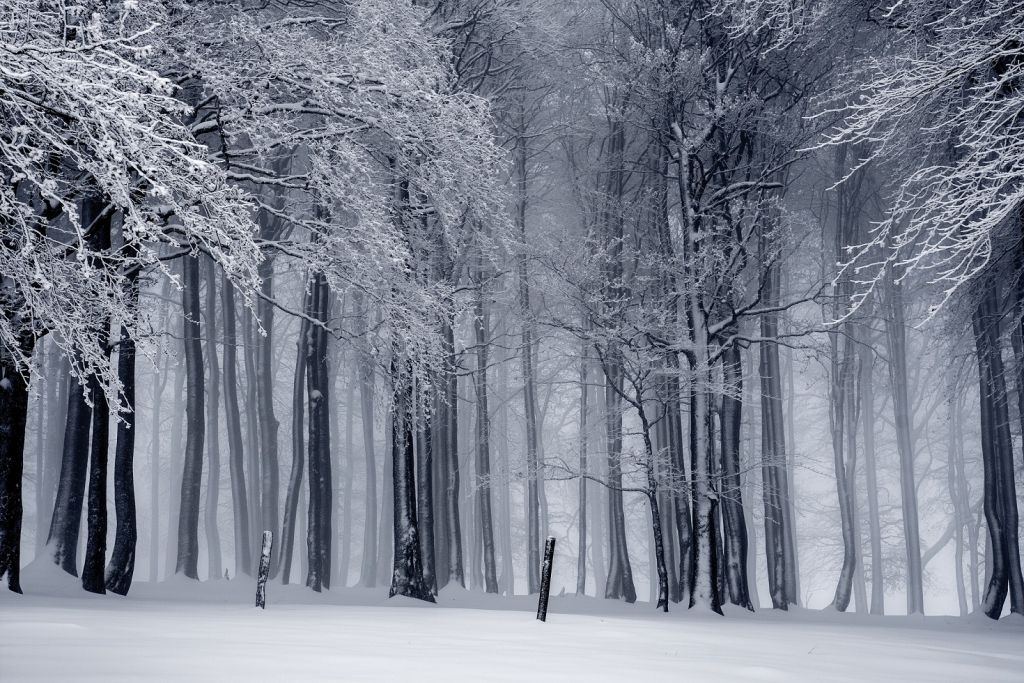
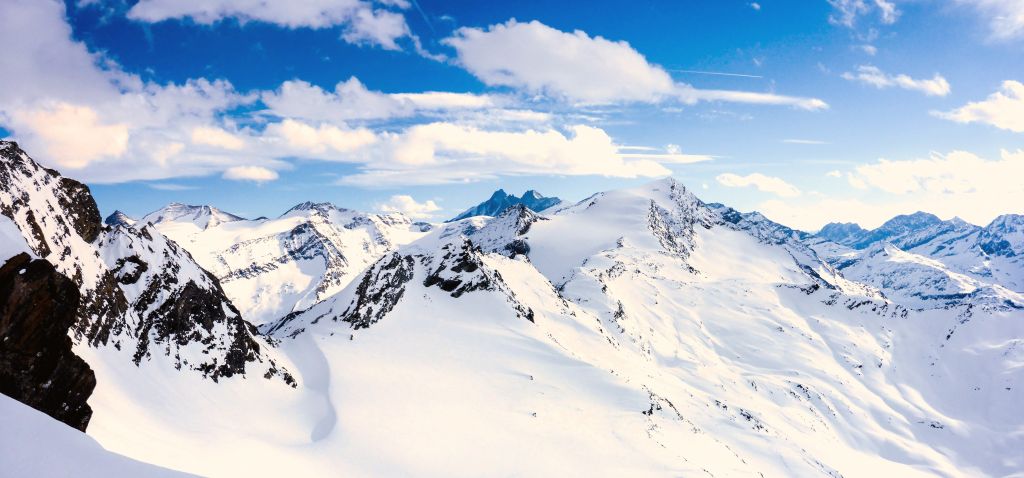
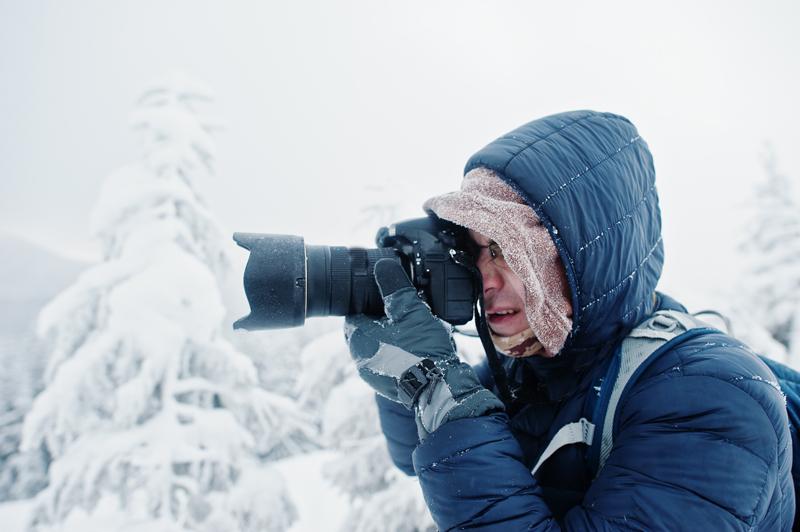
Pictures of fresh snow have always been mesmerizing, and every aspiring photographer looks to snap some great shots of powdery white landscapes. Here in Canada, we’re lucky enough to have all kinds of beautiful wintery spots to photograph right across the country. However, stepping out with your equipment in the snow can be a lot more challenging than you’d imagine. Here are some basic tips from our LDExperts in the Photolab that will help you get the best out of your next winter photography adventure.


Gear Tips

Keep batteries warm and carry spares

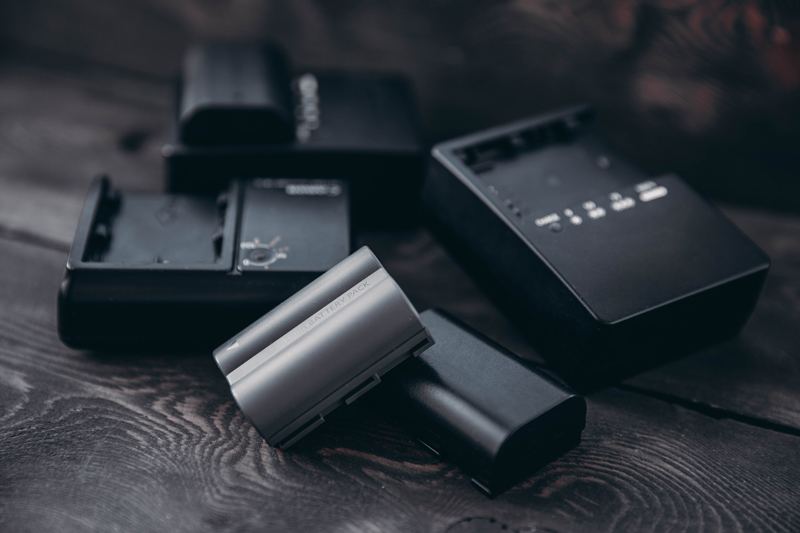
Battery life tends to reduce in colder weather. While newer lithium ion batteries have less issues, it’s still good to have a backup. Ideally you should charge two to three and keep the spare batteries in an inside jacket pocket. Once your batteries run low just replace them with a charged one and keep the drained battery in your pocket, you may still be able to use it once it warms up. The battery drain will vary depending on how cold it is and how power hungry your camera is.

Bag your camera or use silica gel packs

When you bring your camera indoors from the cold, condensation can form very quickly and instantly damage your camera and lens. One of the easiest and best ways to avoid this is to put your camera in a Ziplock bag and seal it tight. Once you’re in the house, place it near a slightly open window or any cooler location so it can gradually warm up to room temperature. You could also leave it in the car for a while to warm up. Once it reaches room temperature you can take it out of the bag and use it normally. Silica gel packs like the Pelican Reusable Silica Gel Hydrosorbent Unit are also an easy way to ensure all the moisture is absorbed. Just keep it in your camera case.

Avoid fogging the lens 

Cold weather adds new risks while photographing outdoors. A warm humid breath will condense on your lens creating a milky frost, and wiping it will just create smudges. You can wear a neck gaiter, or a balaclava pulled over your nose and mouth to avoid this. Never place your camera under your coat or jacket in the hopes of warming it up quickly. The warmth of your body heat and the moisture from sweat could potentially damage your equipment. Breath is the usual culprit of fogged lenses but sometimes at night natural frost can form too. Use your lens caps when you’re not shooting or moving from one location to another. If you need to wipe off the moisture from the lens, always use a microfiber cleaning cloth.


Photography Tips

Focus on contrast

When you’re shooting snow, an all-white frame can cause the autofocus to have a hard time locking in. It helps to focus on any dark object (a branch or the bark below the snow). Autofocus requires contrast to adjust itself properly, so if the focus isn’t locking on, move the focusing point to a darker area and then press your shutter half way to focus. This usually does the trick.

Correct exposure with a histogram

Don’t trust the preview of the images you see on the LCD screen on the back your camera. Checking photographs while outdoors on the LCD screen may not give you the best judgement of how a picture would look on your desktop. Ideally using the histogram is the best way to judge. Take a test shot and check the histogram. If it is slightly “humped” in the middle, then just add a little positive compensation to add brightness. If the graph appears to fall off on the right-hand edge, then just dial in a little negative compensation to stop blown out highlights.

Exposure compensation

Colour balance with snow is quite tricky. Cameras usually tend to make snow look grey. This can be easily corrected by setting the exposure compensation to +1 or +2. You can also adjust exposure compensation while editing. Also, when shooting in shade, be aware of a blue bias. If a photograph is taken in sunlight mode it may come out with a blue tinge, especially in high altitudes.

Shoot in RAW format (or RAW+JPEG)

Don’t bother trying to select and delete photos while outdoors. As mentioned earlier, capturing the correct exposure and color temperature when your scene is overwhelmed by reflective white snow can be tricky. Setting the file format to RAW will allow you to safely adjust your settings later. The camera LCD usually looks washed out so if you shoot in RAW, you’ll be able to recover highlights and adjust shadows afterwards.

Shoot in Aperture Priority Mode

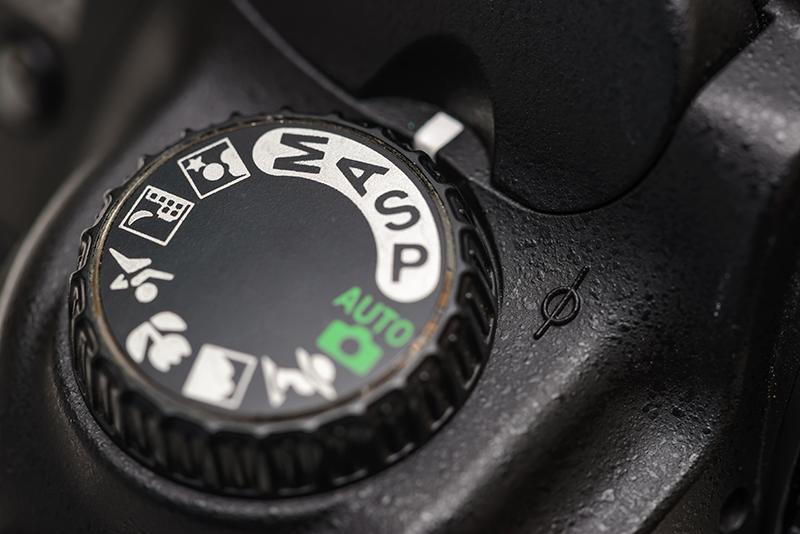
Aperture Priority (‘AV’ on Canon, ‘A’ on Nikon) will allow you to quickly change your depth of field. When shooting in Aperture Priority the camera will choose the ISO, (if the camera is set to auto ISO) and the shutter speed, so all you need to do is switch between aperture settings. This is great in cold weather and allows for a lot of creativity.


Preparation Tips

Capturing fresh snow

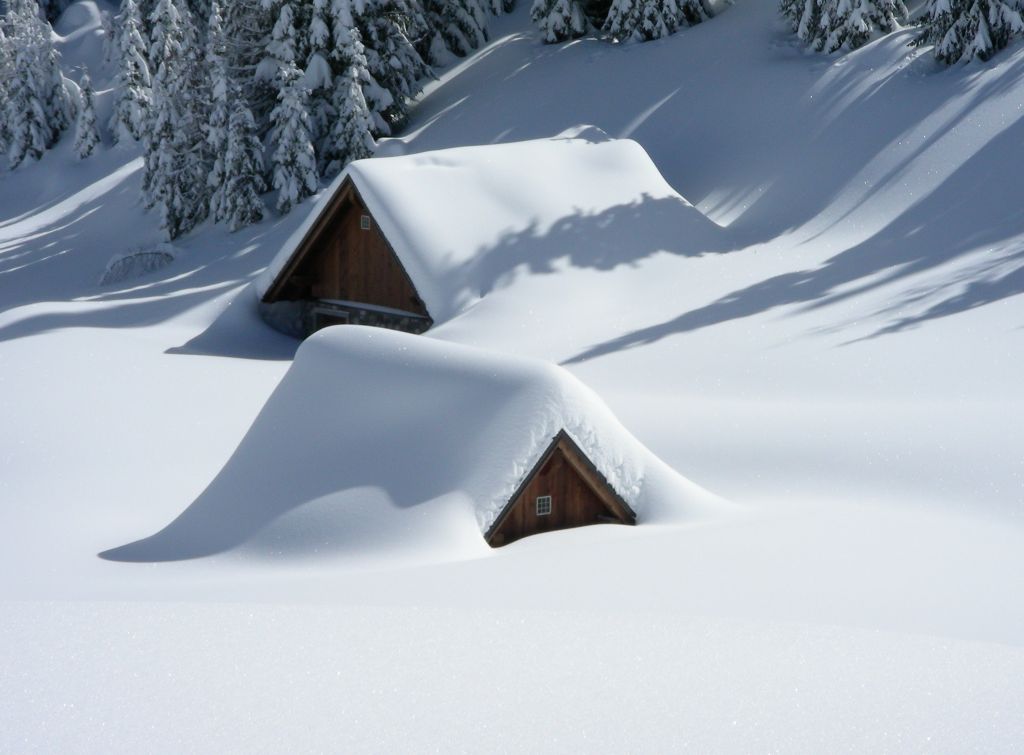
If you’re looking for fresh, footprint-free snow you will need to plan ahead and be outdoors first thing in the morning as soon as it gets bright. Planning what shots you want to take a few days in advance helps.

Plan depending on the weather and lighting

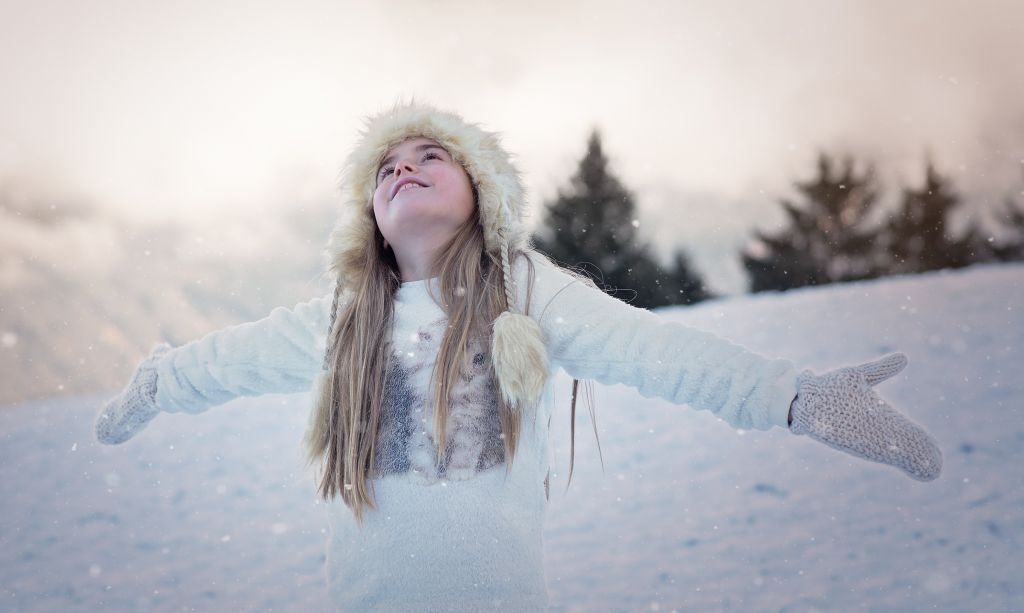
Snowy landscapes look great in both sunny and cloudy weather. Cloudy days add elements of colour to break up the white. If it’s snowing, use a shell cover to protect your camera. Winter skies are beautiful this time of year. Warm and cool tones create a different mood and will make your snow images pop. Make use of sunrise and sunset to capture warm tones from the sunlight reflecting on the snow. Looking to create a more dramatic image? Expose the sky and everything else will be darker; this technique adds a little mystery and changes the mood of your image.

Lighting during winter can change very fast. If the sun goes behind a cloud, it can completely change how the snow looks. Waiting for the sun to come out again may be hard, especially in the cold, but the pictures will definitely be worth it.

Play with shutter speed

Shutter Priority (‘Tv’ on Canon and ‘S’ on Nikon) allows you to choose your shutter speed, while the camera takes care of the rest. With a fast shutter speed, you can freeze falling snow in midair. With a slow shutter speed, you can turn those flakes into long white streaks.

Always dress warmly

Dressing right is an absolute essential while stepping out for a winter photoshoot. Getting frost-bite will certainly hamper your ability to operate the camera. If you’re shooting in –40 Celsius you’d definitely need the right gear, which includes everything from long underwear, to fleece or wool sweater and pants, down or synthetic vest, 800 fill down jacket with a hood, windproof insulated pants, a pair of thick wool socks topped by expedition quality winter boots, a hat complete with ear flaps, a balaclava or face mask, and thin nimble gloves with a pair of expedition overmitts dangling from wrist straps to wear between shots.


So, go ahead and snap some great shots this winter. You can create a nice coffee table photobook to display your photos or a photographic album. Another great way to showcase your photographs is to print a customized 2022 calendar so you can treasure your best wintery shots throughout the year.

Ordering items is super easy with our in-store kiosks, the London Drugs Photolab App for iOS and Android, or simply go online and select from multiple print options and sizes!

How to Create Gifts for the Holidays that are 100% Unique

When it comes to making truly unique gifts for your loved ones, it’s all about adding a little personalization…and a lot of heart! In honour of Make a Gift Day on December 3rd, our Photolab Experts are sharing their tips for crafting your own holiday gifts that have that personal touch your giftees will surely appreciate this holiday season.

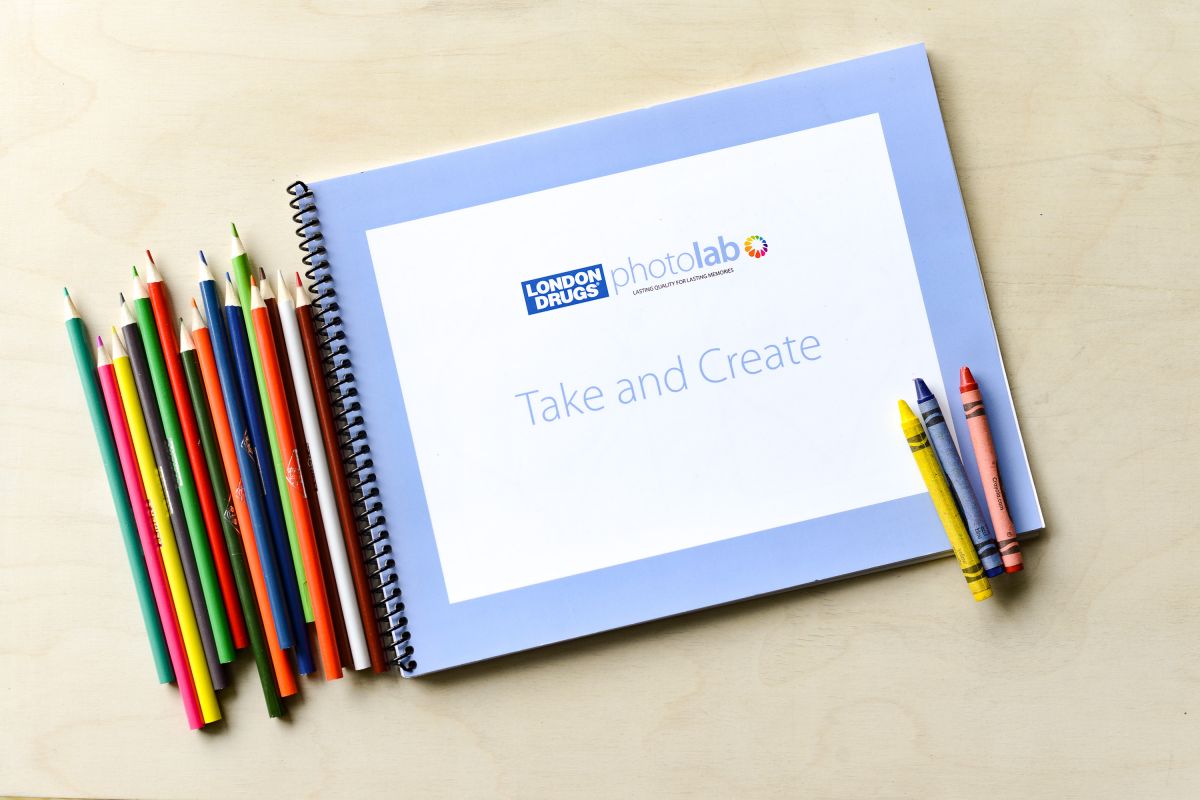
While you may be familiar with gifts like our mugs, which can be customized with your own photos, did you know we can also customize those items with your artwork too? Our free Take and Create Books offer easy-to-use templates inside that will help you design your own personalized bookmarks, buttons, face masks and 11oz mugs featuring your drawings!

Look for our Take and Create Books the next time you’re in the Photolab, or download online!

Just pick up your free Take and Create Book from your local London Drugs Photolab (or download it online here), pull out the art supplies, and stretch your creative muscles filling in the templates! Or let the kids have some fun with drawing in their own designs. Once you’re all done, bring the book with the coloured-in templates back to your local Photolab so we can scan them and print them on your desired item. Or, if you have a scanner at home, you can simply scan and upload the image files to our Photolab online!
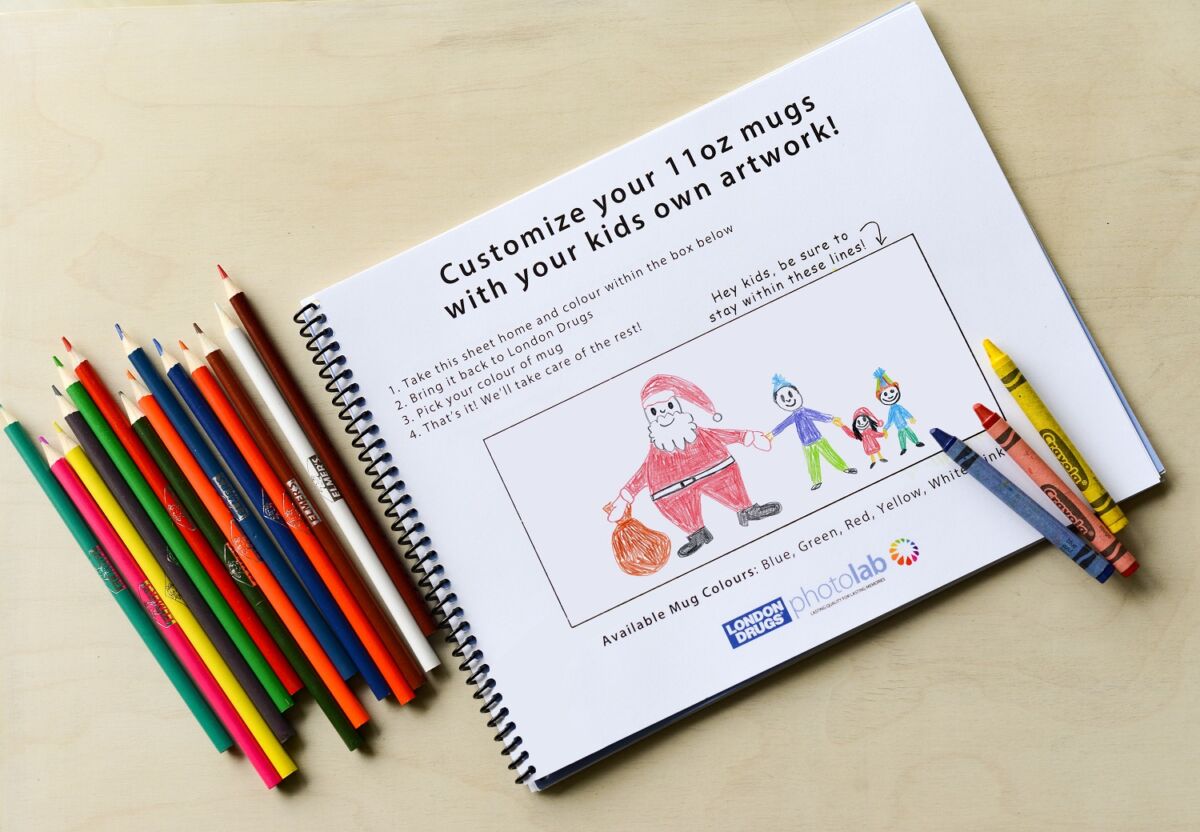
Or you could colour in your own design for one of our 11oz mugs, using the template below – also found in the Take and Create Books.

Ready to start crafting your own uniquely personalized gifts? Visit your local London Drugs Photolab to pick up your free Take and Create book or download it here! Don’t forget – you can always personalize mugs, and much more with your own photos too.

To get ahead this holiday season, our Photolab Experts encourage you to order your personalized gifts early to ensure they arrive in time. Don’t worry though – for those procrastinators, we have a great selection of our Photolab products available for same day or next day pickup, up to Friday, December 24th including:

Just visit us in the Photolab for details. Happy Make a Gift Day!

6 Photography Tips for Capturing Great First Day of School Photos

Back to school can be many things: emotional, stressful, hectic, exciting or all of the above. Most importantly though, it should be memorable. Capturing the memories of your little ones heading off on their first day of kindergarten, or their first day of the new school year can be a fun annual tradition. We’ve put together some tips on how to capture the day, so your photos pop, and the memories live on.

1. Do Some Planning

Planning your back to school photos is the first step. It might seem like you can just capture what you see on the day, but a quick 5 minute plan will help ensure you capture everything you’re hoping to, and won’t look back on your photos wishing you had remembered a key shot. It can be as simple as a shot list of must-have photos, or as complex as getting props, coordinating colours and upgrading your camera equipment. If you’d like to go all in, you can even have a custom lunch box kit made by our London Drugs Photolab with a photo of the family pet, or a shot from your summer vacation and incorporate that into your first day of school shoot! The plan all comes down to what your goal is, and what time you have available.

2. Pick Your Background Wisely

Do you ever wonder why certain photos just pop so much more than others? A very simple way to improve the overall aesthetic of your back to school images is to be very conscientious of the background. There are a couple key components to this: distance, technical settings, and content.

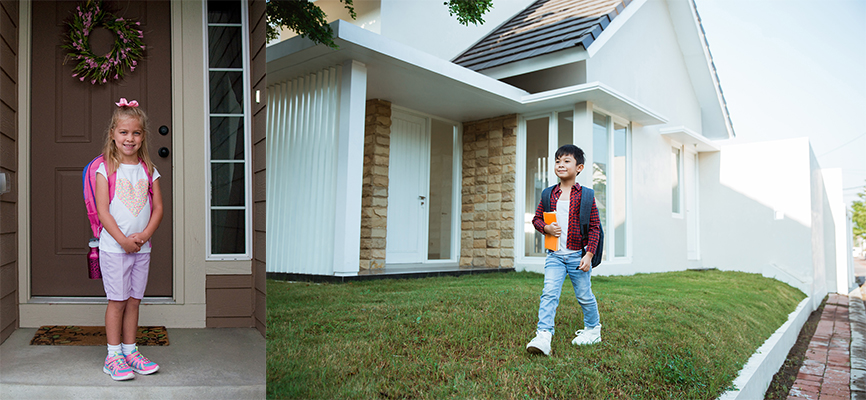
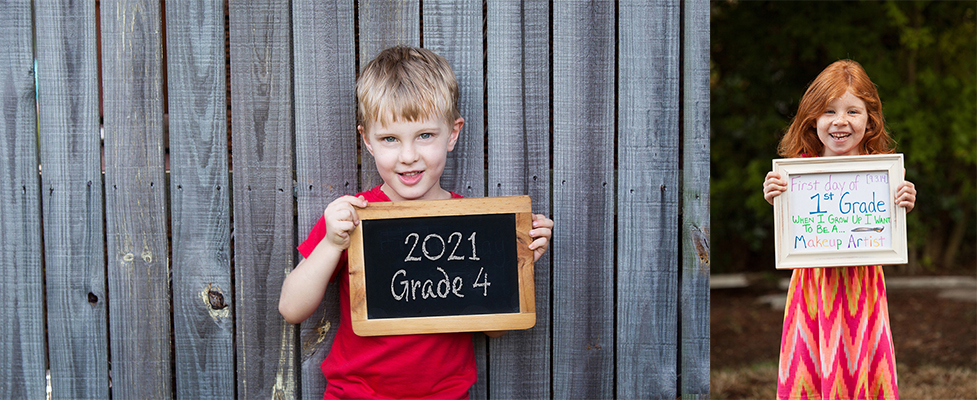
Compare the two images above. Notice how in the doorway (image left), separation between the subject and the background is lost, whereas when shooting with more distance between the child and home (image right), it creates a nice clean separation.

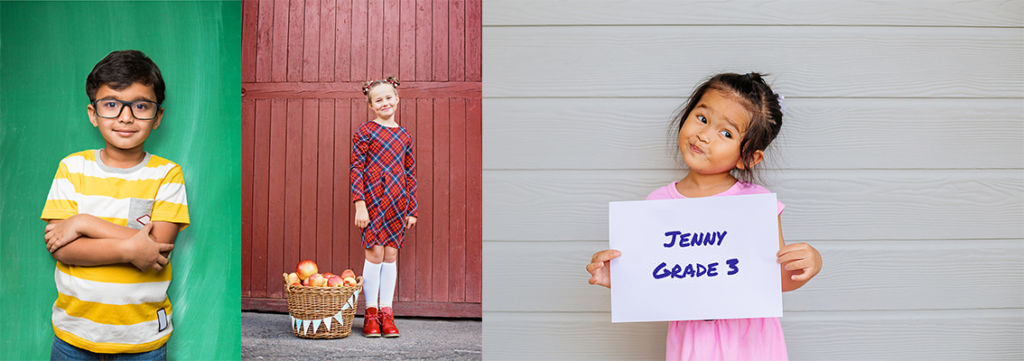
Another element of backgrounds is clean walls. It could be a colourful wall, a fence, or even the side of the house. A clean clutter-free background will let your little one pop as the subject and remove all the visual distractions in the image.

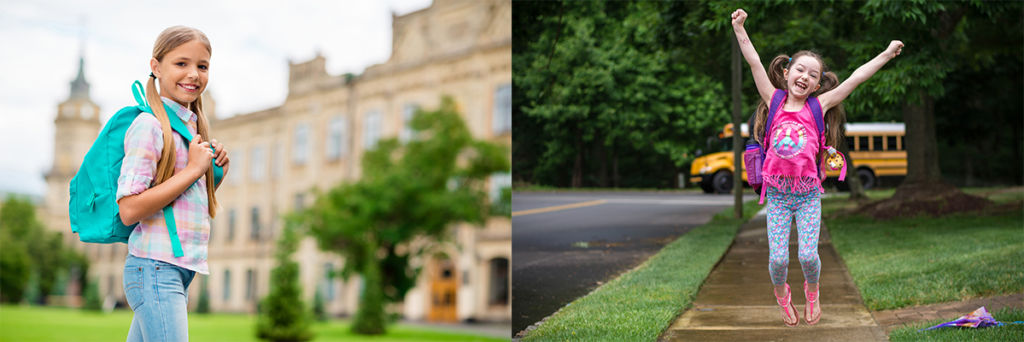
Lastly if you want to put a little more planning in, or are dropping them off at school, think about incorporating the school into the background, or the bus rounding the corner. This idea would require a little more thought and timing, but can lead to pictures that have that added storytelling element.

3. Shoot at Their Eye Level


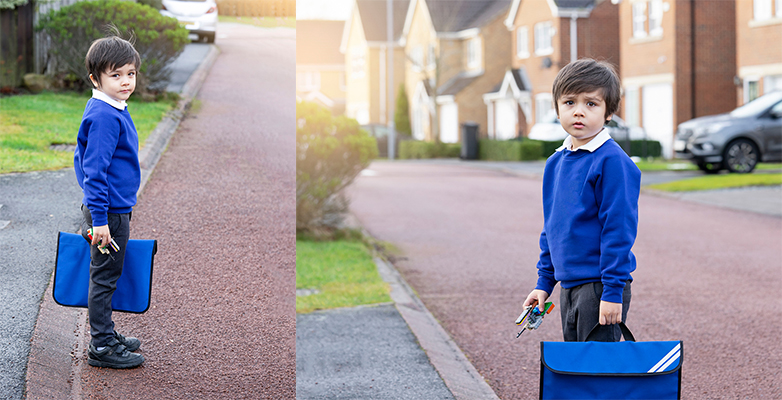
Get down on a knee so you’re aiming the camera straight at your child, instead of aiming the camera down on them. This will play into that background point above, and will make your horizon line seem more natural vs when shooting from your eye level. This is a technical point many photographers overlook, but will really help make the image pop. Compare the vantage point in the two images above, and how they impact the image. Notice how when shot at their eye level (image right), the image has more depth, and pulls the viewer in?

Now that we have our background all sorted, let’s dive into the most important part of the image: your child!

4. Have Fun with Props and Outfits

This is where you can let your creativity shine. What would you like to incorporate into the image? Your imagination is the only limit here. Some parents have an adult-size “Grad 20XX” t-shirt made. They photograph the child in it every year until they finally fit into it, creating a very fun growth visual year over year.

Others make chalk boards with stats like: age, grade, teacher, school. This can be done by writing directly on the board, or by adding it using an editing program afterwards.

Our Photolab also offers My First Day Of School photo templates, so you can easily pop in a photo of your child and add their info in, like age, current likes, favourite subject, what they want to be when they grow up, and the date. Simply visit your local London Drugs Photolab, fill out the order form with the info above, and submit it to our LDExperts with your chosen photo. We can print you as many 8×10’s as you like!

Another fun idea is to print out last year’s photo as an 8×10 print, and have your child hold it up.  As the years go on, the image slowly gains depth as each year, if you look closely, you can see the previous year’s photo continually disappearing like opposing mirrors.

5. Shoot More Not Less

It’s better to shoot a wide variety of images so you have lots to choose from, rather than not shooting enough and later wishing you had taken more. And if you happen to love all of your first day of school shots, you can print a back to school photo book showcasing a whole bunch of them! Another fun idea is to create custom photo gifts for family. And, if you pop into your local London Drugs Photolab, ask about the Take and Create options for custom children art items! You can have them draw their first day of school using our Take and Create booklets, and then our Photolab can print those drawings on a mug, magnets or even coasters for the grandparents!

6. Shoot with Shallow Depth of Field (Bonus Tip for Advanced Users)

If you’re using a smartphone camera, portrait mode replicates the shallow depth of field effect. If you’re using a mirrorless or DSLR and aren’t too familiar with the manual settings, use aperture priority mode.

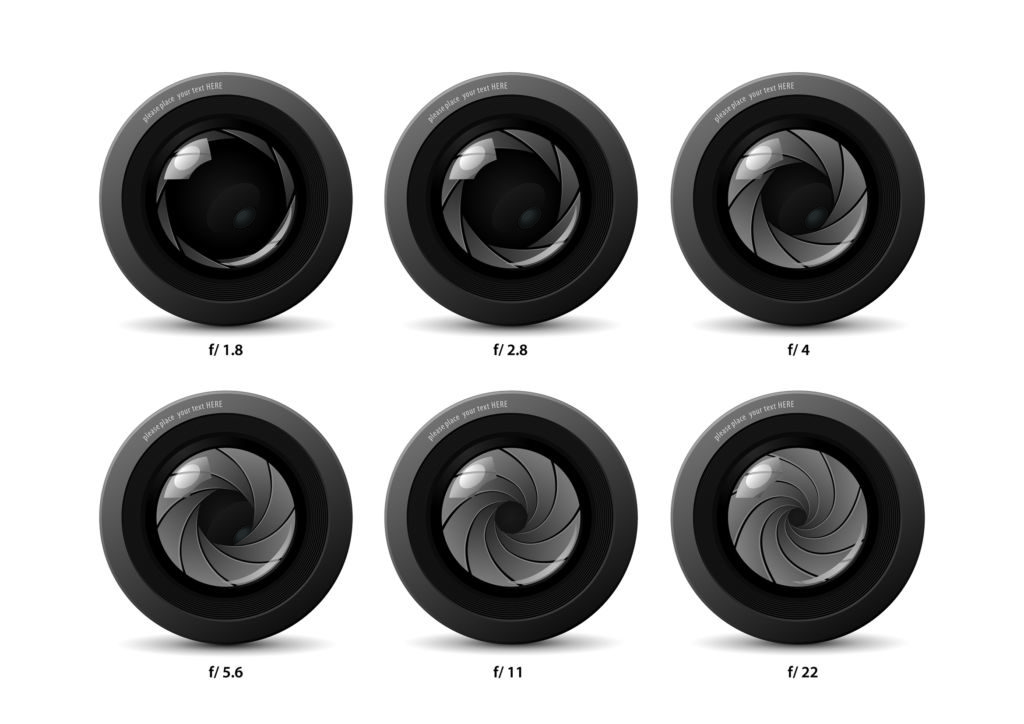
In aperture priority, use the smallest F stop number available on your lens (usually somewhere between F1.8-F4). This will let the camera calculate everything else and you can focus on your shot. This is what creates that beautiful blurred background and even more levels of separation. The image above shows the aperture blades at different F stops. The more open, the shallower the depth of field is.


Hopefully these tips inspire you to have some fun with your camera this back to school season, and create memories you and your children can cherish forever. Remember to print your photos and remove them from the digital-only realm. Prints are great for framing, but you can also use these images in lots of other creative ways, like on a mug for grandma, or on next year’s family calendar (for the month of September, of course).  Or explore our Photolab website for many more unique ways to share your child’s first day of school memories.

The Ultimate Guide to Personalizing Your Wedding Invites & Save-the-Dates

Calling all brides and grooms-to-be! For those who have been waiting patiently this past year to host a wedding in the presence of family and friends, it looks as though the time has finally come to start planning, as COVID restrictions begin to lift!

With so many weddings pushed until later in 2021 or until 2022, as well as many newly engaged couples looking to tie the knot in the next year, it’s best to get those save-the-dates out as soon as you can! That way, you can ensure your friends and family will have your wedding marked down before their calendars fill up.

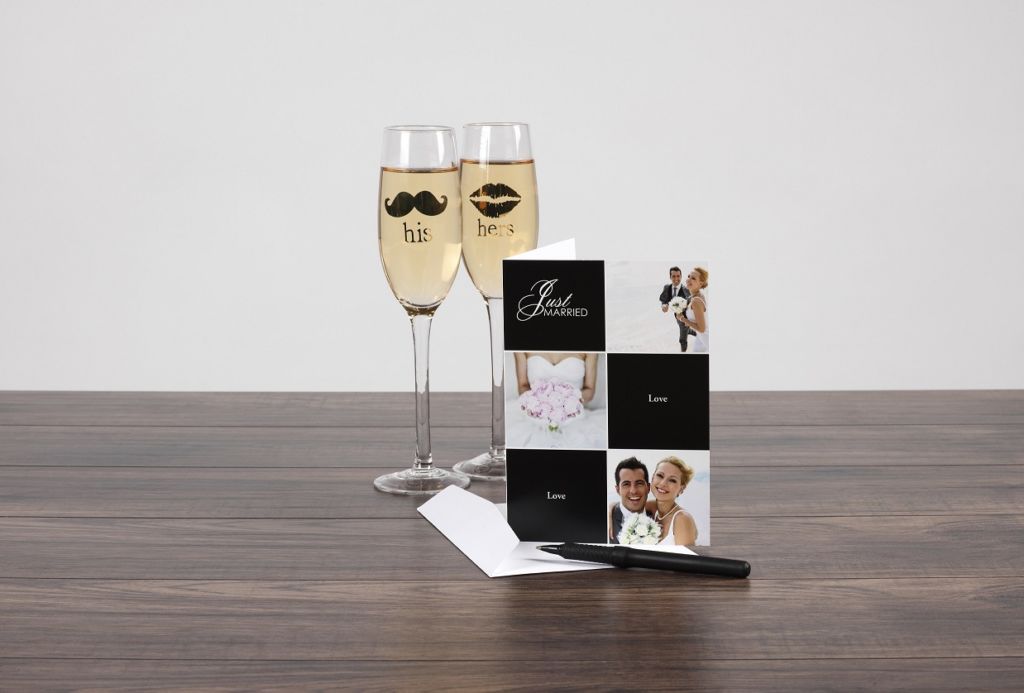
Save-the-dates and wedding invitations are your way to not only announce the details of your big day, but are a chance for you to create a beautiful keepsake that both you and your guests can cherish. To make those keepsakes extra special, adding some personalization is important. With the help of our Photolab, you can create one-of-a-kind wedding cards, like save-the-dates and invitations, that truly capture the love you and your partner share.

Feature Your Photos

Before we dive into all the ways to design your save-the-dates and wedding invites, let’s talk about photos. Many photographers offer wedding photo packages that include engagement photos. This is not only a great way to get comfortable with your photographer and being in front of the camera before your big day, but is also a way to get some photos ahead of the wedding that you can then use to personalize your save-the-dates and invitations.

If you haven’t shot your engagement photos yet, let your photographer know that you’d like to use some photos for your save-the-date and invitations, and they can help plan out a shoot to fit the look and feel that will match your cards.

Here are a few tips to keep in mind, from some local wedding and engagement photographers:


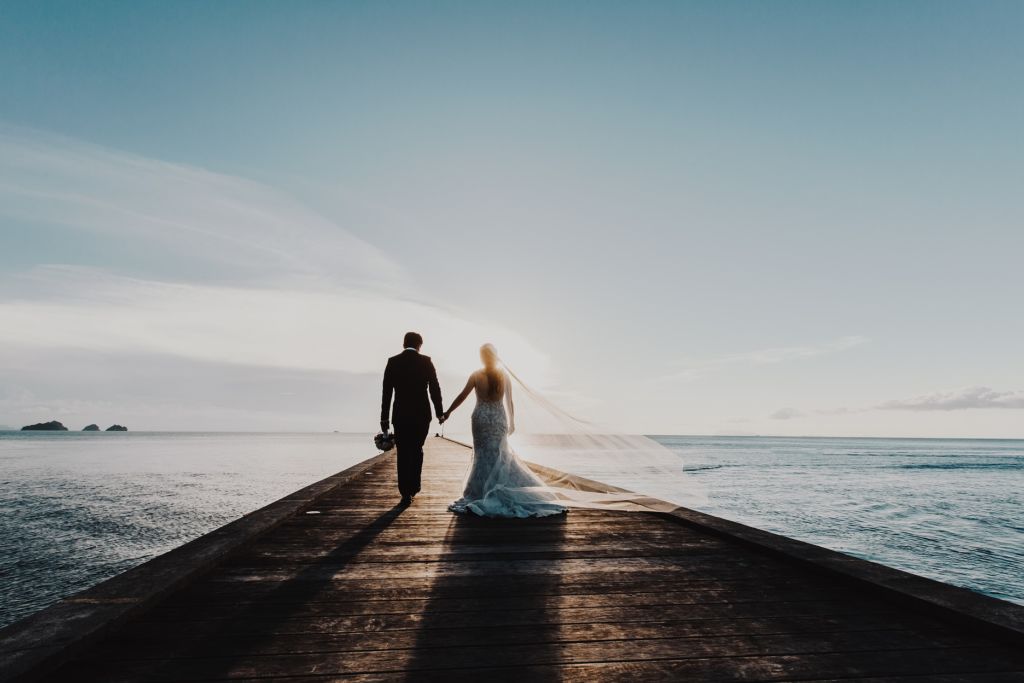
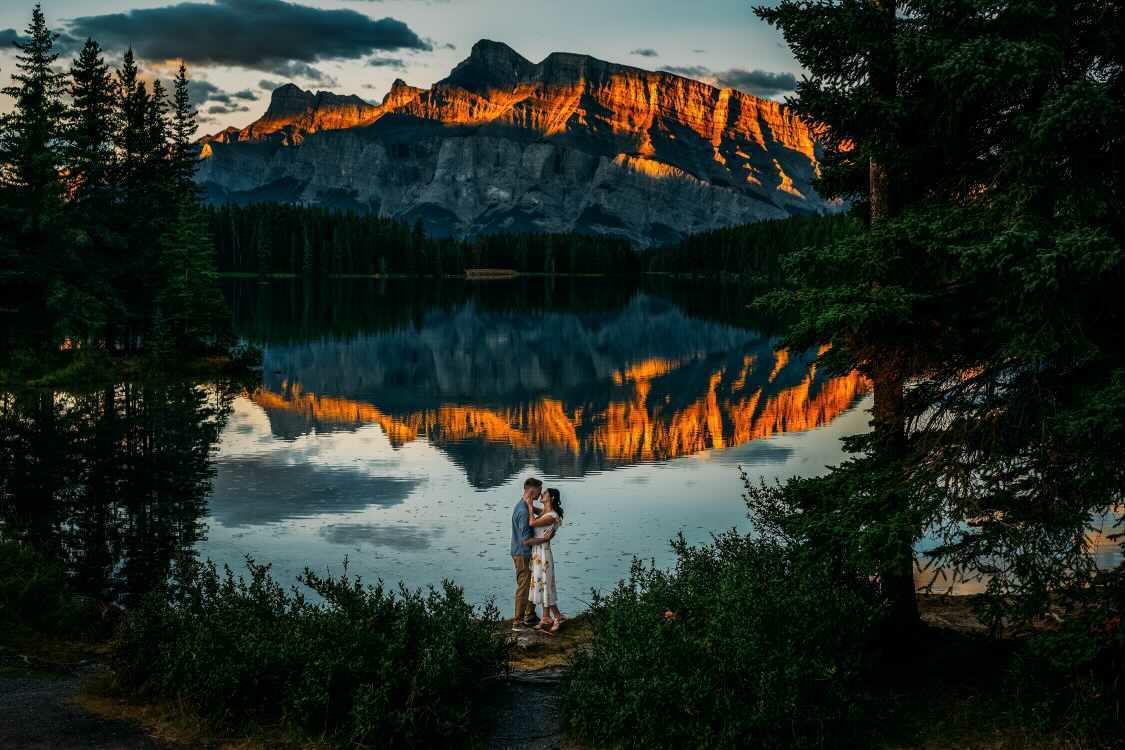
1. Do your shoot during golden hour

Photo Credit: @bdfk_photography

“The most important thing is to ask the photographer to take the photos at sunset or sunrise. It is golden hour for the photographer when the lighting conditions are the best. We took this photo during sunrise. We prefer to shoot during sunrises because there are not a lot of people around. Most of the time we are shooting alone with the couple, so the couple will be more relaxed, when there is nobody around looking at them.” – @bdfk_photography


2. Strive for real vs. ‘perfect’ moments

Photo Credit: @justinerussophotographer

“Don’t worry about getting ‘perfect’ photos, let yourselves be seen as you are together. Whisper inside jokes, think about how excited you are to marry this person, and have fun with it! Bring drinks, choose your favourite spot for photos, wear your favourite outfit and have fun with it!” – @justinerussophotographer


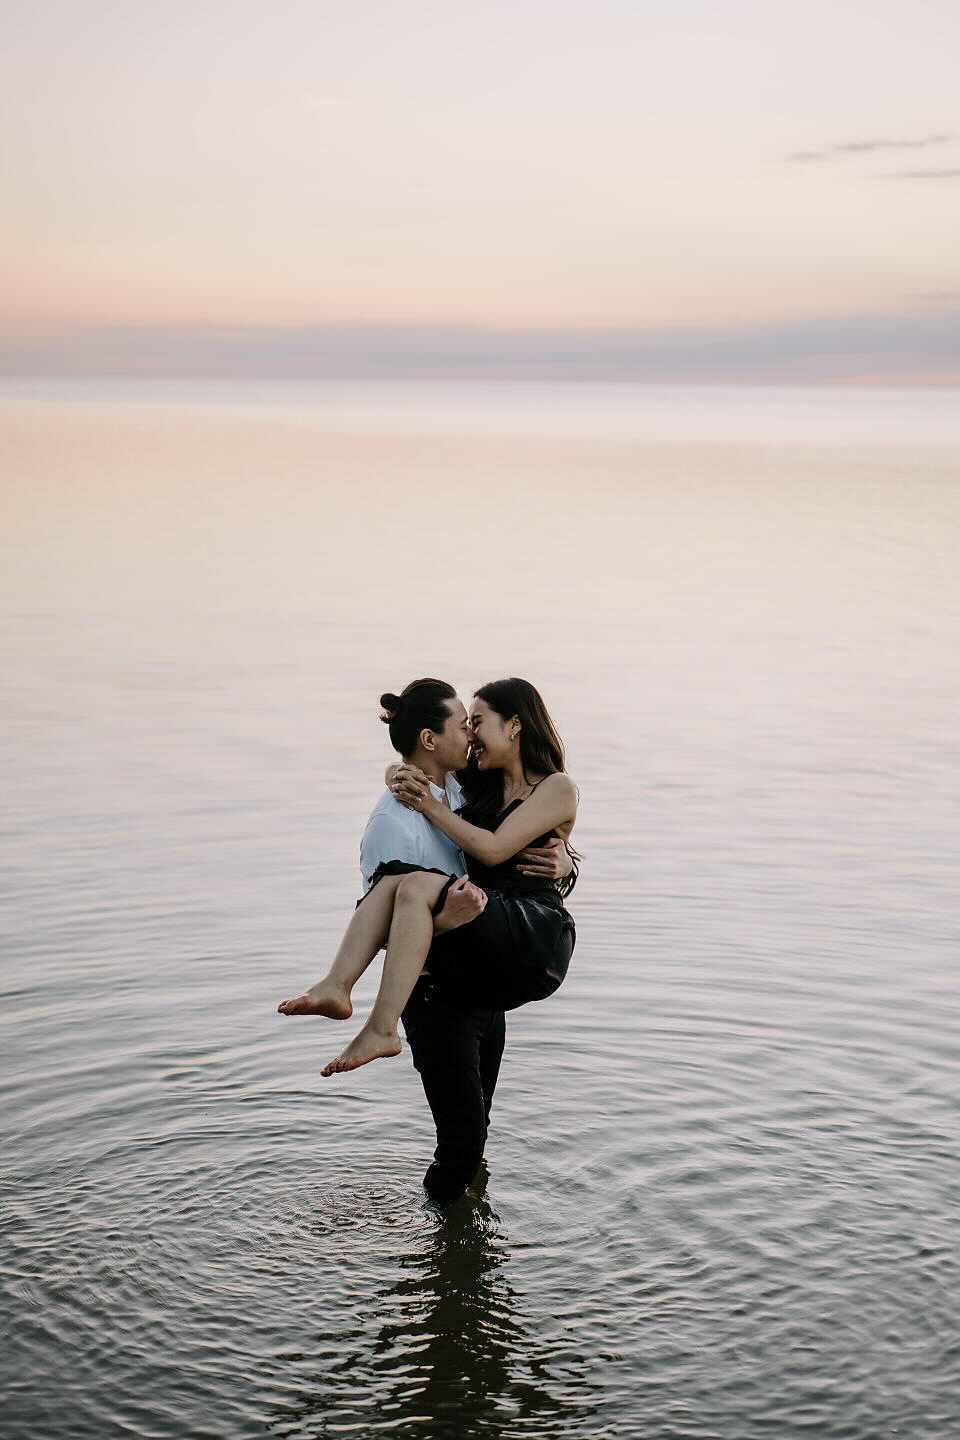
3. Splash around and let loose

Photo Credit: @cojophoto

“Plan your engagement session at the beach, for sunset! Bring a bottle of champagne and pop that bottle for all the fun! Be prepared to get in the water and splash around and just let loose! You won’t regret it and it will be something you’ll remember forever” – @cojophoto

If you aren’t doing engagement photos, then why not dig through your old photos together? You’re bound to find some gems. Maybe it’s a photo from when you first met – or that as well as a photo of you two now, to show how you’ve grown together. Another great place to look is photos from other weddings you’ve been to together. Wedding photographers often capture great candid shots of guests, so if you can get your hands on a photo of you two together, that could be the one!

Save-the-Dates

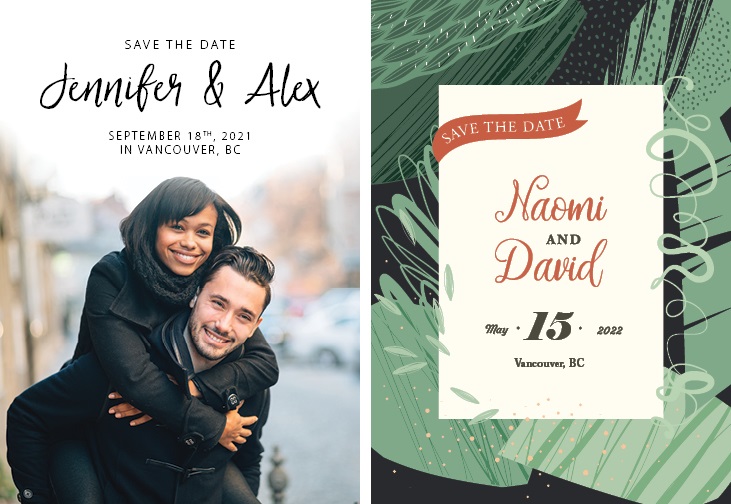
The function of your save-the-dates is to give your guests a sneak peek at what to expect for your wedding (and to literally save the date in their calendar, of course). For instance, if you plan to have a formal wedding, it makes sense to give your save-the-dates a more formal tone too. Our Photolab has a selection of save-the-date templates so you can find the right one to set your tone.

Save-the-dates are often printed on a flat card, as it’s a smaller amount of info being shared than the full wedding invitation. We have both single-sided photo cards and postcards that fit the bill. For the postcards, you can choose from 9 specialty papers (see below), which can also help you set the tone of your save-the-dates. If you’re planning to send your save-the-dates by mail, our postcards are a great choice; you’ll be able to just stick on a stamp and an address and pop them in the mail!

Specialty papers Techweave, Woodgrain and Stipple not pictured here. Visit your local London Drugs Photolab to see samples.

The next step is to upload photos to the template to fully personalize your save-the-dates. As we mentioned above, engagement photos are a great choice. Or, just pick a favourite photo you have of the two of you.

Of course, your save-the-date is also meant to share key wedding details with your guests. Below are a few things to consider including on your cards. In addition to personalizing your save-the-dates with photos, our templates give you the ability to add text as well.

Details to include on your save-the-dates:

  • You and your fiancé(e)’s names
  • Wedding date
  • Wedding location (doesn’t need to be the venue name – can just be the city)
  • Wedding website URL (which may have additional info available for guests, including your gift registry)
  • ‘Invitation to follow’ or another phrase that lets your guests know if you will also be sending out a wedding invitation at a later date

Generally, it’s recommended to send out your save-the-dates 4 to 6 months before the wedding, to allow your guests enough time to book off the date and/or make travel arrangements.

Wedding Invitations

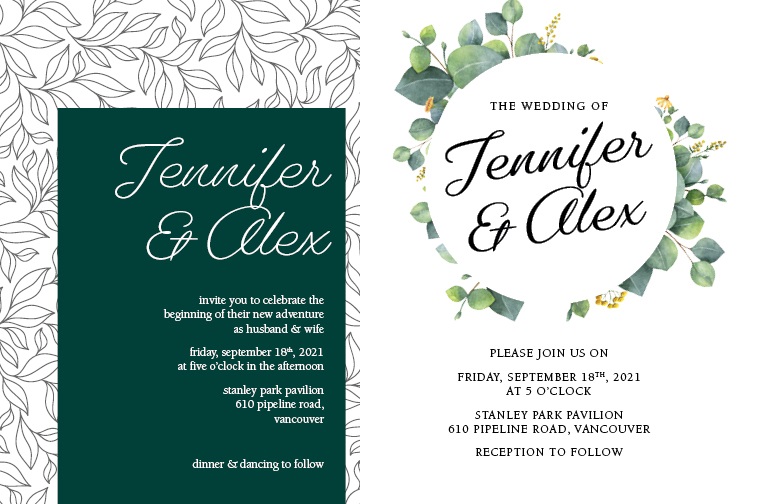
While save-the-dates are often single-sided cards, wedding invitations can also be double-sided or folded. After all, there is more information to share! Based on your preference, you can choose from our single-sided photo cardsdouble-sided cardspostcards and folded cards. Like the save-the-dates, our postcards can be printed on specialty paper, as can our double-sided and folded cards. All of our cards (excluding postcards) also come with envelopes included, so you’ll be all set to add addresses and send them off.

In addition to choosing your card style and template, just like the save-the-dates, you’ll be able to completely personalize your wedding invitations digitally with photos and text. Invitations don’t always have images included, but if you’d like to personalize with a photo or two, you could use some additional photos from your engagement shoot if you did one, or select photo(s) you already have of the two of you.

Your invitations will give your guests a full picture of your wedding day, beyond the limited info on your save-the-date. Here are some details we recommend including on your wedding invitations:

  • You and your fiancé(e)’s names
  • Wedding date and time
  • Wedding location (venue details)
  • Dress code
  • Wedding website URL (which may have additional info available for guests, including your gift registry)
  • Info on how to RSVP and RSVP deadline (either a separate RSVP card, or a wedding website URL)

Pro tip: Create a Photolab account so that you can save a copy of your personalized wedding invitations. That way, if you need to re-send an invitation or send more invitations, you’ll still have a copy ready to order again! This is also helpful if you need to send out a second round of invitations, as you’ll be able to update the RSVP deadline date if necessary.

Depending on if you’re sending your wedding invitations internationally or within the country, the rule of thumb is to send them out 12 weeks or 6-8 weeks ahead of your wedding date, respectively.

Thank You Cards

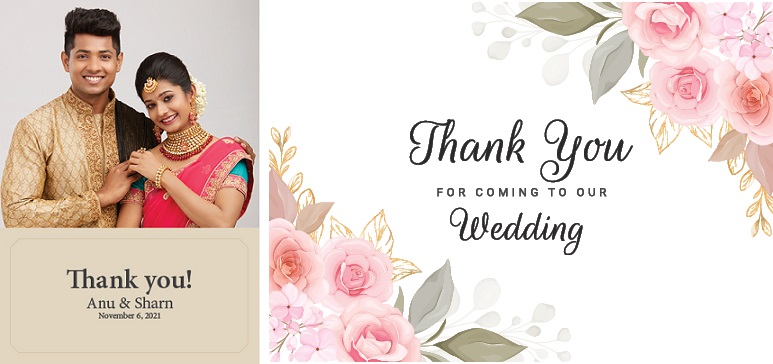
Once you’ve said your I Do’s, it’s customary to send out a final card to your guests. A wedding thank you card allows you to personally thank your guests for joining you on your special day, as well as let them know your appreciation for any wedding gifts they may have given you (don’t forget to keep track of which gifts are from which guest).

Thank you cards are also a great way to share some of your favourite photos from your wedding day! Ensure you receive a digital copy of your photos from your wedding photographer, so that you can incorporate some of them into your thank you card template. Some people also like to tuck a couple individual print photos into the card for guests; easy enough – just choose a print that will fit inside your selected card style (you’ll want to go with folded cards for this one).

You could also use our thank you card templates for other wedding-related events like your bridal shower. Thank your guests for attending and for any gifts you received, and let them know you’re thrilled they will be there with you on your wedding day.

Pro tip: Rather than adding a handwritten note to each of your cards, save yourself the hand cramp by personalizing each of your thank you cards digitally! Once you’ve created a Photolab account and have saved your personalized card, you’ll be able to update it for each guest. Then simply add each card to your order.

Thank you cards are usually sent out within 3 months of the wedding.


Need some help creating the perfect wedding invites, save-the-dates or thank you cards? Visit our LDExperts at any London Drugs Photolab! You’ll be able to personalize your cards using our in-store kiosks, and our LDExperts will be there to answer any questions you might have. If you’re ready to get started right away, just hop over to our London Drugs Photolab website to start customizing!


Digital Downloads: Easily Print and Display Canadian-Made Art

Photo credit: @saraboychukphoto (shop featured digital print)

Filling your home with beautiful, locally-made prints has never been easier! Digital downloads have become extremely popular as of late, and they have made acquiring new décor for your house as simple as clicking a button.

Many local artists, bloggers and photographers have digital prints or ‘printables’ available for purchase (or in some cases, for free!), which can easily be downloaded straight to your computer. These digital prints are usually also available in several sizes, so you can decide which will suit your space and frames best. Once you download the file, you can then simply upload to our Photolab and order as many high-quality prints as you like (for personal use – more on that later) on whatever print surface you like! With in-store and curbside pick-up available at your local London Drugs, we can have your prints ready for you in record time. Many people find digital downloads to be a great way to update their space with locally-made art, as the process can be faster than waiting for a physical print to ship in the mail from the seller, and allows greater flexibility in terms of display.

Below are just a few local options to source digital prints to decorate your home. You can also hop over to Etsy, where there are virtually endless choices for digital downloads for sale from local Canadian artists and photographers!

Fraîche at Home

Photo credit: Fraîche at Home (shop featured digital print)

Photo credit: Fraîche at Home (shop featured digital prints here & here)

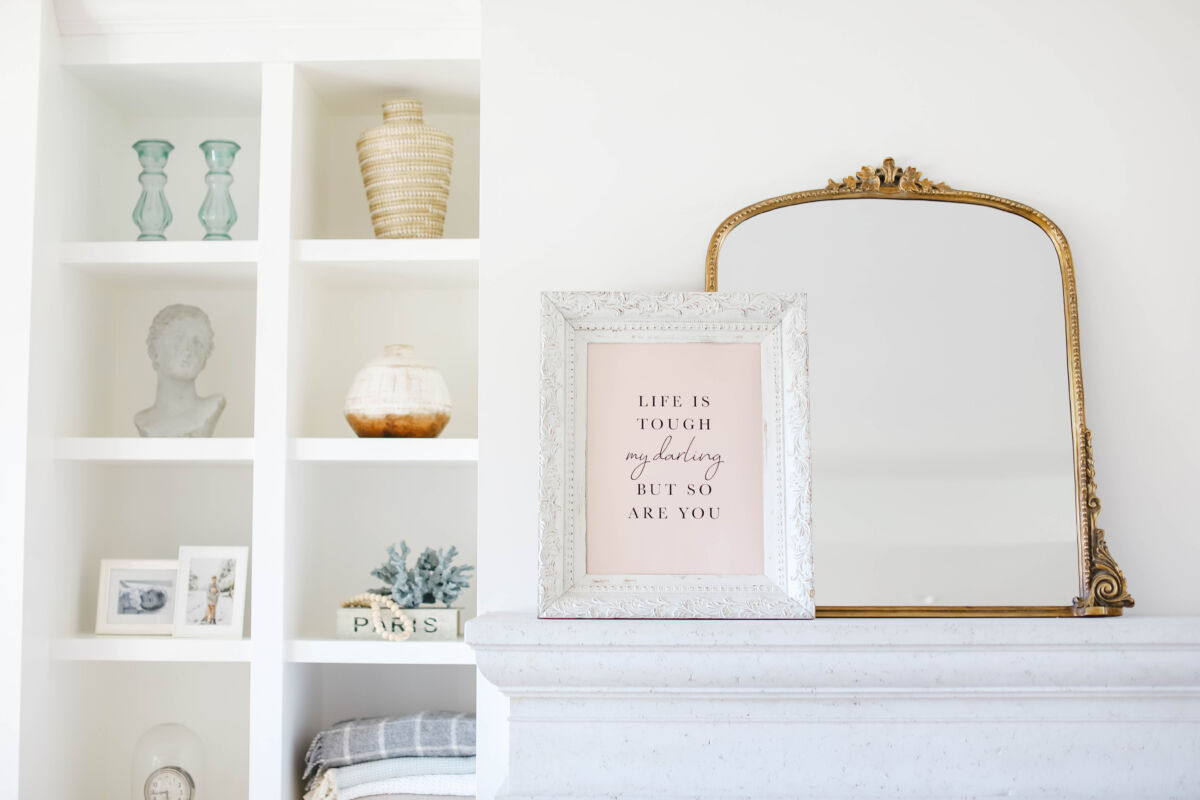
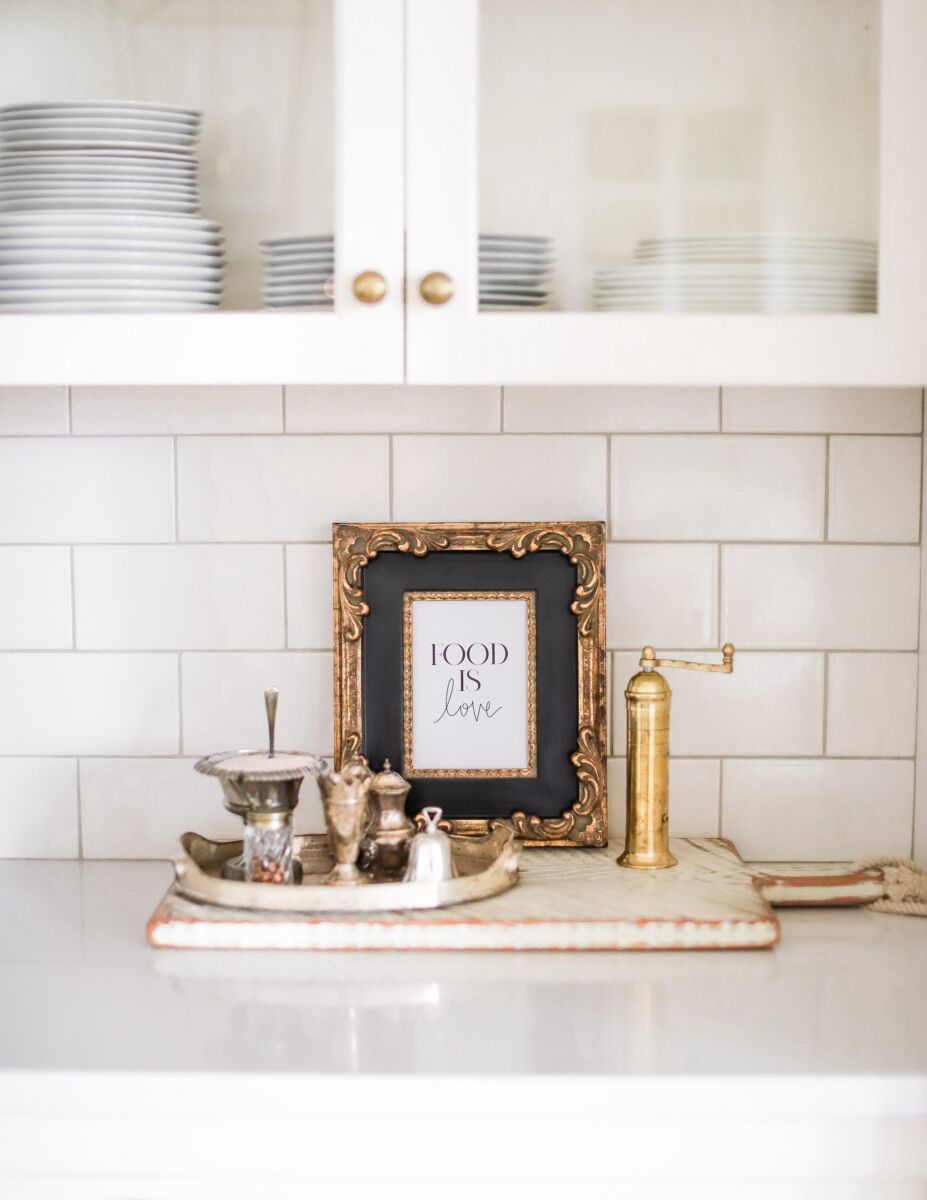
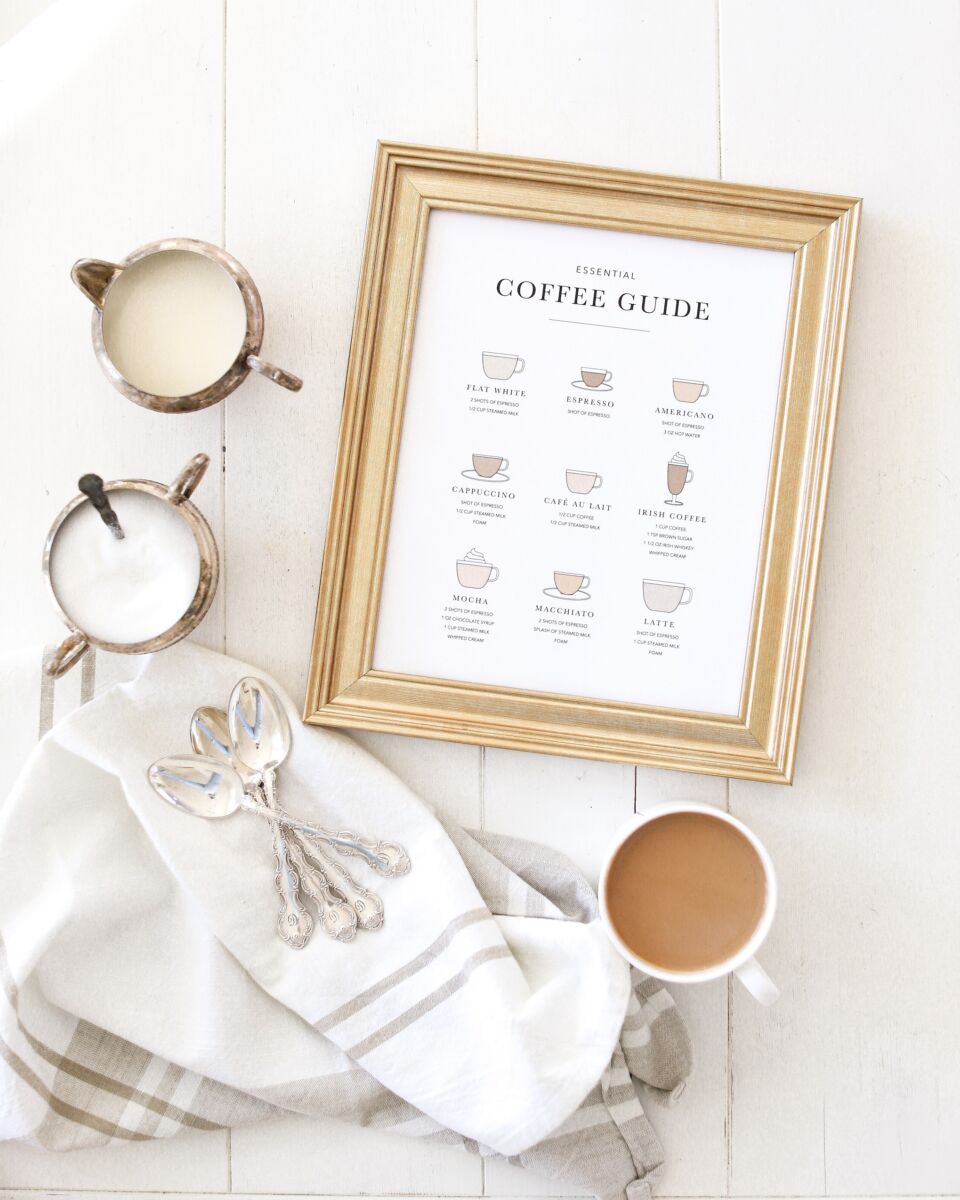
Tori Wesszer of Fraîche Living, who is known for her aesthetically pleasing and delicious recipes, also has a collection of style-forward digital prints for the home – many specifically for the kitchen! From coffee guides and recipes to inspiring quotes, all of Fraîche at Home’s prints will add a special touch to your space. They also make a great gift for a foodie! Her digital prints start at just $10.00.

Sara Boychuk Photography

Photo credit: @saraboychukphoto (shop featured digital print)

Photo credit: @saraboychukphoto (shop featured digital print)

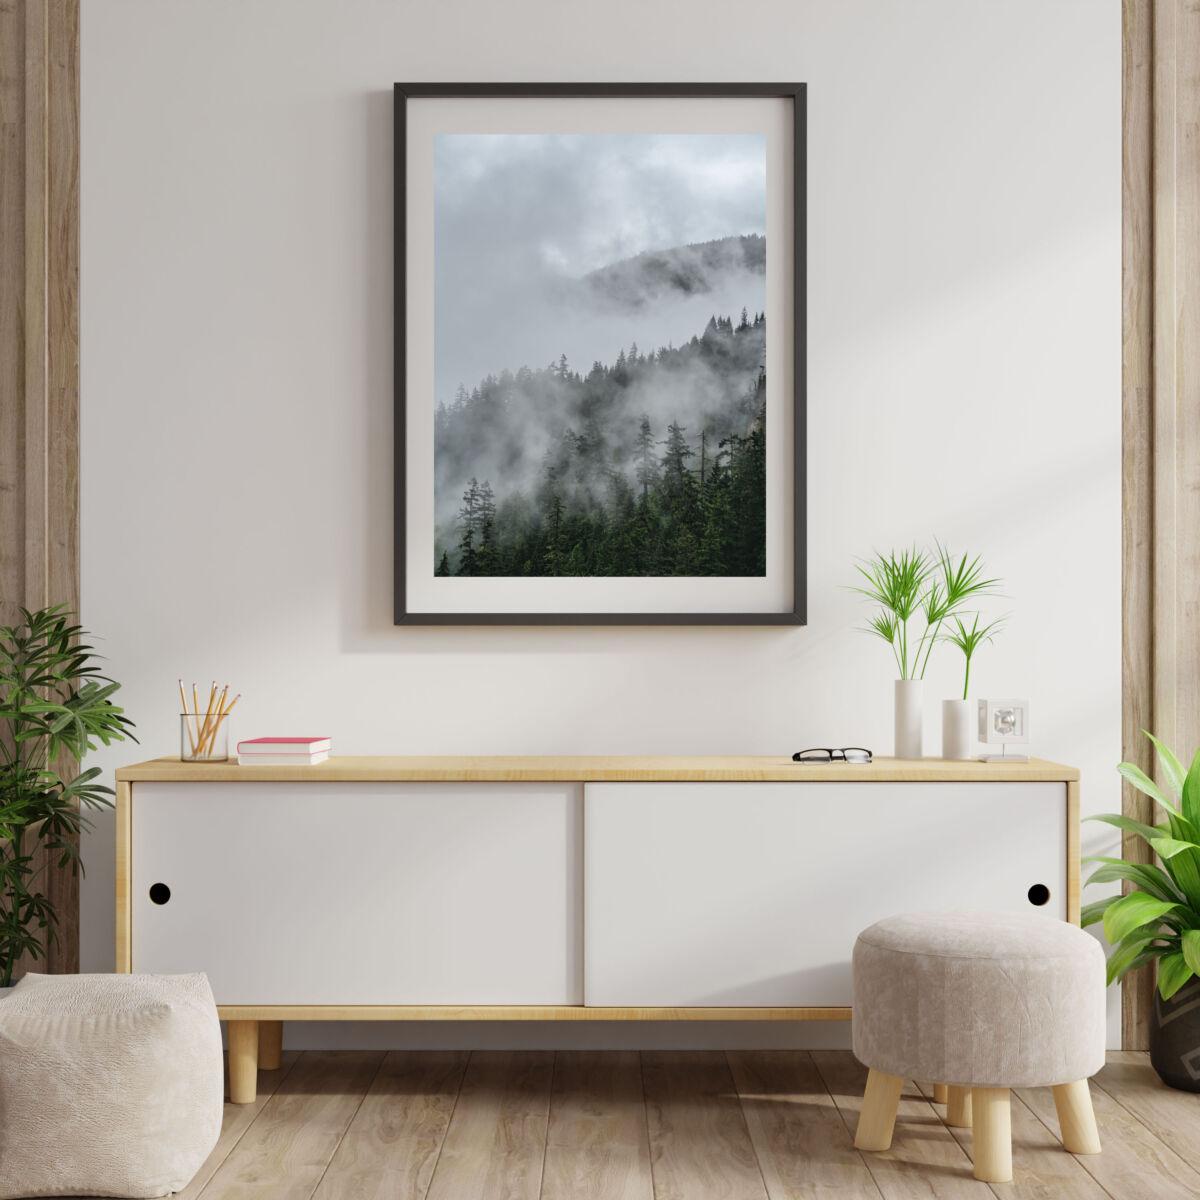
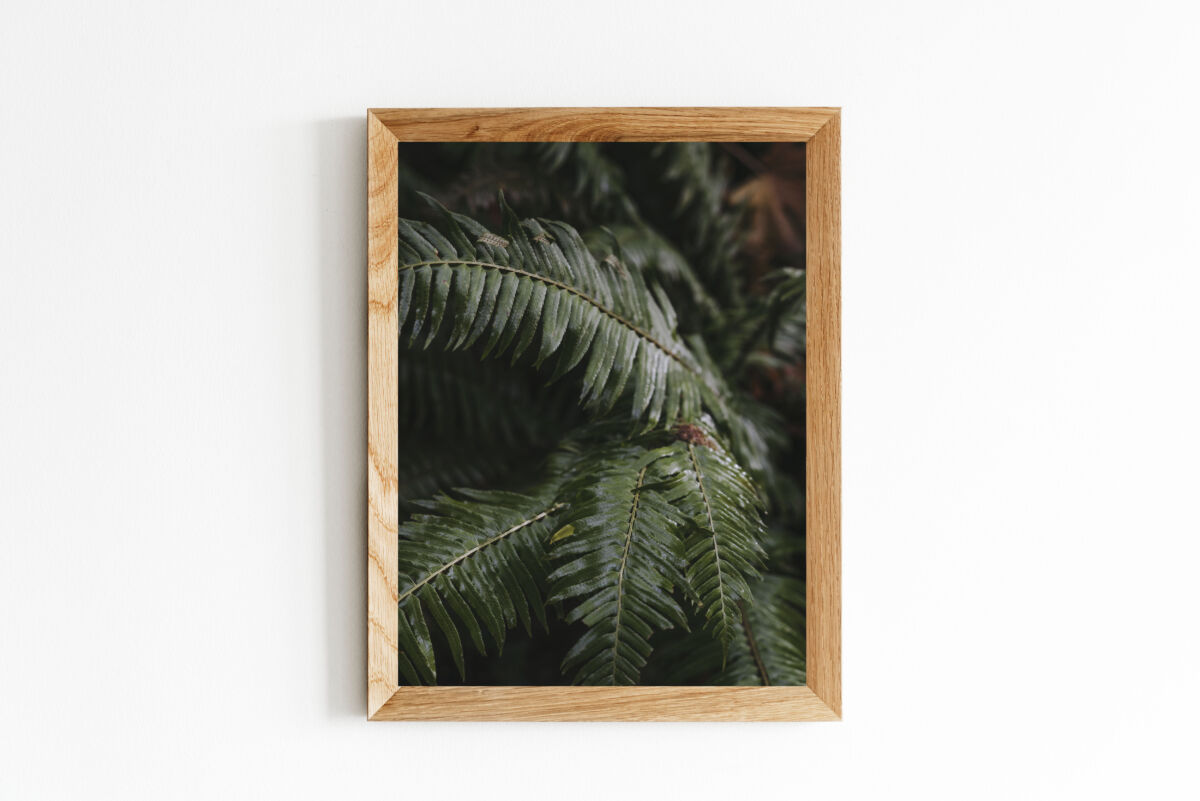
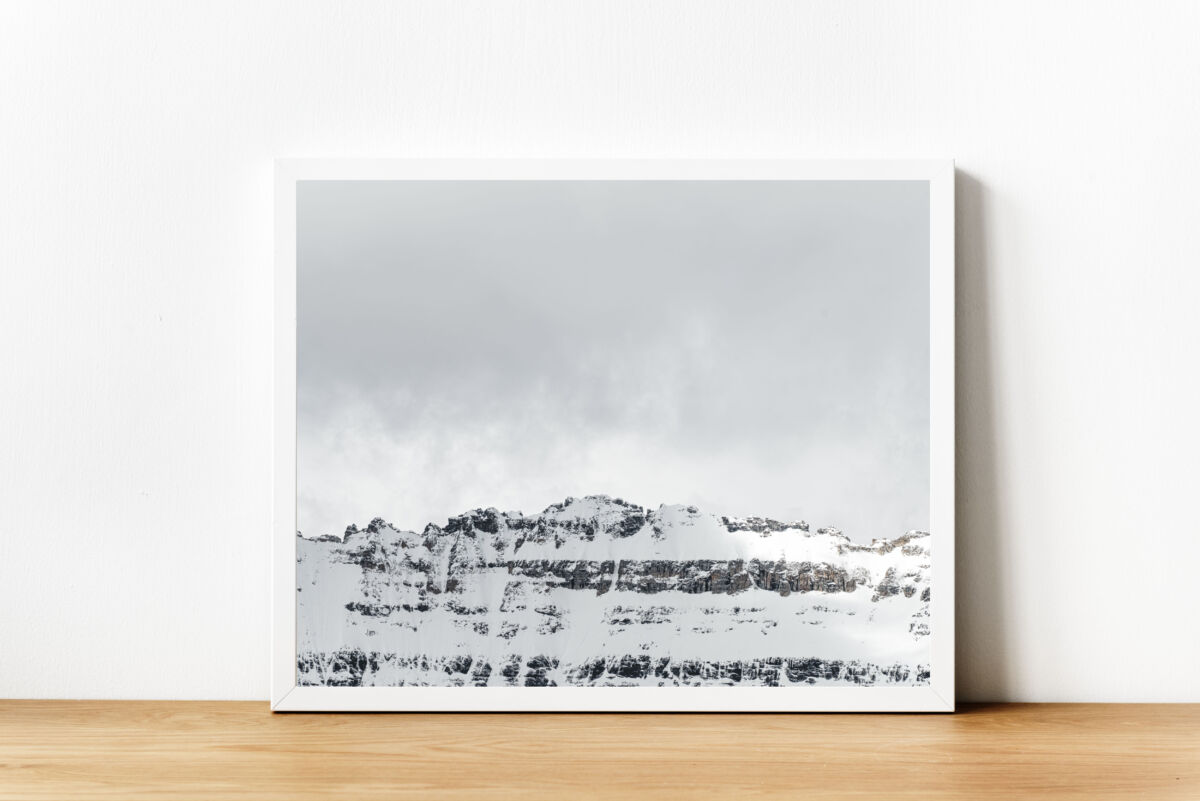
Photographer Sara Boychuk’s Etsy shop has a selection of wall art for digital download, featuring scenic landscape images. Her photography captures the beauty of Canada’s great outdoors, with images of the Rocky Mountains to the lush forests of the West Coast. They will add a truly Canadian feel to your home! Her digital downloads are available for as little as $10.00, and she’s even added new prints (including the 2 above) in anticipation of this blog feature, so be sure to check them out!

Clean & Scentsible

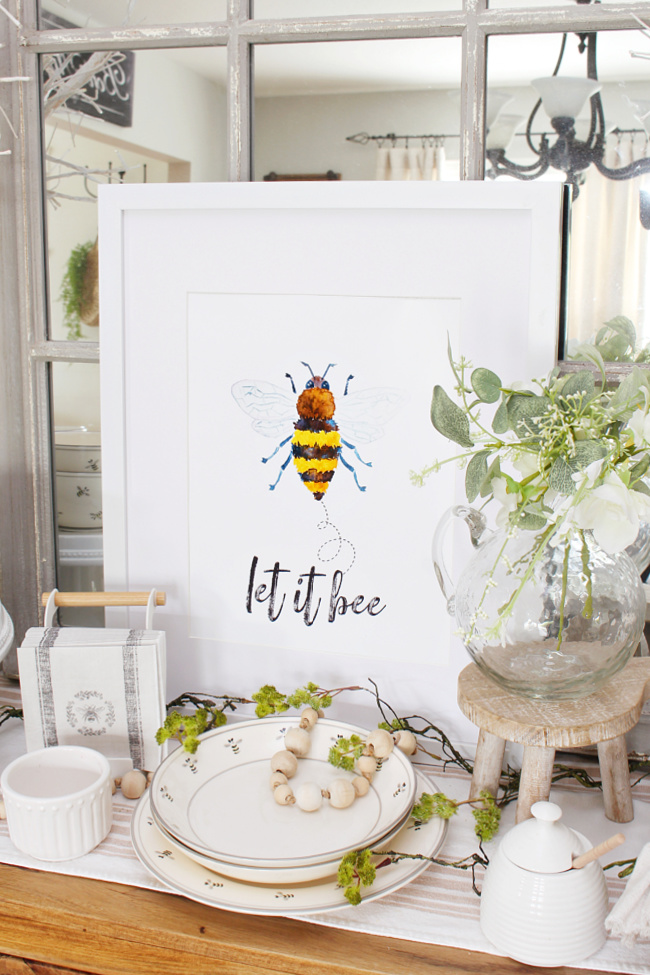
Photo credit: @cleanandscentsible (download featured digital prints here & here)

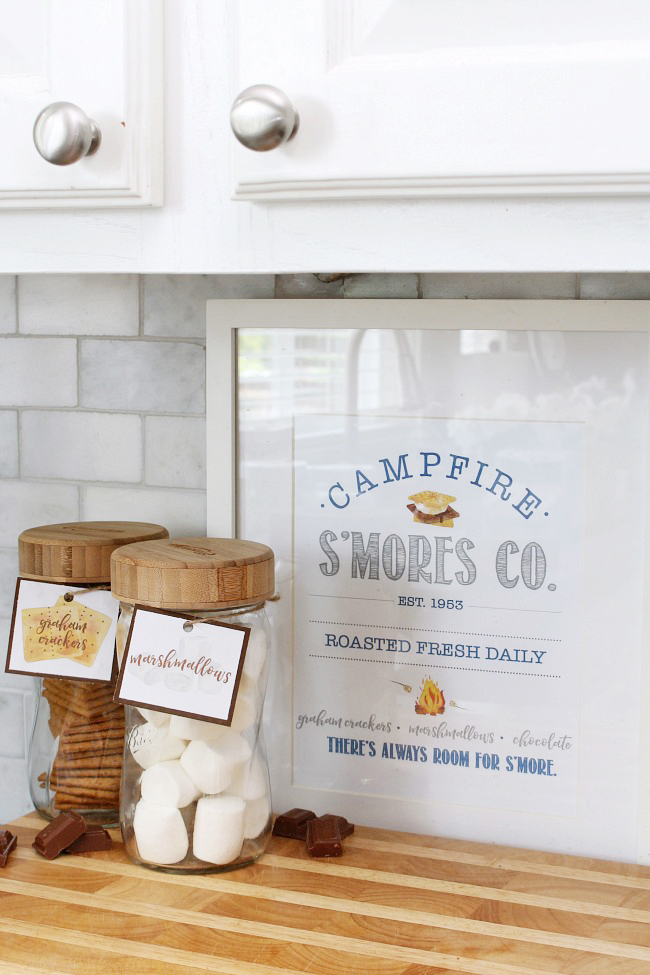
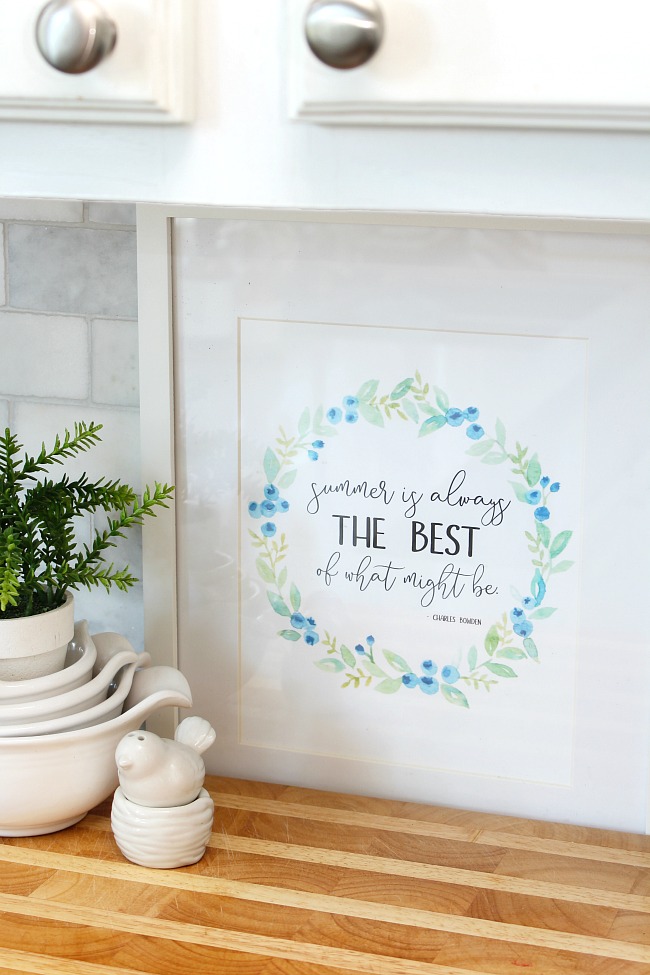
Photo credit: @cleanandscentsible (download featured digital prints here & here)

Jenn of Clean & Scentsible releases the sweetest printables seasonally, to help keep your home feeling fresh and welcoming! Some of our favourites right now include her cute bee and honey printables, lemonade printables and s’mores printables. The featured printables you see above were all printed as 8×10 or 11×14 pearl prints from our Photolab. They’re great for styling a snack table, or just to display in your kitchen or really anywhere else in your home. Jenn kindly offers all of her printables free of charge for personal use!

Printing Your Digital Downloads

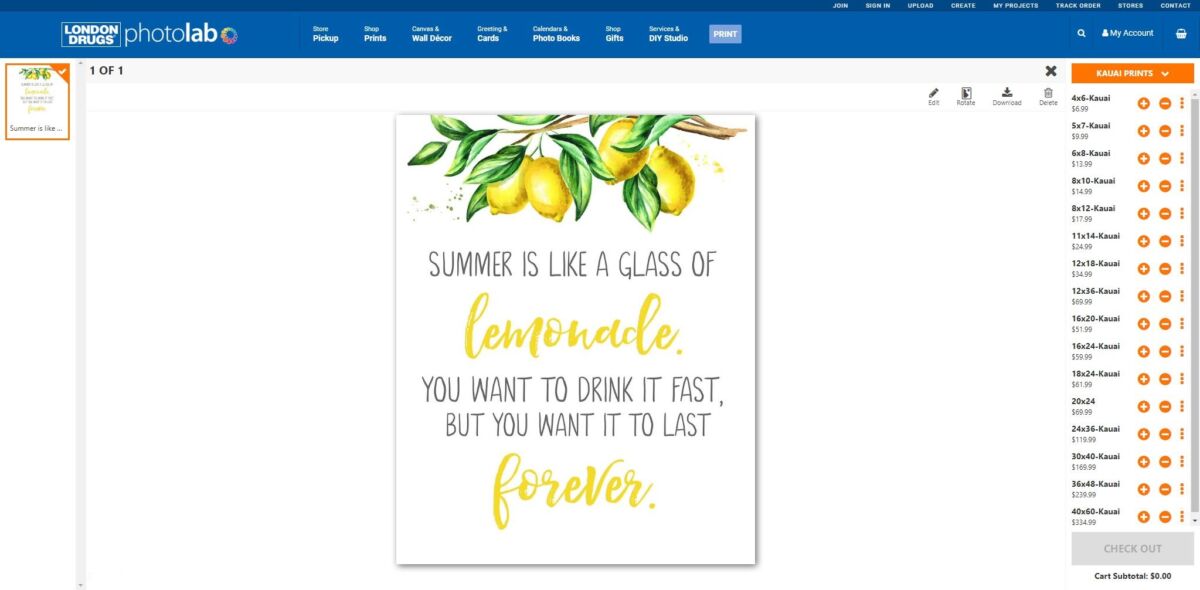
Ordering a print of Clean & Scentsible’s lemonade printable on our Photolab website

Printable Sizing

Before making your purchase, make sure to check the sizing of the printable. Our Photolab can print a wide variety of standard and enlargement sizes, but it’s best to double-check to make sure the print isn’t a custom size. If you don’t see a standard print size offered, you can always reach out and message the seller to see if they are able to offer the print in a different size.

Also, just be sure before you purchase that you are purchasing the digital file, as some artists do offer both digital and print versions of their work.

Quick and High-Quality Printing

Digital downloads offer a quick and easy way to get new prints up on your walls. A few clicks online and you’ll have a digital print ready to download. Then it’s as simple as uploading it to our London Drugs Photolab to order in the print size and surface of your choosing! We have a wide range of sizes for high-quality glossy and pearl prints/enlargements, as well as fine art papers including canvas, bamboo, Kauai and Bartyta to give your printables that gallery-quality look.

Our Photolab also offers prints that come framed and matted, so all you have to do is choose where to display them! Or choose to add foamcore or premium foamcore to select prints.

For extra quick turnaround, make sure to order for in-store or curbside pick-up. Otherwise, we can also deliver right to your home.

Note about Copyright

In most cases, these digital download files are meant for personal use only, and not for commercial use. If you’re unsure, just check with the owner first to better understand the copyrights before downloading and printing.

Custom Art

Many Etsy sellers also offer a custom element to their printables. For example, they can customize the artwork to include a name, or in some cases, the entire artwork can be customized. Be sure to check the ‘description’ section of the Etsy listing to see how your customization preferences should be communicated to the seller.


If you order prints featuring a locally sourced digital download, be sure to tag us on Instagram or Twitter, we’d love to see how you’ve displayed it!


How to Capture Your Canadian Staycation Memories this Summer

Once again, Canadians will be sticking closer to home this summer, but there are still plenty of places to explore right in our own backyard! It’s time to play tourist in your own town, while local destinations are still relatively tourist-free. Here are a few ways you can enjoy your staycation at home in Canada, while still capturing some great summer memories.

Road Tripping

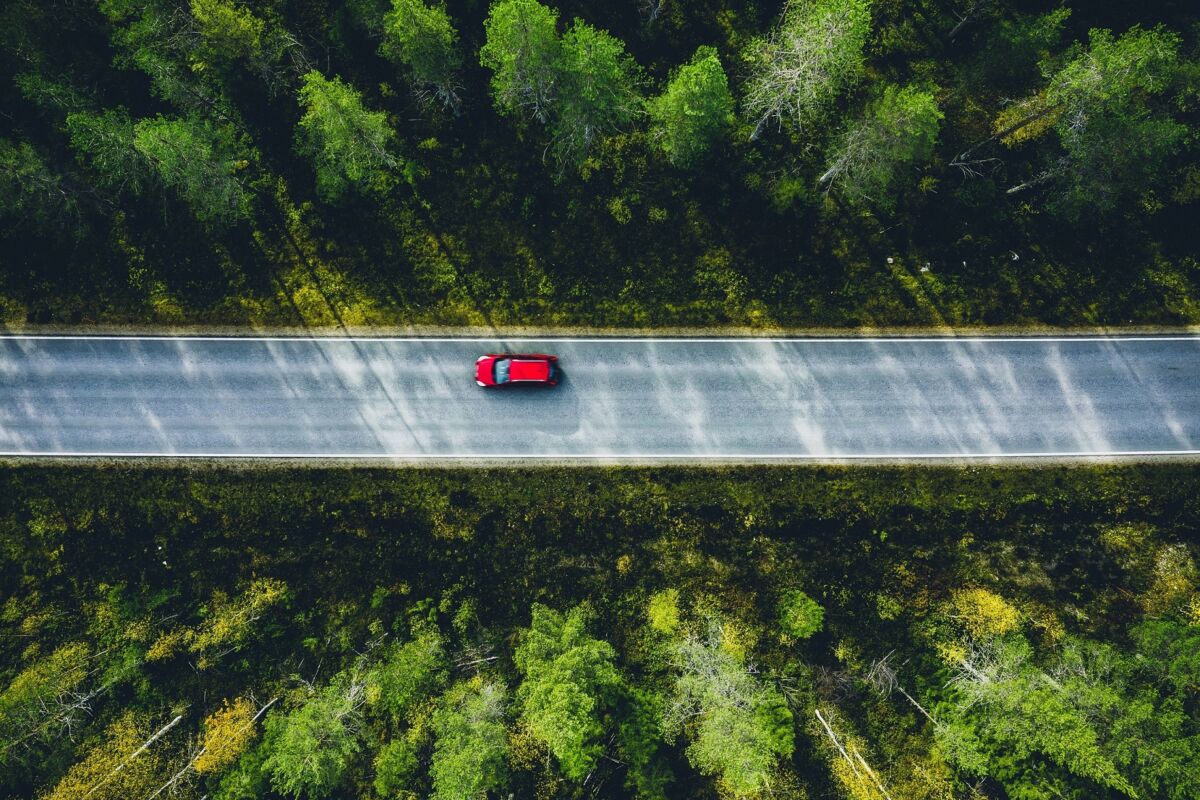
Swap out a flight abroad for a road trip in your own province this summer. Canada has an abundance of natural beauty, so there is plenty to see right here at home! In BC, do a quick day trip up the Sea-to-Sky Highway to Whistler, or a longer drive up the Alaska Highway to Mile 0 in Dawson Creek. For Alberta residents, The Cowboy Trail or the Trans Canada from Lake Louise will make for good road trip memories. In Saskatchewan, Cypress Hills and Grasslands National Park are both worth a scenic drive. Meanwhile, recommended road trips in Manitoba include a drive to Steep Rock which has lots to see along Highway 6, and Yellowhead Highway to Minnedosa Valley.

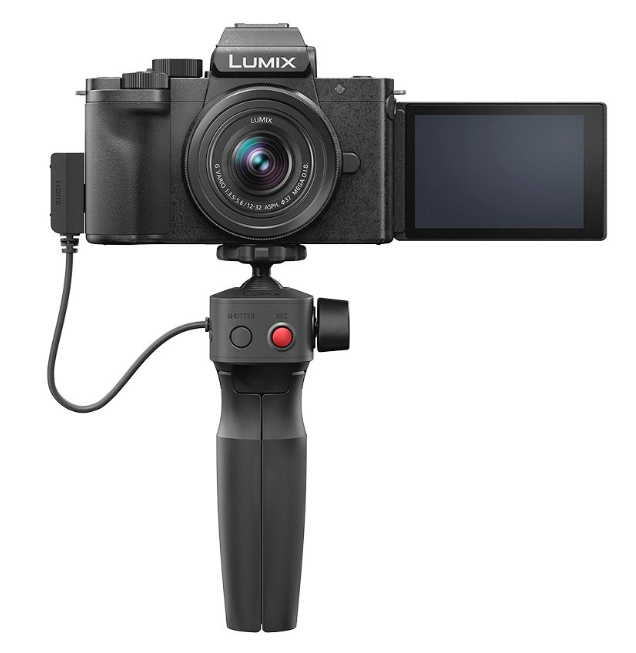
If you’re planning to vlog the experience, having a Panasonic LUMIX G100 Vlogging Camera with Tripod Grip in tow will make capturing the journey a breeze. It has features for both beginners and experts, including 4K video, Frame Marker, V-LogL recording, audio tracking that auto-adjusts, and a lightweight design that supports one-handed recording. The Sony VZ-1 Camera for Content Creators and Vloggers and the Nikon Z50 Creators Kit are also great choices for the budding vlogger. You can check out our full selection of gear for vlogging and streaming here.

If you have a dashcam, you can also turn that video into a time-lapse video to add to your vlog! And another great item to pack is a drone, like one of our DJI drones or Ryze Tech Tello Drone. You’ll be able to capture epic aerial shots along your road trip, from the winding roads to sweeping views. We also offer a Coastal Drone Pilot Advanced Course Bundle to help prepare you for safe flying.

When documenting your road trip in photos, don’t forget to snap photos of mile markers, small-town city signs, scenic views, a couple of good shots of the windy road (we love a photo with some leading lines), and any unique stops you make along the way. Oh, and a group shot of your road trip crew, of course!

Hiking or Camping

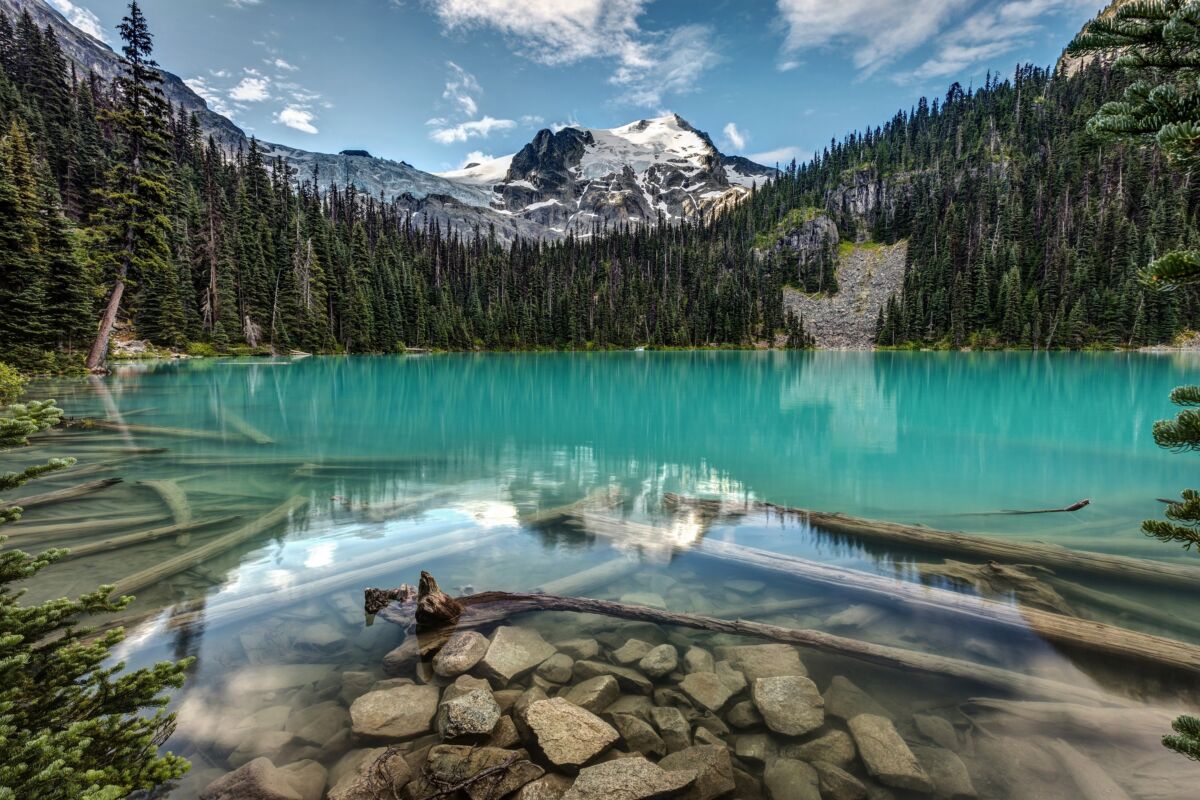
Explore Canada’s stunning outdoor destinations this summer with a hike or some camping (or both!). There are lots of great hikes you may have seen on Instagram but have yet to venture out to – like Joffre Lakes in BC, which has spectacular views and a campground at Upper Joffre Lakes. Starting June 22, backcountry camping reservations will be available for the rest of the season, to accommodate for the increase in demand and to allow visitors to secure bookings in advance. For some picture-perfect hikes in Alberta, check out these 7 suggestions in the Rockies. Saskatchewan is home to Meadowlake Provincial Park which boasts the province’s longest developed hiking trail and has 12 campgrounds with over 800 campsites. In Manitoba, the Spirit Sands & Devil’s Punch Bowl hike at Spruce Woods Provincial Park is a must, plus the park also offers some great camping spots.

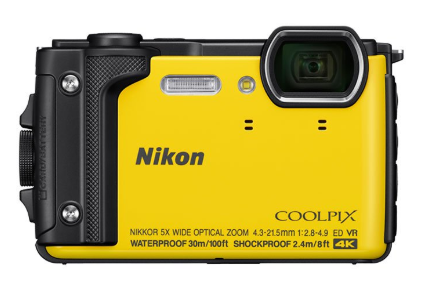
When hiking or camping, it’s a good idea to take a camera along that is rugged enough to withstand the elements, while also offering you great image quality to capture those spectacular views while out in nature. Especially if you’re planning to venture into the wilderness this summer, it’s worth upgrading to a camera like the Nikon Coolpix W300, which is dustproof, shockproof, freezeproof and waterproof. It also offers stunning high-resolution photos, 4K Ultra HD videos, time-lapse videos, superlapse videos and even music montages! The onboard GPS, eCompass, Altimeter, Depth Gauge and more will also help you easily track and view your course, steps taken, altitude, depth, and even atmospheric and water pressure. It’s the perfect hiking and camping companion.

From camping candids to wildlife sightings and landscape views, having your rugged camera by your side will ensure you capture every moment of your time in the outdoors.

Adventuring

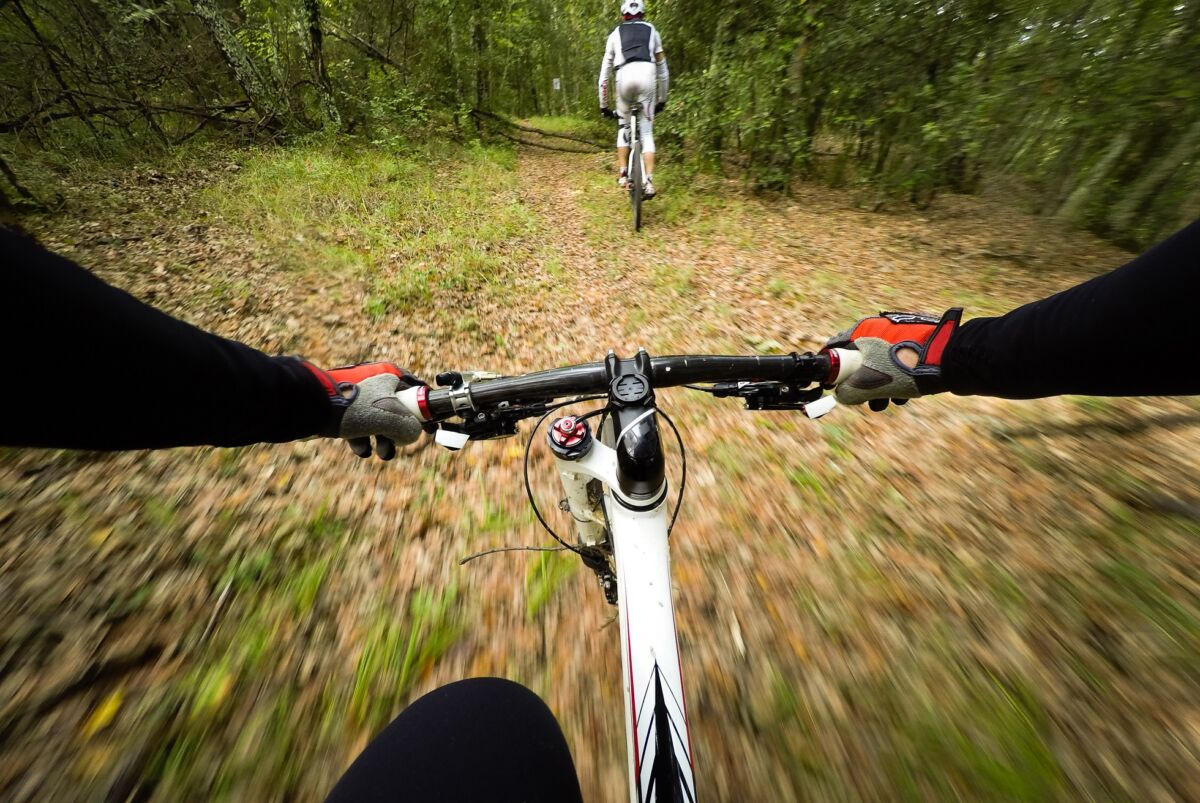
Looking for an adrenaline rush? There are plenty of great options locally – from surfing on the West Coast in Tofino, to mountain biking and ATVing in the Rocky Mountains and on the Prairies. You can capture the exhilarating ride hands-free with a GoPro strapped to you for a unique perspective.

If you’re mountain biking, try the GoPro Seat Rail Mount which captures the action from the back of your seat, or this Handle Bar Mount for a front view. For ATVing, fasten your GoPro with a Vented Helmet Strap if you have a vented helmet, or use one of our Helmet Front and Side Mounts to help capture all the action. Surfers can mount their GoPro right to their surfboard, with the GoPro Surfboard Mount Kit.

Of course, the camera itself is the most important part. We have a selection of GoPro cameras that are rugged and waterproof – exactly what you need while adventuring. With Voice Command, just say “GoPro, take a photo” or “GoPro, start recording” to capture those extreme action shots hands-free.

Pool, Lake or Beach-Going

Summer vacation wouldn’t be complete without a trip to your nearest pool, lake or beach! Take advantage of spots that are close to home this season – check out some of our favourite beaches across Western Canada here.

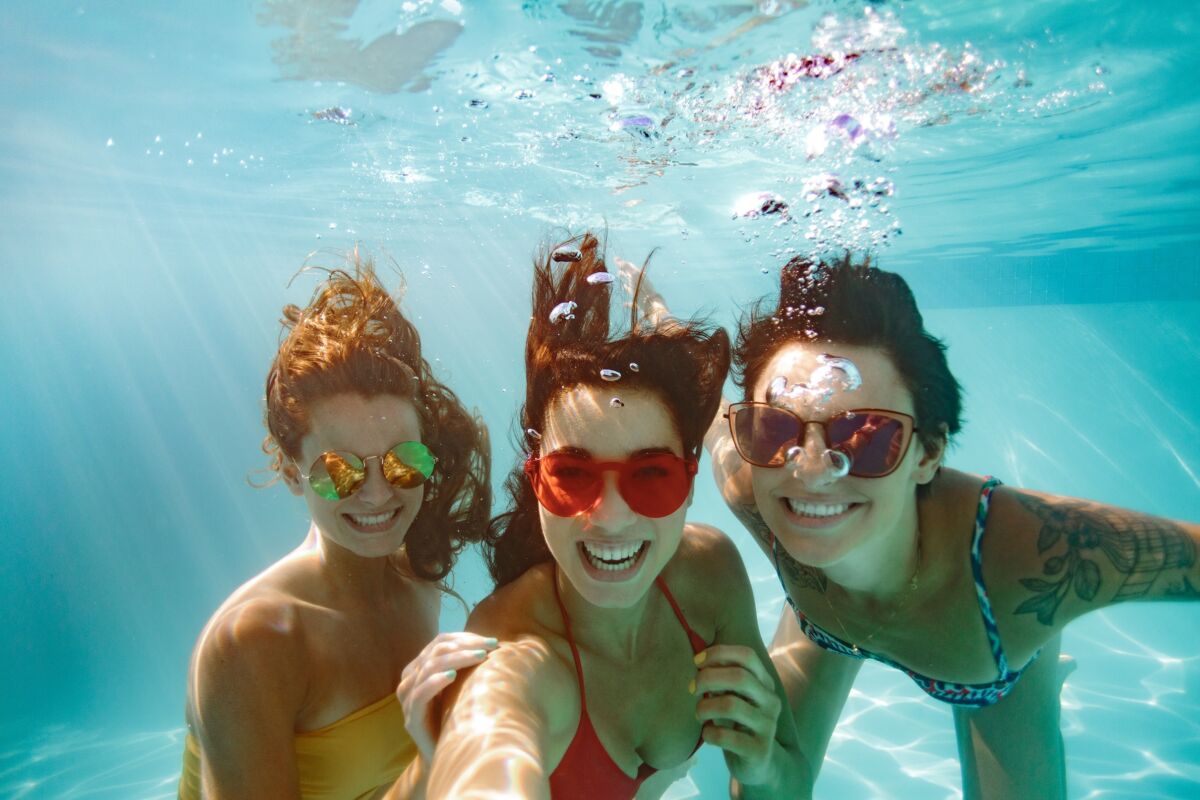
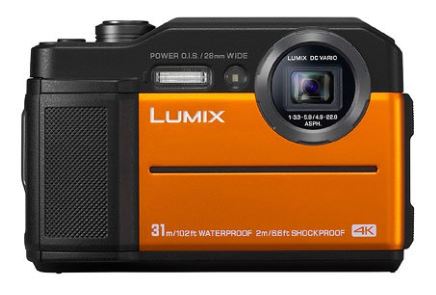
Of course, if you’re going to be by the water, a waterproof camera is a must to avoid any smartphone mishaps. The Panasonic DC-TS7 Waterproof Camera can go down to a depth of 31 metres, so you can not only get it wet, but you can dive right in and get some great shots underwater without any additional waterproof case needed! The viewfinder is also designed for intense sunlight, so no matter how bright it is at the beach, you’ll always be able to compose the perfect photo. You also may want to add a floating strap to your camera, so if you become separated, you’ll be able to spot it floating on the surface. If you’re looking for some tips for taking better photos at the beach this summer, check out our blog on capturing beautiful beach views.

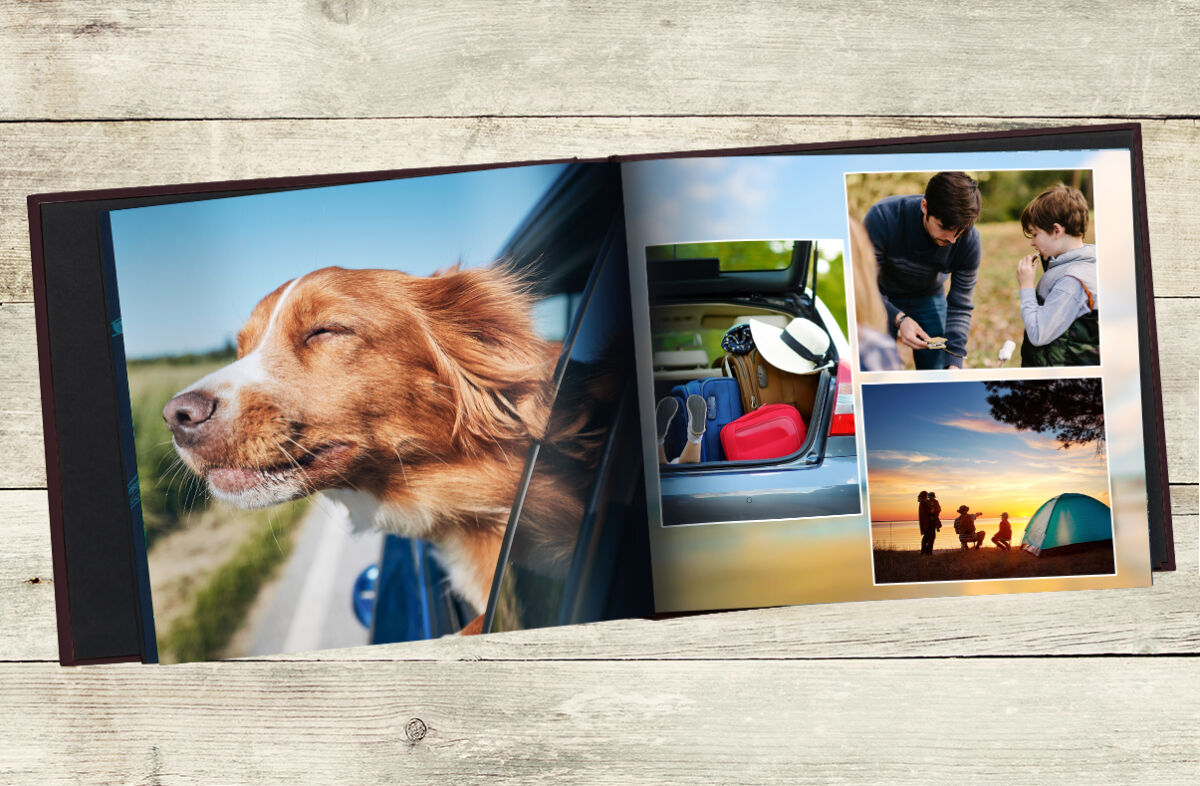
We hope your summer is full of new and exciting experiences this year, even if your plans are a little closer to home. Between driving, camping, hiking, biking and beach-going, we’re sure your camera will be full of photos of your summer adventures in the great outdoors! To preserve those memories, compile your photos into a personalized photo book from our Photolab that you can look back on for years to come. They’re printed on high-quality photo paper with exceptional inks, and every image is reviewed and corrected as necessary by our professional Photolab technicians. You can even customize your photo book’s cover with linen, leather, soft cover and photo cover options. Text can also be added to help document your road trip stops or notate where you caught that breathtaking sunset.

If you took some beautiful scenic shots while on your summer road trip or hike, then you may want to think even bigger! We can print your images as enlargements up to 44×96 in size. Or really take your wall décor to the next level by printing your image on an aluminum metal panel or a canvas gallery wrap.

Click here to get started with printing your summer memories!

3 Ways Photos Can Boost Your Happiness

After a year of isolation and reliance on digital technology to stay connected, many of us are feeling digital burnout. According to a recent study commissioned by Fujifilm Instax, this has made physical items like photos all the more desirable, especially as so many of us are feeling sentimental, missing our loved ones and our regular routines and activities.

Photos are a great way to remind us of the ‘good times,’ but did you know they can actually boost your mood? The Fujifilm study found that 60% of adults reported looking back on old photos when they were feeling unhappy, stressed or looking for a way to cheer themselves up. In fact, 43% felt by simply looking at a physical photo, their mood was boosted, compared to just 12% who said the same about digital images!

Check out these 3 ways that photos can help boost your happiness, and keep scrolling to the bottom for some photos shared by local photographers that represent happiness the most to them (they might just make you smile, too!).

1. Photos can remind you of those you care about

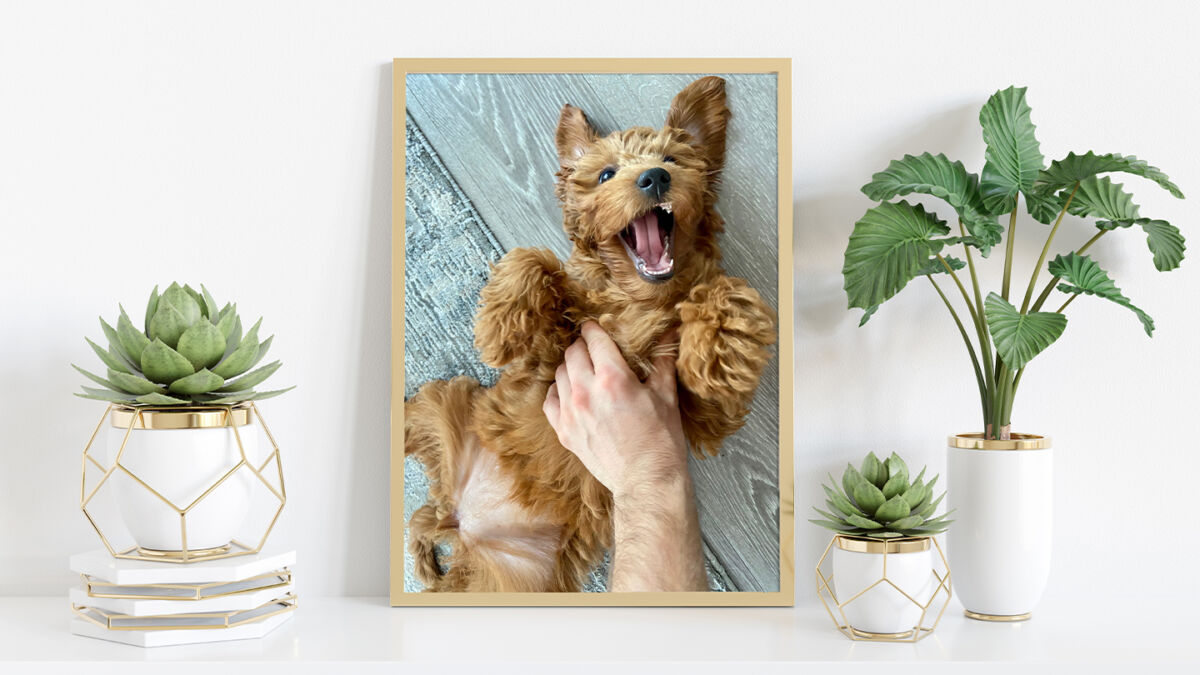
Fujifilm’s study found that 2020 has meant people want more reminders of their loved ones around them (48%). Filling your space with photos of those you love – a significant other, kids, extended family, friends, pets – can help you feel more connected to them.

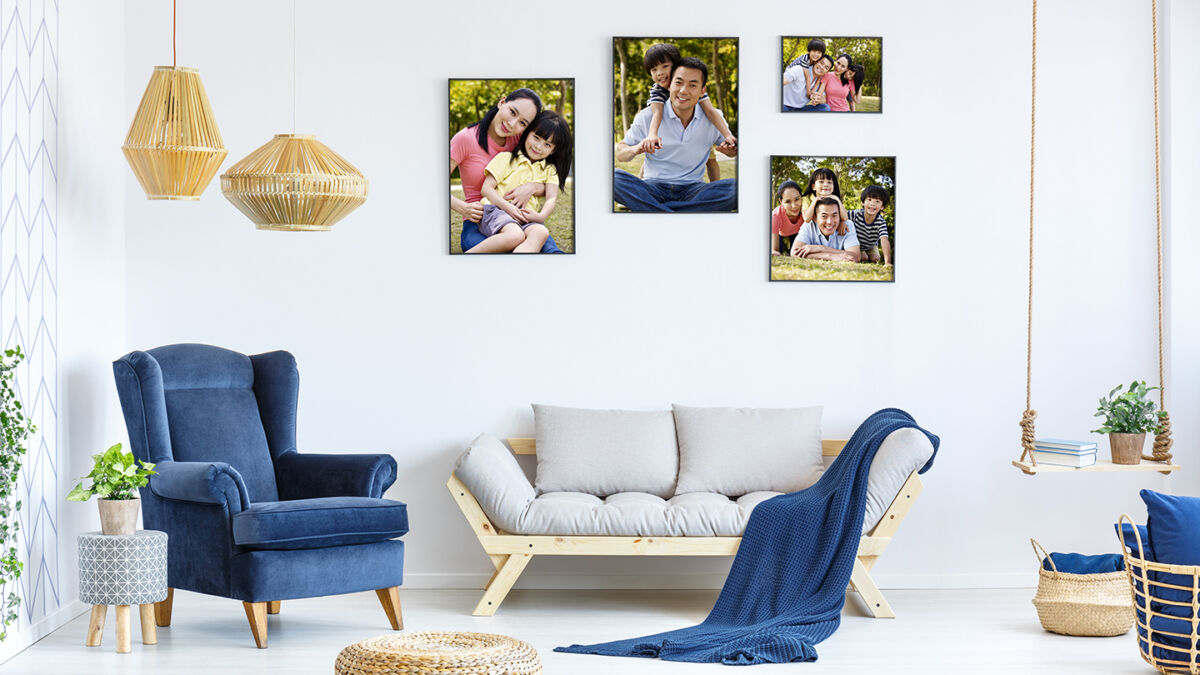
Take note of places in your home that you frequent the most (your main hallway or home office?) and display your photos in those areas, so those special faces are always in sight. Our Photolab offers a wide variety of prints and enlargements to fit all kinds of standard frames, so you can easily print and display photos of all your loved ones. For high traffic areas like your main hallway, we also recommend aluminum metal panels, which have a lightweight and highly durable surface that is resistant to fading. We also have aluminum panel collages that can display photos of all your loved ones together in one place.

2. Photos freeze your happiest moments in time

Looking back at photos helps us relive happy moments over and over again. According to Psychologist Dr. Emma Hepburn, “Research suggests that recalling positive personal memories can help elicit positive emotion and engage reward-related neural circuitry, which can be beneficial for wellbeing. Having these memories in physical form, for example, photographs around the house, can help create positive feelings on a daily basis when we see them.”

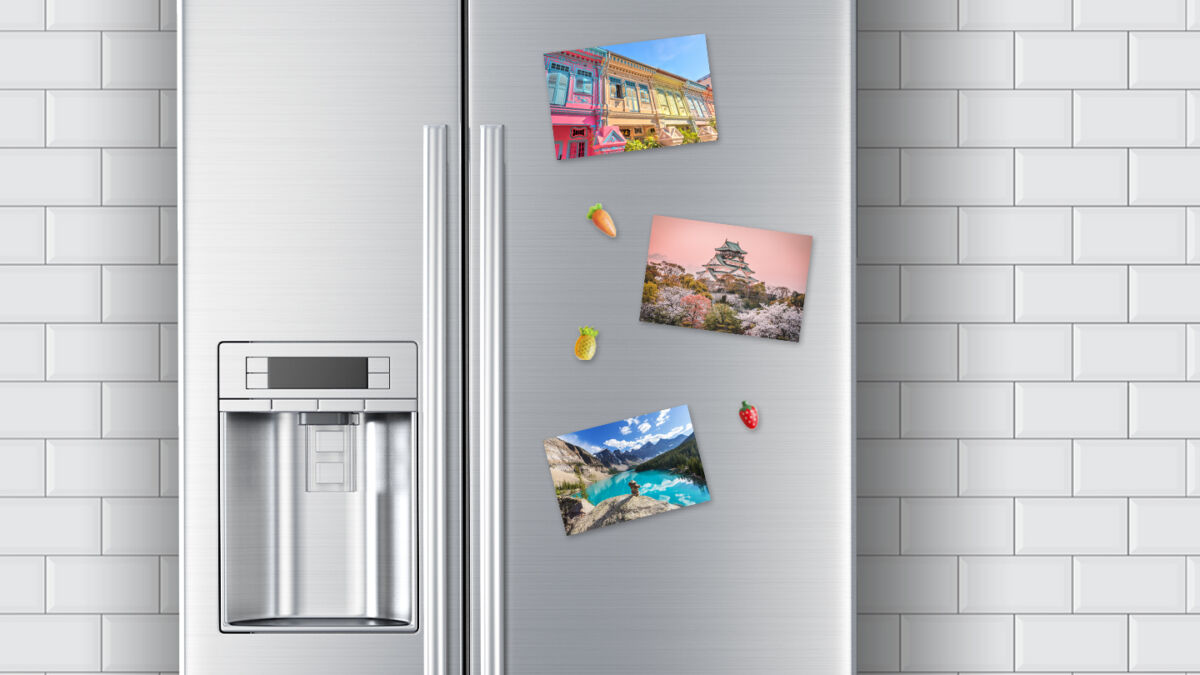
If you find yourself in need of a mood boost, try surrounding yourself with images of your happiest memories – photos of a trip you took abroad or a special day like your wedding day or a birthday. You don’t have to limit yourself to frames on your walls or shelves either. Our Photolab offers magnetic prints, as an example, so you can easily stick those happy moments to the fridge, a file cabinet in your office, or a locker! Other creative ways to display those photos include pillow cases, blankets, door mats, mousepads and more.

“Because of their physical nature, each photograph also has its own history,” says Dr. Hepburn. “So, we remember not only the event itself, but create memories and meaning around the physical object. We can feel attached to a photograph so the physical act of holding and looking at a photo creates emotions.”

3. Taking photos gives us greater enjoyment

Research shows that taking photos of experiences generally translates to greater engagement in the experience itself, and in turn predicts greater enjoyment of that experience. In fact, those who take photos of their experiences seem to hold their enjoyment longer than those who don’t take photos. So the next time you’re headed out for a fun activity or experience, don’t forget to bring your camera!

Film photography is also a great way to slow down and appreciate the moments you are capturing. Due to the nature of film photography, it requires the photographer to be more intentional with their photo-taking: you are limited by the number of exposures on your roll of film. This can be beneficial when it comes to capturing your experiences, as it becomes part of the experience itself! Not to mention, when you’re done shooting, the act of picking up your developed photos from the Photolab is an exciting and special part of the film photography experience too. The anticipation and excitement of seeing your images developed for the first time is just part of the reason why so many love shooting on film.

What images bring you the most happiness?

Below, some local photographers are sharing their favourite photos that bring them (or someone they know) happiness! We hope they inspire you to find the photos that bring you the most happiness too.

“I have been a newborn photographer for over 10 years now and I also love to mix in my love of dogs. Last year a wonderful couple booked me for their newborn shoot and I knew their senior dog was terminal at the time. I insisted that he come to the session and I would include him when I felt he was ready. We did the new born portion and at the end I asked to try something. Baby was totally settled and Drake the dog was calm. With the help of the parents we set up this pose and it evolved into this image that will forever be one of my happy moments. We were all in tears. All they wanted was for their fur baby to meet their human baby. I doubt I would ever be able to recreate this, nor do I want to. This image is just for them. (Mom and Dad were hands on this whole pose for safety). – @sunnyshphoto


“The heart in between my couple as they share a Wedding Day kiss had me squealing while editing this photo afterwards and it brought a tear to my couples eyes when they saw it!!” – @esthermoermanphoto


“There are many ways a photograph brings me joy, this image in particular, I can remember how it was cooler out than I thought it would be and how happy I was to get back in my vehicle and warm up! I love the textures and patterns of growth criss-crossing the abandoned bridge. I remember the stories my friend and I shared and the laughs we had. I remember my drone stopped working but not letting that deter me from the views and sitting on the bridge watching the sunset. There’s a lot of ways a photograph can bring you happiness, for me, it’s the adventure, big or small and the views that I’ll remember for a lifetime!”@c_marsh15


Photo credit: @prairierosephoto

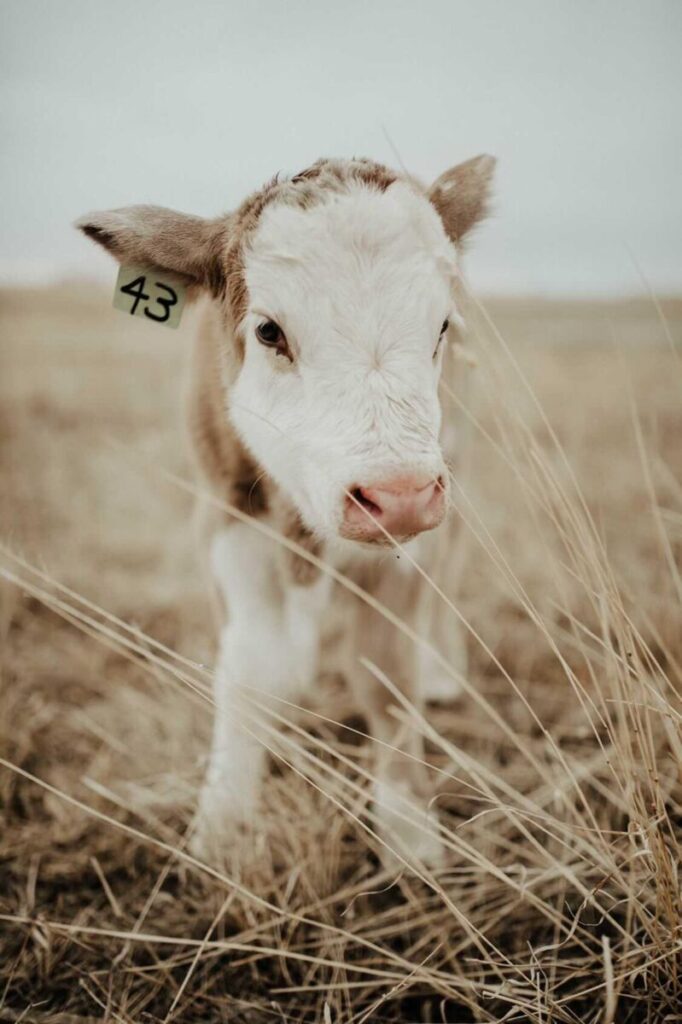
“Happy baby calves running around on fresh pastures in April bring me happiness” – @prairierosephoto


“That sweet smelling warmth of spring & summer, it can only be described as pure happiness. We wait for this all year, don’t we? This image brings me joy because it embodies how I feel about this long-awaited time of year… golden hour, those beautiful moments before the sun turns in for the night.

I am reminded to pause, to breathe deep… embracing fresh oxygen from the top of my head and letting it run down to the tips of my toes… barefoot, grounded, part of something bigger than myself. Happiness is surrendering to ebbs & flows of the ocean tide —which could be heard in the distance while capturing this particular moment in time. Perfection.”@callypetersenphotography


Now it’s your turn! What images bring you the most happiness? Surround yourself with those images by choosing physical prints to fill your space. To print your photos, just download our London Drugs Photolab App (available for iOS & Android) to order directly from your smartphone or order online or in-store at our kiosks. And if you’re not sure what the best way to display your images is, our LD Experts are always happy to help!


« Previous Page Next Page »