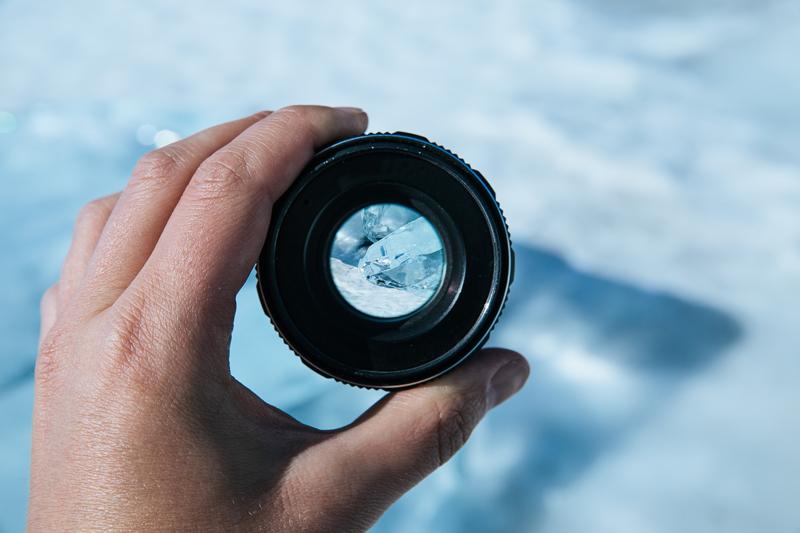
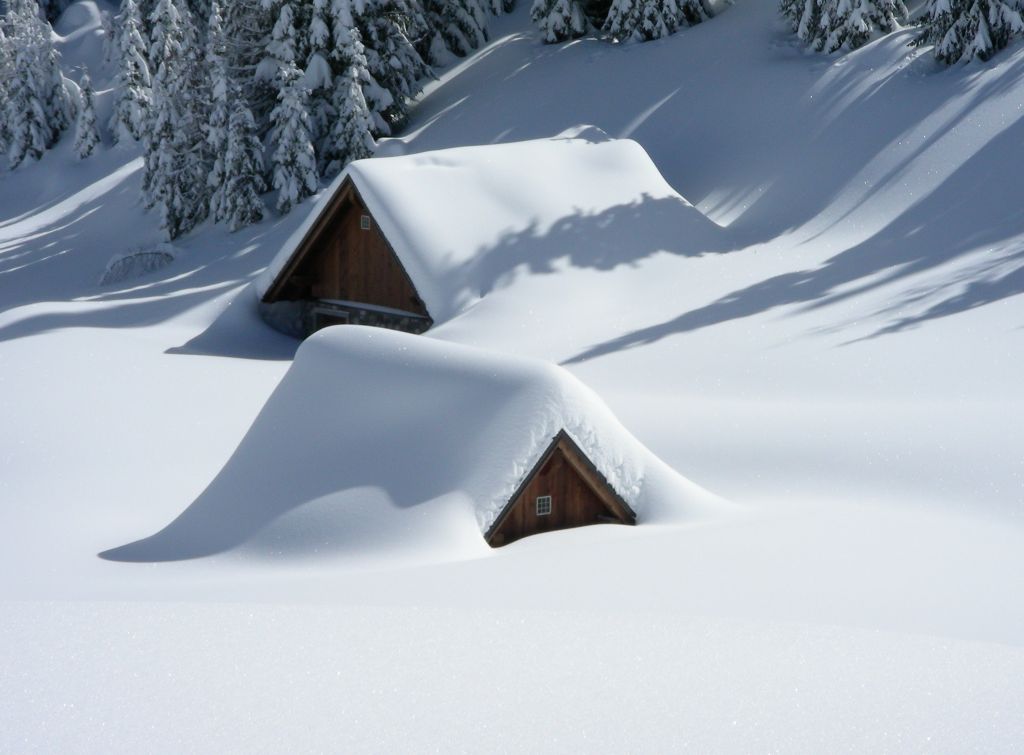
Pictures of fresh snow have always been mesmerizing, and every aspiring photographer looks to snap some great shots of powdery white landscapes. Here in Canada, we’re lucky enough to have all kinds of beautiful wintery spots to photograph right across the country. However, stepping out with your equipment in the snow can be a lot more challenging than you’d imagine. Here are some basic tips from our LDExperts in the Photolab that will help you get the best out of your next winter photography adventure.
Gear Tips
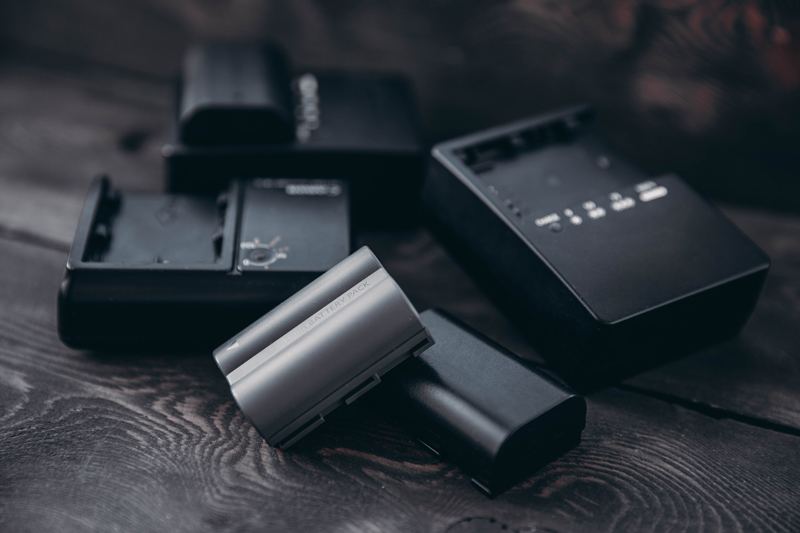
Keep batteries warm and carry spares
Battery life tends to reduce in colder weather. While newer lithium ion batteries have less issues, it’s still good to have a backup. Ideally you should charge two to three and keep the spare batteries in an inside jacket pocket. Once your batteries run low just replace them with a charged one and keep the drained battery in your pocket, you may still be able to use it once it warms up. The battery drain will vary depending on how cold it is and how power hungry your camera is.
Bag your camera or use silica gel packs
When you bring your camera indoors from the cold, condensation can form very quickly and instantly damage your camera and lens. One of the easiest and best ways to avoid this is to put your camera in a Ziplock bag and seal it tight. Once you’re in the house, place it near a slightly open window or any cooler location so it can gradually warm up to room temperature. You could also leave it in the car for a while to warm up. Once it reaches room temperature you can take it out of the bag and use it normally. Silica gel packs like the Pelican Reusable Silica Gel Hydrosorbent Unit are also an easy way to ensure all the moisture is absorbed. Just keep it in your camera case.
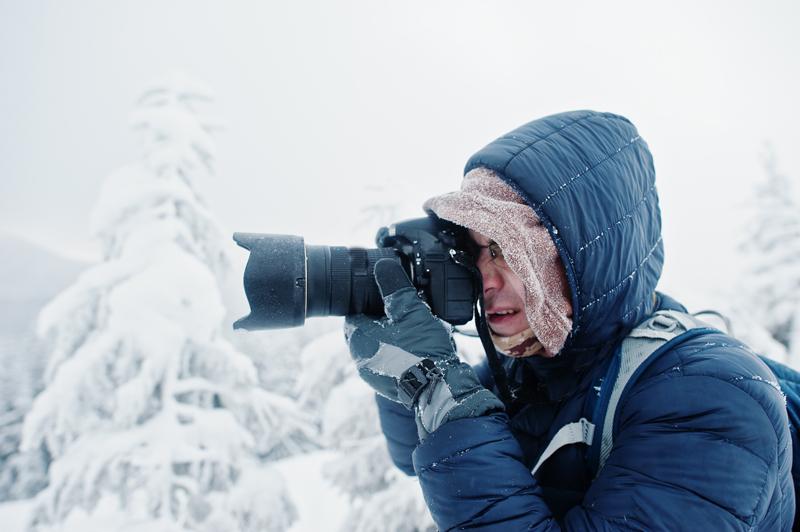
Avoid fogging the lens
Cold weather adds new risks while photographing outdoors. A warm humid breath will condense on your lens creating a milky frost, and wiping it will just create smudges. You can wear a neck gaiter, or a balaclava pulled over your nose and mouth to avoid this. Never place your camera under your coat or jacket in the hopes of warming it up quickly. The warmth of your body heat and the moisture from sweat could potentially damage your equipment. Breath is the usual culprit of fogged lenses but sometimes at night natural frost can form too. Use your lens caps when you’re not shooting or moving from one location to another. If you need to wipe off the moisture from the lens, always use a microfiber cleaning cloth.
Photography Tips
Focus on contrast
When you’re shooting snow, an all-white frame can cause the autofocus to have a hard time locking in. It helps to focus on any dark object (a branch or the bark below the snow). Autofocus requires contrast to adjust itself properly, so if the focus isn’t locking on, move the focusing point to a darker area and then press your shutter half way to focus. This usually does the trick.
Correct exposure with a histogram
Don’t trust the preview of the images you see on the LCD screen on the back your camera. Checking photographs while outdoors on the LCD screen may not give you the best judgement of how a picture would look on your desktop. Ideally using the histogram is the best way to judge. Take a test shot and check the histogram. If it is slightly “humped” in the middle, then just add a little positive compensation to add brightness. If the graph appears to fall off on the right-hand edge, then just dial in a little negative compensation to stop blown out highlights.
Exposure compensation
Colour balance with snow is quite tricky. Cameras usually tend to make snow look grey. This can be easily corrected by setting the exposure compensation to +1 or +2. You can also adjust exposure compensation while editing. Also, when shooting in shade, be aware of a blue bias. If a photograph is taken in sunlight mode it may come out with a blue tinge, especially in high altitudes.
Shoot in RAW format (or RAW+JPEG)
Don’t bother trying to select and delete photos while outdoors. As mentioned earlier, capturing the correct exposure and color temperature when your scene is overwhelmed by reflective white snow can be tricky. Setting the file format to RAW will allow you to safely adjust your settings later. The camera LCD usually looks washed out so if you shoot in RAW, you’ll be able to recover highlights and adjust shadows afterwards.
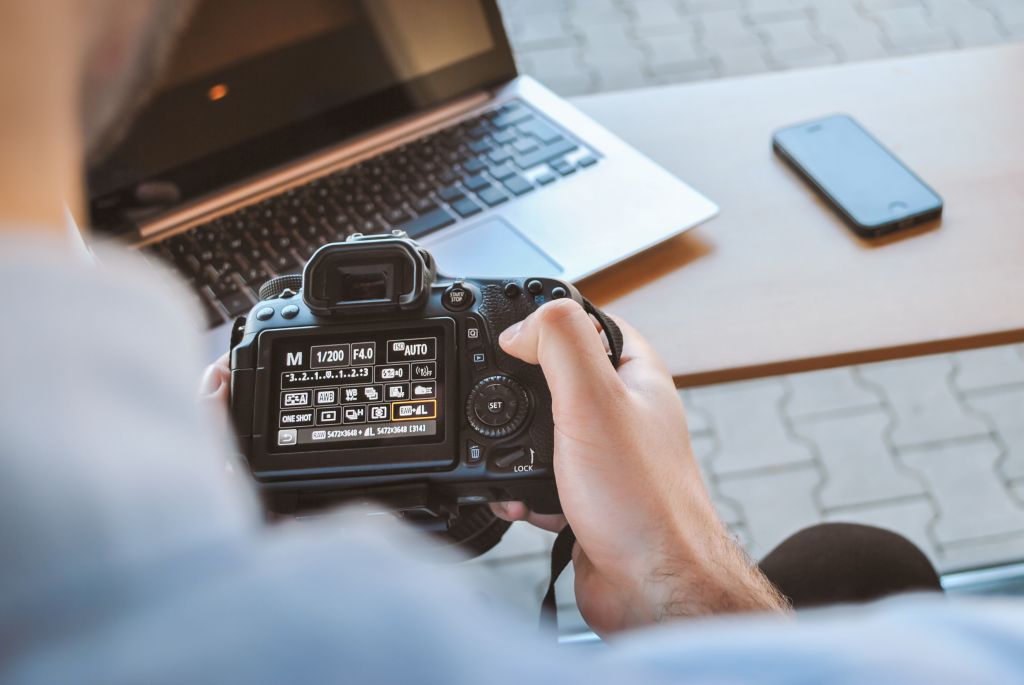
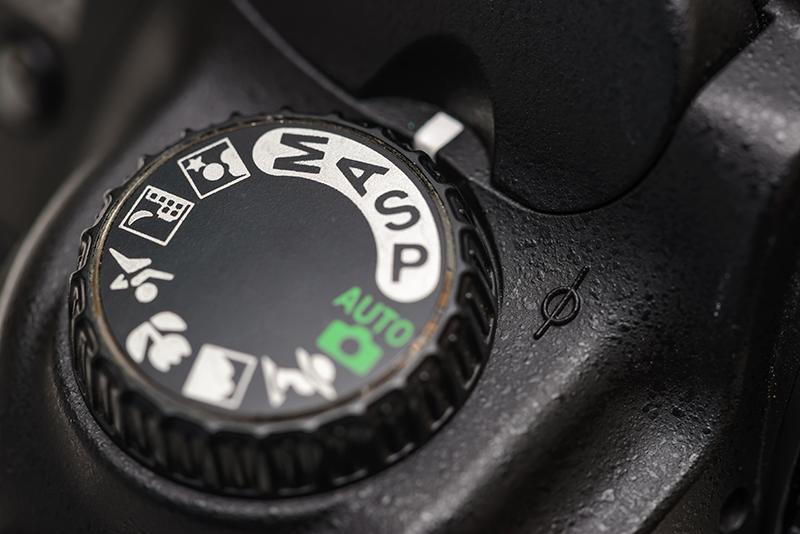
Shoot in Aperture Priority Mode
Aperture Priority (‘AV’ on Canon, ‘A’ on Nikon) will allow you to quickly change your depth of field. When shooting in Aperture Priority the camera will choose the ISO, (if the camera is set to auto ISO) and the shutter speed, so all you need to do is switch between aperture settings. This is great in cold weather and allows for a lot of creativity.
Preparation Tips
Capturing fresh snow
If you’re looking for fresh, footprint-free snow you will need to plan ahead and be outdoors first thing in the morning as soon as it gets bright. Planning what shots you want to take a few days in advance helps.
Plan depending on the weather and lighting
Snowy landscapes look great in both sunny and cloudy weather. Cloudy days add elements of colour to break up the white. If it’s snowing, use a shell cover to protect your camera. Winter skies are beautiful this time of year. Warm and cool tones create a different mood and will make your snow images pop. Make use of sunrise and sunset to capture warm tones from the sunlight reflecting on the snow. Looking to create a more dramatic image? Expose the sky and everything else will be darker; this technique adds a little mystery and changes the mood of your image.
Lighting during winter can change very fast. If the sun goes behind a cloud, it can completely change how the snow looks. Waiting for the sun to come out again may be hard, especially in the cold, but the pictures will definitely be worth it.
Play with shutter speed
Shutter Priority (‘Tv’ on Canon and ‘S’ on Nikon) allows you to choose your shutter speed, while the camera takes care of the rest. With a fast shutter speed, you can freeze falling snow in midair. With a slow shutter speed, you can turn those flakes into long white streaks.
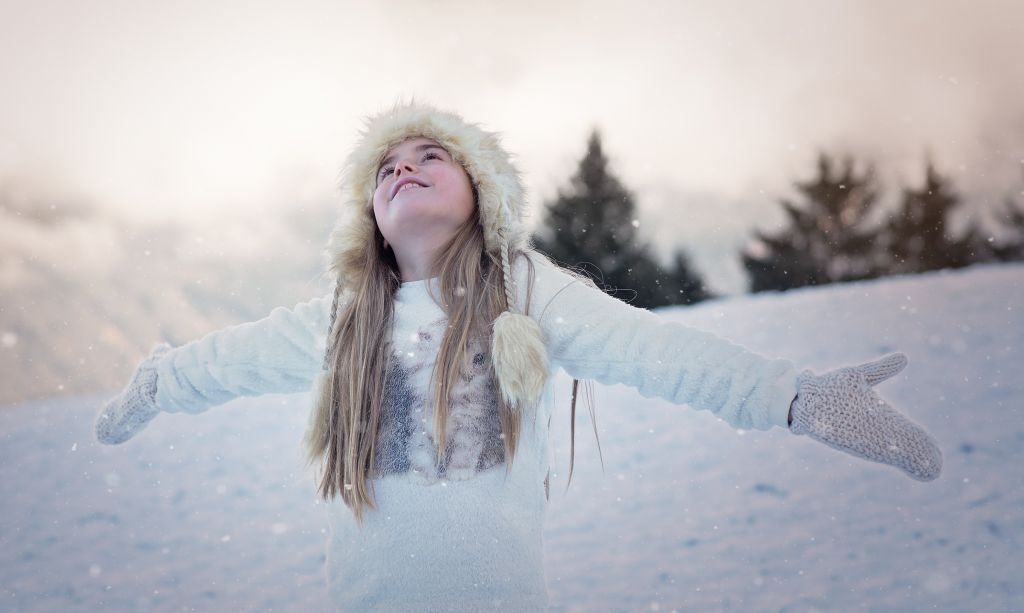
Always dress warmly
Dressing right is an absolute essential while stepping out for a winter photoshoot. Getting frost-bite will certainly hamper your ability to operate the camera. If you’re shooting in –40 Celsius you’d definitely need the right gear, which includes everything from long underwear, to fleece or wool sweater and pants, down or synthetic vest, 800 fill down jacket with a hood, windproof insulated pants, a pair of thick wool socks topped by expedition quality winter boots, a hat complete with ear flaps, a balaclava or face mask, and thin nimble gloves with a pair of expedition overmitts dangling from wrist straps to wear between shots.
So, go ahead and snap some great shots this winter. You can create a nice coffee table photobook to display your photos or a photographic album. Another great way to showcase your photographs is to print a customized 2022 calendar so you can treasure your best wintery shots throughout the year.
Ordering items is super easy with our in-store kiosks, the London Drugs Photolab App for iOS and Android, or simply go online and select from multiple print options and sizes!