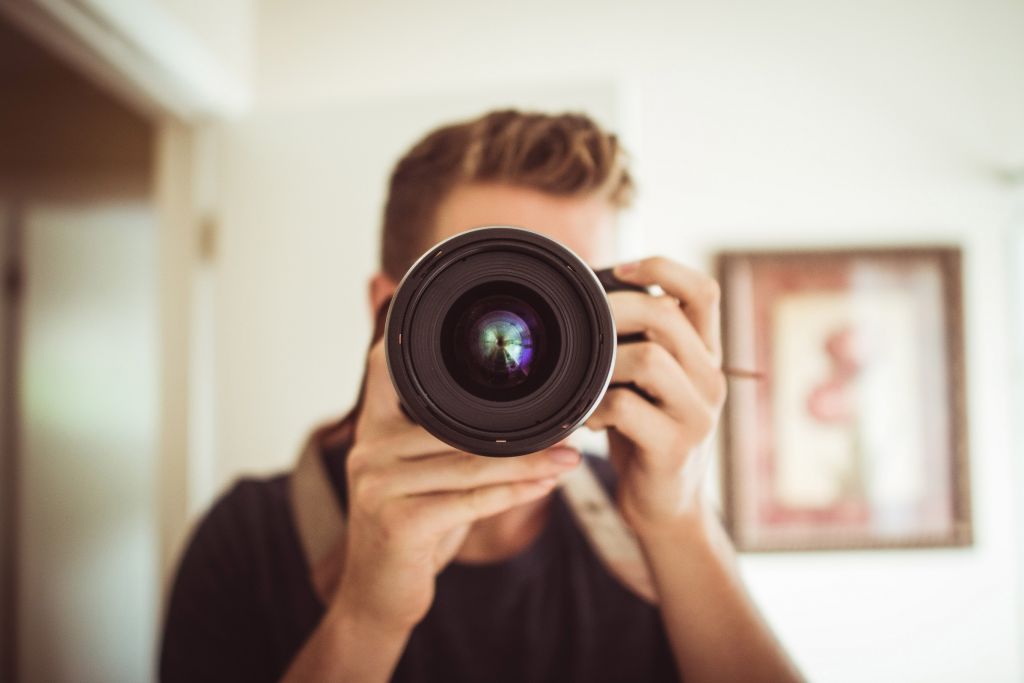
Stuck indoors this winter and frustrated about not being able to travel and snap some great photographs? While winters are the perfect time to cozy up indoors, it doesn’t mean that photography needs to take a back seat. We’ve got just what you need to embrace indoor photography and keep the shutterbug in you happy all winter long! From creative shooting ideas to tips on how to work with low lighting, our LDExperts in the Photolab are sharing everything you need to know to set up the perfect shot, in the comfort of your home!
Choosing the right location
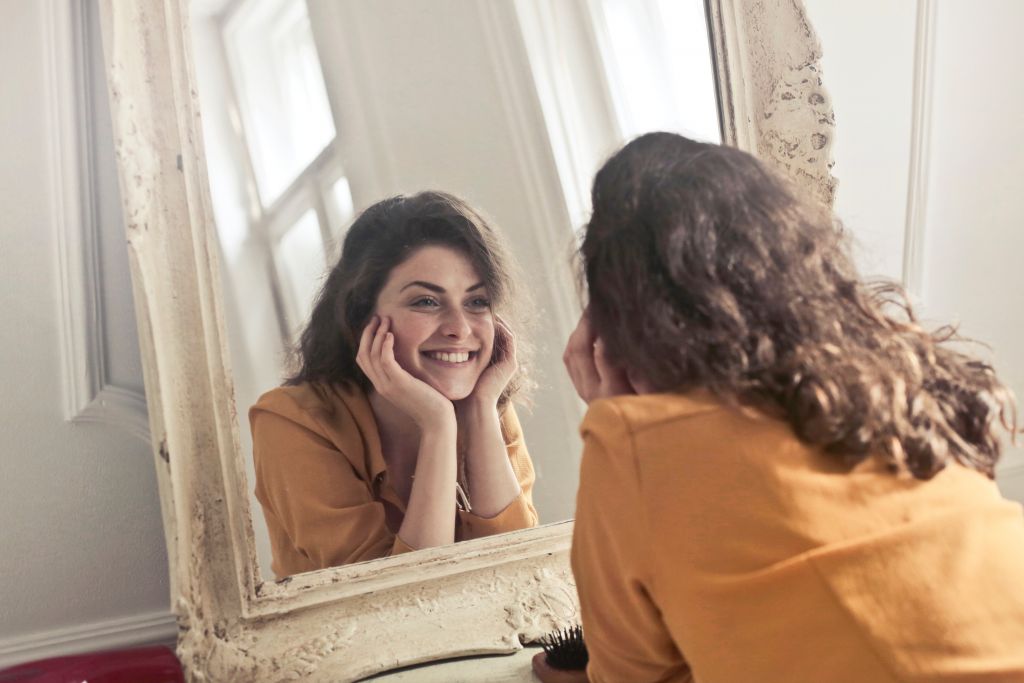
When shooting indoors you have to explore your working space, as the best spot to shoot may be the last place you think of! While the living room often has the best lighting, the kitchen, front foyer, hallways, bedroom and even the bathroom may sometimes be a great place to experiment. Bathrooms usually have a lot of white and there are also mirrors which reflect the light, making it a great place to get creative. While taking shots in a mirror, make sure your reflection isn’t making a cameo. It can take some patience to get the angles and reflections, but it’s definitely worth it.

Play with the lighting
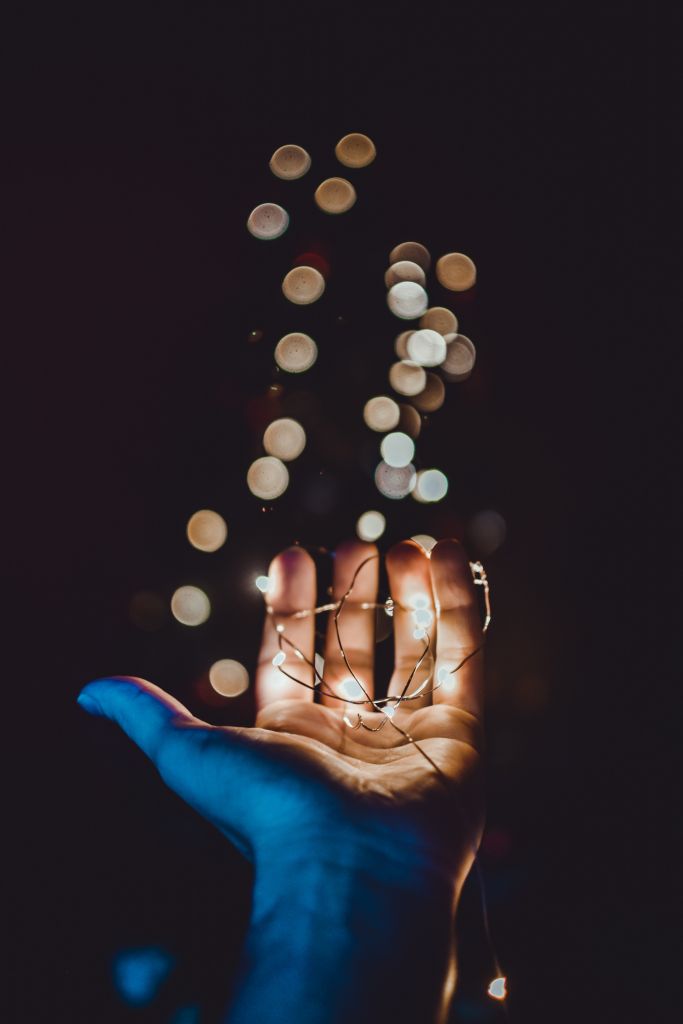
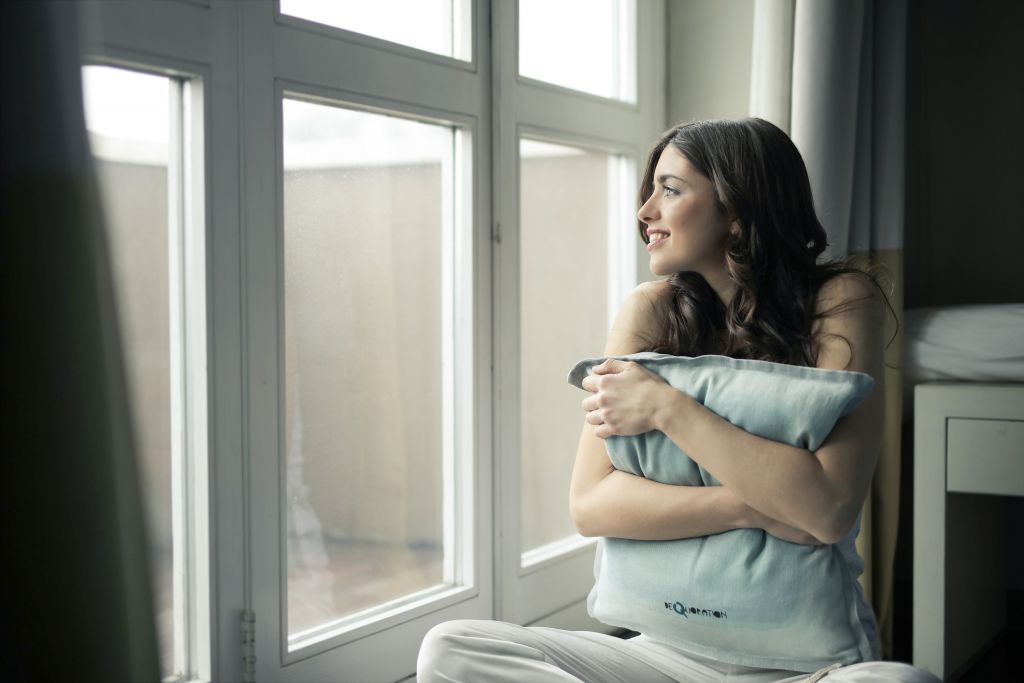
With the limited lighting available in winter, window light is just what you need to create the perfect ambience. Natural lighting doesn’t like competition though, and electric lights can affect your white balance. Look for spots that have patches of light coming in through the doors and windows and place your subject accordingly. Place your subject a foot or two away from the light source. This way you’ll make the best use of the natural light, and avoid the harsh contrasts that can be created by being too close to the window or door. It also helps to take note of what kind of light enters each room throughout the day.
You can also utilize light sources you would never have considered before such as computer and iPad lights, oven lights, night lights, torches and candles. What’s great about this is that you don’t necessarily have to be taking photos during the day – it can even be while reading bedtime stories to the kids! Just make sure you watch your white balance when dealing with artificial light.
Using reflective surfaces & blinds
When using natural light coming in through a window, you may find the issue of uneven lighting, which creates shadows on the subject. While this does look good in some instances, there’s also an easy fix for it. Use a piece of white poster board to bounce the light around and brighten up the side of the subject that isn’t facing the window. Mirrors are another great way to control lighting.
Blinds and curtains also help control the amount of light entering the room. If the sun is beaming directly into the room, the light can blow out your photos. Proper exposure and curtains can help soften that light.
Getting the best angle
Playing with angles helps with achieving different perspectives. You can shoot up close to capture details or further back to include environment for context. Shooting from different eye levels can also be explored – up high, down low, or over the shoulder, for example.
You can also play with the angle of your lighting. If the light is on your subject directly, it will create the most even lighting across them. Meanwhile, light coming in from the side at an angle creates some great shadows and depth. If your camera is facing the window with the sunlight at your subject’s back then make sure you’re exposing for your subject’s skin. Otherwise, your camera will read the light behind them and underexpose your subject.
Selecting the correct exposure
When shooting indoors, you will have to bump up the ISO to make the most of the ambient light. When your image is too dark when you take your photo, and you try to bring up the exposure in post processing, you end up introducing more grain and defeating your original purpose! Don’t underexpose your image for fear of bumping your ISO “too high”. Ensure your image is properly exposed, even if that means a slower shutter speed (within reason) or a higher ISO.
White Balance
Colour temperature plays an important role while shooting indoors. It works best to shoot in natural light, turning off lamps and overhead lighting. While correcting white balance is possible during editing, it is best to achieve as much as possible with your camera settings. Setting your camera to custom white balance and using a white wall usually does the trick.
So the next time you’re stuck indoors on a cold day, pick up your camera and gear to snap some great shots! And once you’re done capturing those cozy new snapshots, you can simply visit our London Drugs Photolab website or upload your photos to the London Drugs Photolab App for iOS and Android. From there, you can select from multiple print options, like wall decor, prints and enlargements, mugs, coasters and even keychains. Or, if you need the help of our LDExperts, just visit us in the Photolab in-store!
