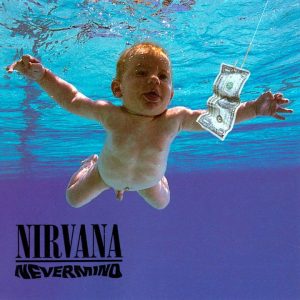
When we think of the top albums of all time rarely does the mind include music created in the past three decades. We all too often go to the birth or Rock & Roll in the ‘50’s or the decade of love. It’s a shame really. While I cannot argue that music over the course of the last three decades has seemed to hit a creative plateau there are a few bright shining points of light that we must pay attention to. One of those points of light is Nevermind by Nirvana.
In June of 1989, Nirvana had released their debut studio album Bleach through independent, Seattle based label, Sub Pop. The album was a received well critically but did not chart in the US. Ironically, it was re-released in 1992 due to the success of Nevermind. It debuted at #89 on the Billboard 200 that year. Bleach is currently Sub Pop’s #1 selling album of all time with sales of just over 1.7 million units.
25% off gallery wraps. One day only—World Photo Day, August 19th. Celebrate by putting your best photo on your favourite wall.
It’s the most wonderful time of the year…if you’re a photography fan. Yes, August 19th is fast approaching and everyone at the Photolab is already on pins and needles. If you’ve never heard of World Photography Day, you can get all the relevant details from last year’s blog posts (parts one and two). If you have heard of it but haven’t visited the official website since last year, it’s recently undergone a total responsive redesign and looks more beautiful than ever, and the galleries have tons of new, incredible, breathtaking photos—all uploaded by site members, as you may remember.
Speaking of which, if you didn’t upload in a previous year—heck, even if you did—this is your opportunity to display one of your best photos proudly among those from some of the world’s most talented and passionate photographers. Simply register on the site or log in with your Facebook account and go from there; don’t be shy, and above all, don’t delay—as the gallery is only open for upload from Aug 19-25. Just to give you an idea of what they’re looking for, I’ve reprinted their Tips for Submission here:
You can only upload 1 (one) photograph to the gallery
Choose carefully as your entry cannot be changed after submission
Your photo must be a minimum of 1800 x 1800 pixels (3.2 megapixels)
Your high resolution image isn’t made publically accessable
Share your story – Your photograph is more powerful with a story
Fill in your profile – People want to relate with more than a picture
No Watermarks – If you have a watermark on your image you will not be considered for our photobook
We encourage you to capture your image between Aug 19-25 but will accept a photograph captured earlier in the year
his is an uncredited photo I found on Facebook, but it perfectly captures the spirit of World Photo Day…stop at nothing to get the perfect photo.
Naturally, the Photolab also has some celebrations of its own in honour of this very special day. Select locations throughout BC and Alberta will be offering a series of free workshops devoted to tips, themes and new products that are sure to help photographers of all skill and experience levels improve their craft. Check here for locations and workshop details. In addition, to help give your best photos life beyond an online gallery, the Photolab is also offering 25% off all canvas gallery wrap orders—on August 19 only, just to make your WPD even more special. See your local Photolab for more details.
World Photo Day wouldn’t be complete without properly acknowledging the device that makes photography possible. So let’s start things off with a little camera trivia, shall we? Try to answer this one without looking it up:
What year was the first camera invented?
Now, if your guess was 1839, while you’d be wrong, you would at least get points for reading last year’s WPD post. The actual answer, however, is the year 1888. According to Kodak.com:
The use of photographic film was pioneered by George Eastman, who started manufacturing paper film in 1885 before switching to celluloid in 1889. His first camera, which he called the “Kodak,” was first offered for sale in 1888.
If you’ve never paid much attention to the history of the camera, its Wikipedia page is a worthwhile read for any photography lover. The section on the history of the digital camera, in particular, contains some very surprising facts that I’ll bet most people are totally unaware of, even though the evolution of digital technology in photography is relatively recent.
For me personally, I got started in writing and advertising about 12 years ago, just as digital cameras were really starting to become mainstream. I remember that time as being the high point of the debate around which technology was superior: this new-fangled upstart digital, or good old-fashioned, reliable film. Back then, digital’s biggest advantage was its convenience while film cameras held the decisive edge in image quality—as only the most advanced and expensive digital SLR cameras could rival film.
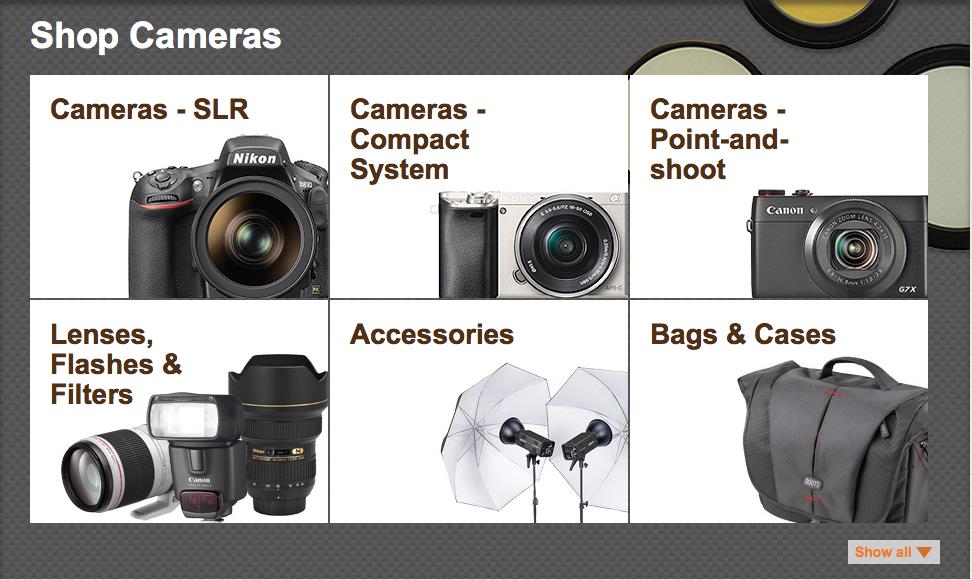
Love cameras? Great—so do we! In fact, why not celebrate World Photo Day with a little browsing? And we know just the place.
Fast-forward a few years and there is no debate about which technology would ultimately prevail. Digital photography is now more convenient than ever; meanwhile, mind-boggling advances in digital technology have turned the camera into much more than a camera. However, true fans can appreciate the merits of every type of photography, which is why London Drugs proudly offers a great selection of film cameras as well as digital. Next time you’re in the neighbourhood, check them out for yourself, and consider adding a film camera to your arsenal.
The era of 3D printing is upon us, where anything you imagine can be created with the click of a button. So what is 3D printing? In simple terms, 3DP – also known as additive manufacturing – is the process of creating a three-dimensional object from a digital file.
While the majority of 3D-printed objects are made with plastic, the technology has evolved so that objects can now be created with fabric, metal, even food.
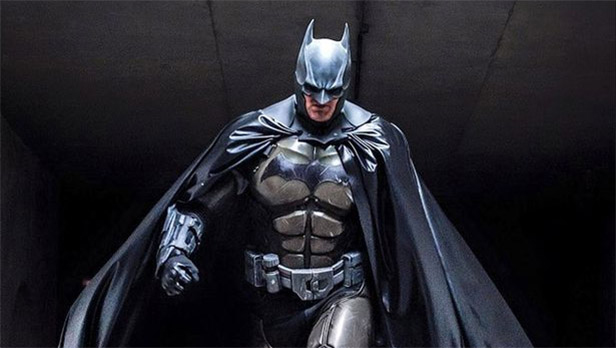
In only a few years, 3D printing has gone from a technology with unlimited possibilities but few practical applications to a product that is finally living up to its potential. Below, we take a look at a handful of extremely inventive ways people are using this burgeoning technology. Becoming Batman If you’ve ever dreamed of donning the cape and cowl, but lacked Bruce Wayne’s billions and access to military equipment, Julian Checkley and the team at Order 66 Creatures and effects have got you covered. Checkley and co. were able to create the majority of the suit using 3D printing technology, and the costume, which is shockingly realistic looking, was a major hit with cosplay fans. While the suit isn’t crime-fighting ready (the foam and rubber materials won’t stop a punch, let alone a bullet), it is lightweight and comfortable, and can be yours for a little over $8,000.
* * *
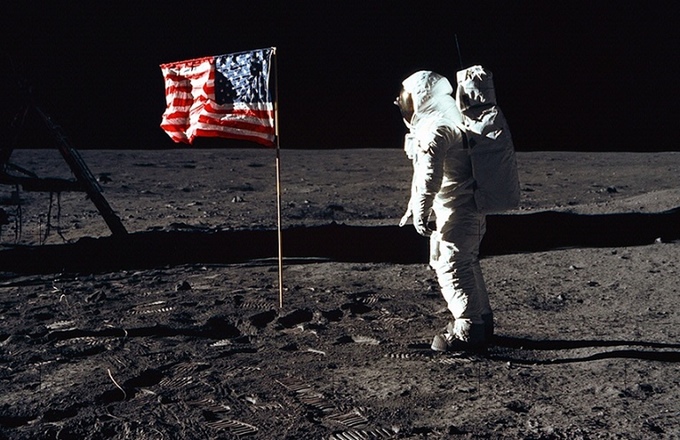
Buzz Aldrin’s Spacesuit
In honour of the 50th anniversary of the moon walk in 2019, the Smithsonian National Air and Space Museum is aiming to “Reboot the Suit” and bring back Neil Armstrong’s spacesuit. The Smithsonian’s very first Kickstarter project aims to “conserve, digitize, and display Neil Armstrong’s Apollo 11 spacesuit in time for this milestone anniversary,” using 3D printing technology. Part of the conservation process will be a complete 3D scan of the suit and if the project is successful, the Smithsonian plans to share the data from that scan so that non-space travellers can build their very own space suits and recreate the moon landing in the comfort of their living rooms.
* * *
3D Pizza
In keeping with the space theme, mechanical engineer Anjan Contractor won a $125,000 grant to create a 3D printer that could create food for astronauts. In space. And because it is the greatest food known to mankind, Contractor opted to create a printer that makes pizza. The printer uses food “materials” to create the cheese, crust and a protein base, and is able to cook the pizza as it is being made.
* * *
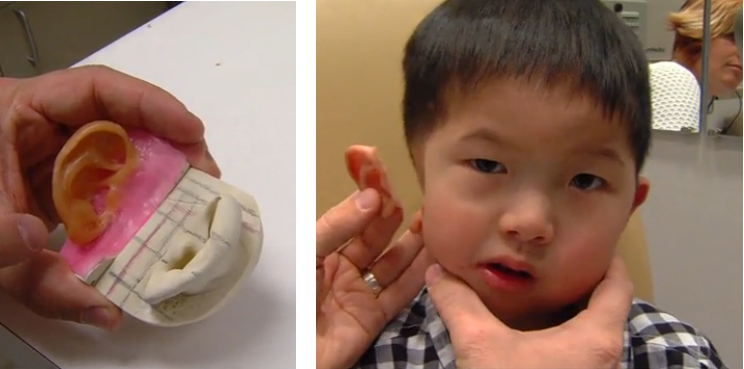
A 3D Printed ear
Kai Sherwood was born without a right ear, but, thanks to this new technology, the four-year-old has been given the opportunity of a lifetime. Doctors scanned his left earlobe and created a mirror copy from plaster. They then took that mold and crafted a silicone ear that, when attached with a special adhesive, looks almost indistinguishable from the real thing. This is one of the first steps in creating 3D-printed body parts and organs.
World’s earliest surviving camera photograph, 1826 or 1827. Still, it’s clearer than many of my photos.
Credit: Wikimedia Commons
It may be a difficult thing to fathom in this age of cloud storage and flash drives, but there was a time not so long ago where printing was an inseparable part of the photographic process. Back in the days of film cameras, when you took your pictures the film then needed to be developed into a negative, and all that effort was kind of pointless unless you were actually going create an actual print from the negative.
Of course, printing from negatives is not dead, by any means; it lives on thanks to lomography and other more esoteric forms of photography. Not to mention my Dad, who recently showed up to a family reunion at a beautiful resort with a disposable film camera, despite the fact that he has a brand new iPad that he knows takes amazing photos yet refuses to so much as experiment with it…but, I digress. My point is that anyone who prefers shooting film for any reason can still have it developed by the Photolab.
As part of our World Photography Day celebrations, we’d like to take you into the lab and introduce you to a very important member of the Photolab team. Meet our Photolab Technical Specialist, John Goldsmith. A photographer himself, John understands the trust involved between photographer and Photolab when printing fine art photography. His passion for photography is what allows him to build that trust with each and every photographer he works with, resulting in beautiful images in the best quality possible.
John knows firsthand the importance of working with an experienced lab tech. He was one of a handful of photographers commissioned to showcase his own photography exhibit at the Museum of Vancouver during the inaugural Capture Photography Festival. He worked with the London Drugs Photolab to print his museum-quality images for the exhibition. Today, as Photolab Technical Specialist, he takes his experience as a photographer and applies it to each and every image he prints in the London Drugs Photolab, building trusting relationships with the photographers he works with.
Speak with one of our expert Photolab Technical Specialists in-store today to find out how you can produce your own museum-quality prints for your walls at home!
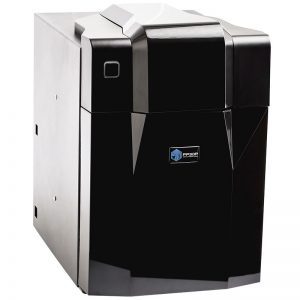
Consumers now have easy access to be able to see first-hand the capabilities of 3D printing at their local London Drugs store. The Tiertime UP Mini 3D printer will be on display at 50 stores across Western Canada, marking a turning point where customers can see how these devices can be used in everyday life and not just for the professional user.
“You’ve likely learned about 3D printing from industry publications and seen the plastic-like output on display on your computer screens, now London Drugs is making it easy for customers to see first-hand if this technology is right for them,” said Cedric Tetzel, London Drugs Computers Merchandise Manager.
 When we think of the top albums of all time rarely does the mind include music created in the past three decades. We all too often go to the birth or Rock & Roll in the ‘50’s or the decade of love. It’s a shame really. While I cannot argue that music over the course of the last three decades has seemed to hit a creative plateau there are a few bright shining points of light that we must pay attention to. One of those points of light is Nevermind by Nirvana.
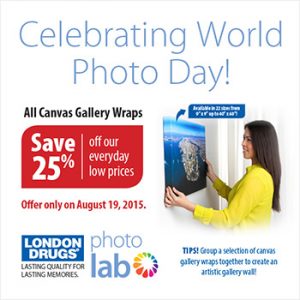


 Consumers now have easy access to be able to see first-hand the capabilities of 3D printing at their local London Drugs store. The