 Moments Custom Hardcover Coffeetable Photobooks let you print and share your square photos in a square format. The best thing about them is the fact that they are completely customizable, including the cover. In fact, you may find them so appealing that you’ll want to include some of your rectangular photos, but you don’t to disrupt the neat square aesthetic you’ve got going on. Well, here’s the good news: Using London Drugs Photolab Home Edition Software, you can adjust the framing of your rectangular photos to square—without distorting the actual image.
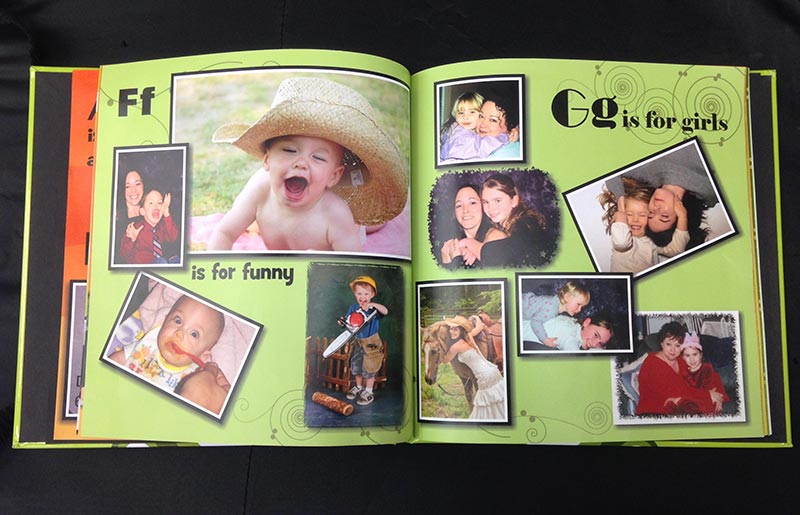
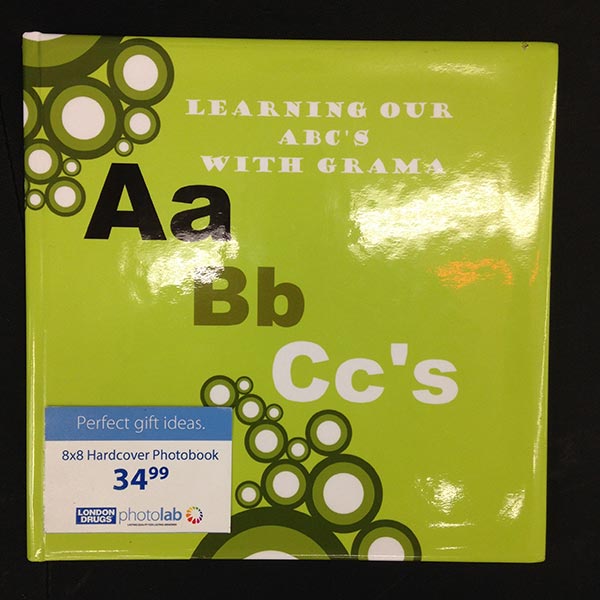
8”x8” Moments Custom Hardcover Coffeetable Photobooks can be pretty much anything you want, because you create them yourself using the Photolab Home Edition software. They’re a great way to display your square photos.
If you’re not at all familiar with the Home Edition software, please refer to this complete step-by-step overview, or check out the online user guide. There are two ways you can adjust your framing, but I’ll start with what I believe is the most foolproof option:
Frame-first:
From the file menu select Insert>New Picture>Portrait (or Landscape) Picture Frame. A blue box—the ‘picture frame’—will appear on the active page.
Click and hold the corner or the midline mark of the dark blue border. You will see gridlines appear. Using these gridlines as a guide, adjust the frame dimension until it’s square. You can adjust the square frame to almost full-page size.
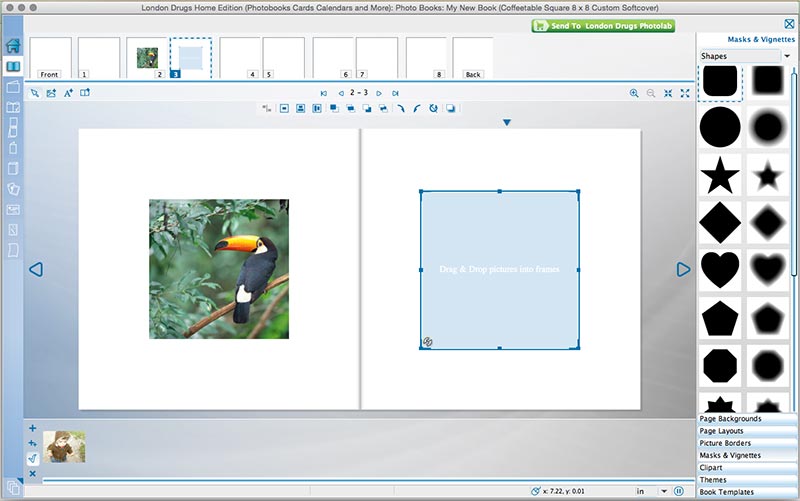
This toucan shot is actually rectangular, but you can easily crop it into a square with the Photolab software.
Once your frame is square, drag and drop your selected image from the image browser into the square frame. You will notice the rectangular image now sits neatly inside it.
If you move your mouse to the centre of the image, then click and hold, you can move the image around while the frame stays locked in place. This way, you control the area of the image that will be visible.
Image-first:
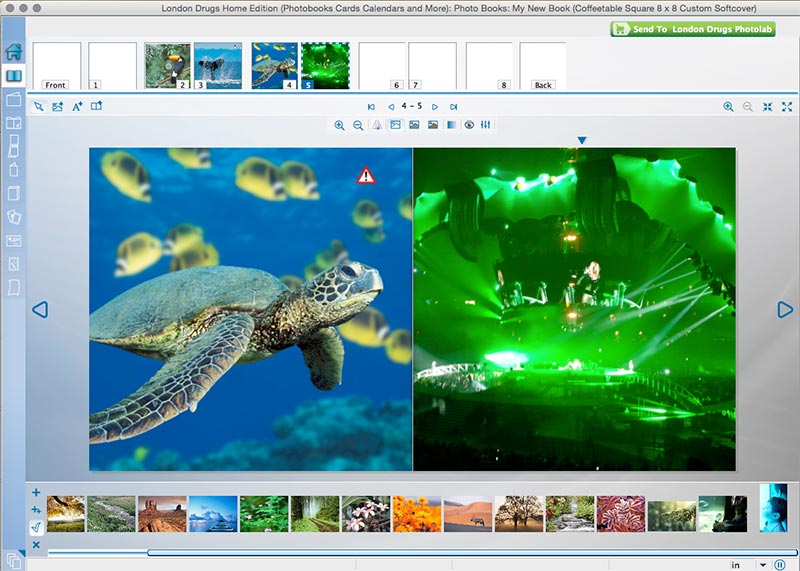
If you choose to select a photo as your background, the software automatically crops it to square for you. (See that warning icon in the turtle photo? That’s the software telling me the image isn’t large enough and may not print well as a result. Just more user-friendliness from the Photolab software!)
The other method, for those of you who fancy yourselves to be freewheelin’ drag-n-drop experts, is to drag the image onto the page in its original rectangular dimensions, then go about adjusting the frame to square as described above in step two. Easier if you’re good at drag-n-drop, or if you happen to be using one of those stylus-tablet contraptions instead of a mouse. Otherwise, I find it tends to be the more imprecise method.
Or, if you want the image to go right to the edges of the page with no border at all (a.k.a. ’full-bleed’ in graphic design jargon), simply drag your image from the image browser onto the page, and when the ‘How to Drop?’ menu appears, select Single Page Background. Note, however, that this method doesn’t allow you to move the image around.
The Photolab Software is designed to be as intuitive and user-friendly as possible. Of course, if you’d nonetheless prefer to have an actual human being help you build the square book of your dreams, stop by your local Photolab where a technician will be happy to show you the ropes.
