Trends come and go, but a flawless pedicure is always the hottest summer accessory. Before you begin your safe at-home pedicure, it’s important to make sure your feet are pedi ready! So, let’s go over the steps for pedicure perfection.
What you’ll need:
• nail polish remover
• lint free pad (ideal) or cotton pad/paper towel works
• nail clipper/nail file/ buffing block
• two sided pedicure file
• manicure stick or a clean stainless steel cuticle pusher
• favorite essie nail polish shade, base coat, top coat and essie apricot cuticle oil
Step 1: Prep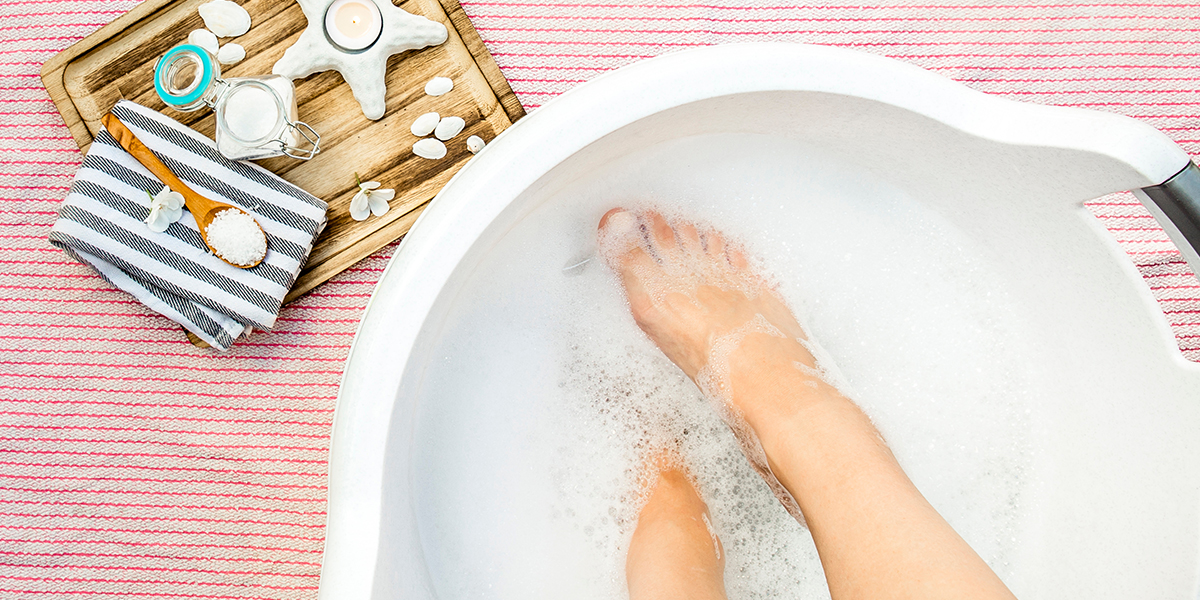
Start by removing any remaining polish from your toenails with nail polish remover and a lint free pad. Next, wash and soak your feet in warm soapy water.
PRO TIP: Indulging in a relaxing footbath for 8 to 10 minutes is the perfect amount of time for heels, stubborn callouses and cuticles to soften. To save on time, you can always give yourself a pedi after a long bath or shower.
Step 2: Shaping
Now that your feet are clean and prepped, the pedicure can begin. First, get your toenails in shape. Start by trimming them with a nail clipper and then refining the shape with a nail file.
PRO TIP: Remember, it’s important to always keep nails short to prevent lifting and in a square shape to prevent ingrown toenails.
Step 3: Smoothing
Next, with a two-sided pedicure file, smooth your heels. With the coarse side, remove any callouses and build-up you may have. After, follow with the finer side to smooth and refine the all-necessary areas. Keep in mind, callouses don’t just build up on the heels and balls of our feet, they can also appear along the sides and pads of our toes.
Step 4: Cuticle care
Once your toenails and heels have been filed and softened, it’s time to move on to cuticle care. Because your feet have been soaking in water for ten minutes prior, this step can be managed without the help of a cuticle softener or oil. With a manicure stick or a clean stainless steel cuticle pusher, gently guide the cuticles back into place.
PRO TIP: Remember to not over-push or scrape the nails. When over pushed, our nails are vulnerable to inflammation and infection, so it is best to use a light touch.
Step 5: Exfoliate & nip
Next, it’s important to give the nails a light exfoliation. With a buffing block, give each nail a light buff to smooth ridges and remove any residue, leaving behind bright, healthy nails. With a stainless steel cuticle nipper, gently trim these away. Remember, this step is only necessary if there are hangnails or dry skin. Healthy nails and cuticles don’t need to be nipped, so less is more!
PRO TIP: Buffing the nail can lift hangnails and dry skin surrounding the nail. Untrimmed, these can tear further along your nail and lead to painful cuts.
Step 6: Moisturize & cleanse
To extend the life of your pedicure, always remember to moisturize. After the filing, buffing and softening, your feet will quickly absorb foot lotion and leave your feet feeling baby soft. Just as we do with our hands, don’t forget to always cleanse the nail plate with nail polish remover first before polishing since our natural nails carry a lot of residue and oils
Step 7: Your favorite polish!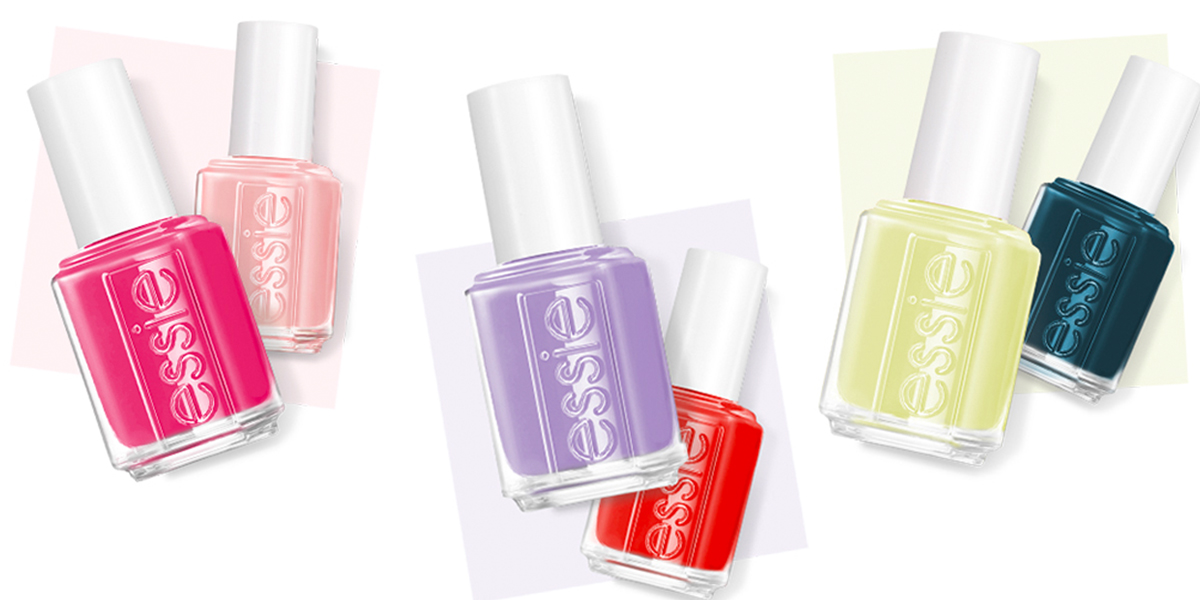
Now that nail and cuticle care are complete, it’s time for the pièce de résistance: nail polish! If using an essie enamel nail polish, apply one thin layer of base coat. This step is often overlooked, but it is essential for a healthy longwearing pedicure.
PRO TIP: Base coat protects natural nails from the stains that polish can leave behind and acts as a bond for color, preventing chips. essie boasts a few extraordinary base coats that cater to your own individual nail needs. Looking for a longwearing finish? Reach for here to stay base coat with color-lock technology that extends the life of your pedicure color. Need added strength? Use biotin-infused strong start base coat. (*note: This step isn’t necessary when using the essie gel couture two-step system as the base coat is already formulated into the color coat! Same for our quick dry on-the-fly expressie nail polishes.)
After base coat – or if you’ve chosen an essie gel couture or expressie shade, apply two coats of your desired nail polish color. The first coat should cover the entire nail, keeping a hairline space between the nail and your cuticles. The second coat will deepen the color.
PRO TIP: Remember to wait 2 minutes between coats for a faster drying time and to prevent dragging the previous coat down the nail. It’s also important to remember to run the nail polish brush along the tip of the nail with each step. “Capping” the nail ensures a chip-free barrier.
For lasting shine and wear, top off your nail polish with a layer of top coat. Whether you choose a glossy high shine top coat, like gel setter top coat or a quick-dry ally, like speed setter top coat, this step is necessary for a longwearing pedicure. For essie gel couture, use the specially formulated gel couture top coat as part of the easy 2-step system at home.
PRO TIP: Just as they do in the salon, you may want to slip your feet into your open toed sandals before polishing. Otherwise, be sure to allow enough time for your nails to dry before stepping in!
Step 8: Maintenance
Don’t forget! Once the topcoat is applied, your pedicure is not over. Cuticle care, buffing and cleansing the nails with nail polish remover can strip the nails and cuticles of the natural moisture needed to stay healthy and strong. To keep your feet in shape, frequently apply essie’s apricot cuticle oil. Dry summer months and days in sandals can take a toll on our pedicures, so this lux treatment will keep your pedi shiny and your feet happy and healthy for weeks!
Browse our full selection of nail care products online here.
