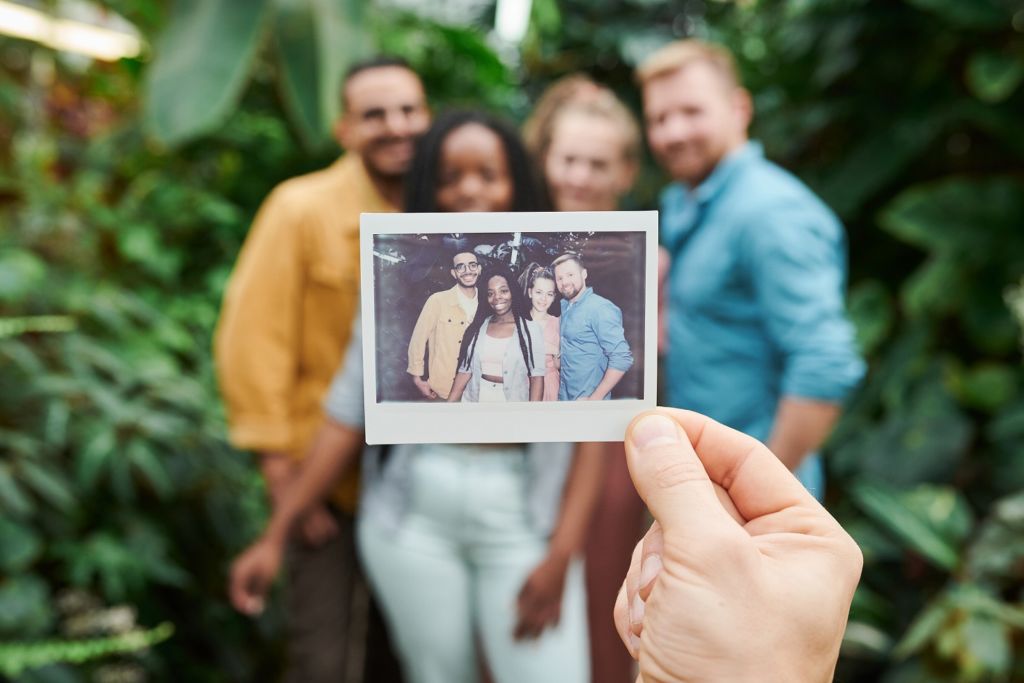
There’s something tangible and nostalgic about having a printed photo that has allowed prints to endure, even in the age of digital photography. Now, those once ‘old school’ style prints like Polaroids have become trendy once again, thanks to their stylized look. While it used to be that those photos were only ever displayed in photo albums (or even relegated to shoe boxes), crafty DIYers have since devised all kinds of unique and fun ways to showcase your best shots. Here, our LDExperts in the Photolab are sharing 3 of their favourite décor ideas you can easily do yourself, using vintage-style photos.
Before we dive into each of the décor DIYs, let’s first take a look at the different kinds of prints you may want to choose from. Your decision will depend on whether you’re planning to print some of your existing digital or film images, or want to use photos that print instantly from a camera, like the Fujifilm Instax or Polaroid Originals OneStep 2 VF Instant Camera.
The classic look of instant photos
Both Instax and Polaroid Originals are great options if you want to enjoy taking photos the ‘old fashioned’ way, but want the convenience of having the print photo immediately in your hands. These positive film cameras will instantly print out your image in that classic Polaroid-style you’ve come to know and love – and they’re ready to be displayed right away!
Giving your digital & film photos a vintage look
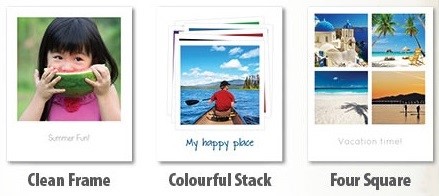
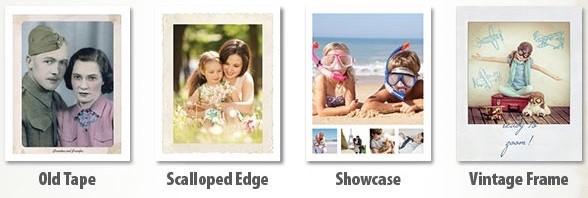
Meanwhile, if you love the look and feel of that nostalgic photo style but aren’t interested in a new instant camera, you can also choose to have your digital or film photos printed by our Photolab in any of our 7 new 4×5″ vintage print styles! Choose from Old Tape, Scalloped Edge to Vintage Frame, all of which will give your prints that classic look. Ordering is easy; simply upload your digital files online or use our London Drugs Photolab App (available for iOS and Android). If you prefer to order in-store, you can visit your nearest London Drugs to use our kiosks, or if you’ve shot on film, you can drop off your rolls to have that film developed and digitized.
Now that you know what kind of photos you want to use, let’s take a look at 3 ways you can display them as décor!
1. Photo Collage
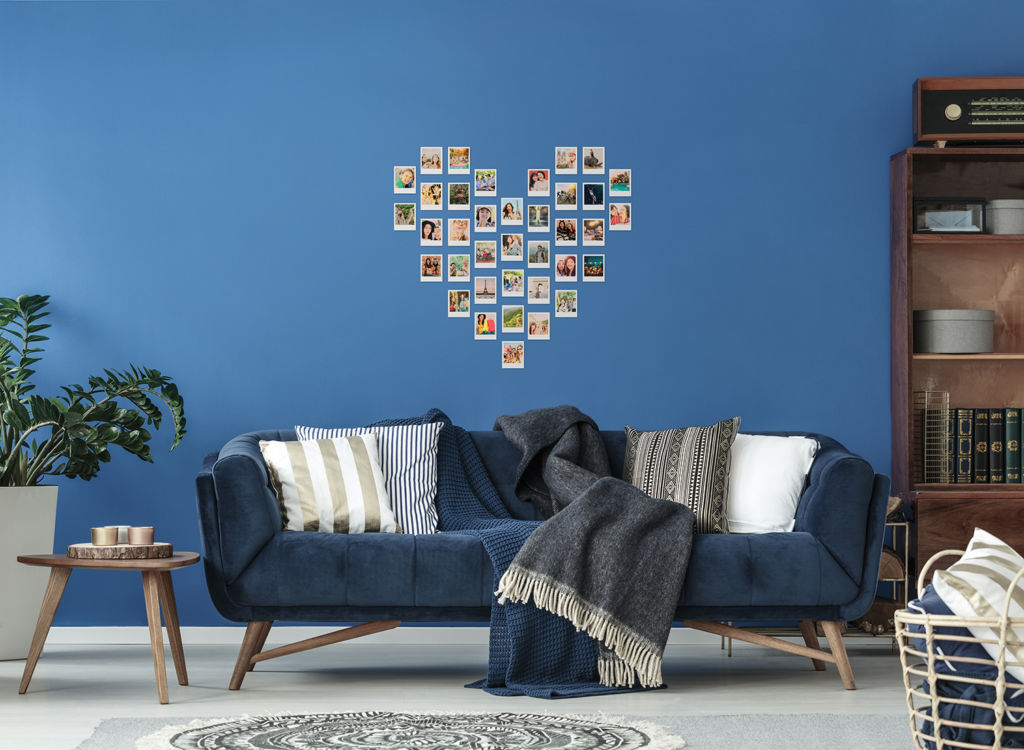
Looking to spruce up a blank wall? A photo collage is a fun and easy way to create your own wall décor! Pick your favourite prints, and plan out a design – anything from a simple square grid, to a heart shape. You can decide on a theme too, if you have enough photos to choose from: friends, family, travel, or all of the above.
We also recommend sticking to the same frame colour for all of your photos in the collage, or placing them strategically based on the frame colour (ex. using all black frame photos as the edge of your collage). Instax Mini film, for instance, comes in a variety of frame options, such as classic white, black, rainbow or patterned.
Sort through and lay your photos out on a table or floor to start deciding where you want each photo to go. This is especially important if you’re doing a more complicated shape like a heart.
Once you’re ready to start affixing your photos to the wall, use Scotch Wall-Safe Tape in small loops on the back of each photo. This tape sticks securely, but also removes cleanly, leaving no residue or wall damage behind. To help keep your photos even on the wall as you affix them, you can also use painter’s tape as a guide.
2. Photo Garland

Another way to creatively showcase your photos is with a photo garland. Simply put, photos are strung along a piece of twine, attached using small pegs. Fujifilm has even created their own Instax Mini pegs, which are perfect for holding your photos in place. The twine is then stuck to the wall on either end, allowing the photos to hang. If you pick up a pack of those Instax Mini pegs, the twine is included!
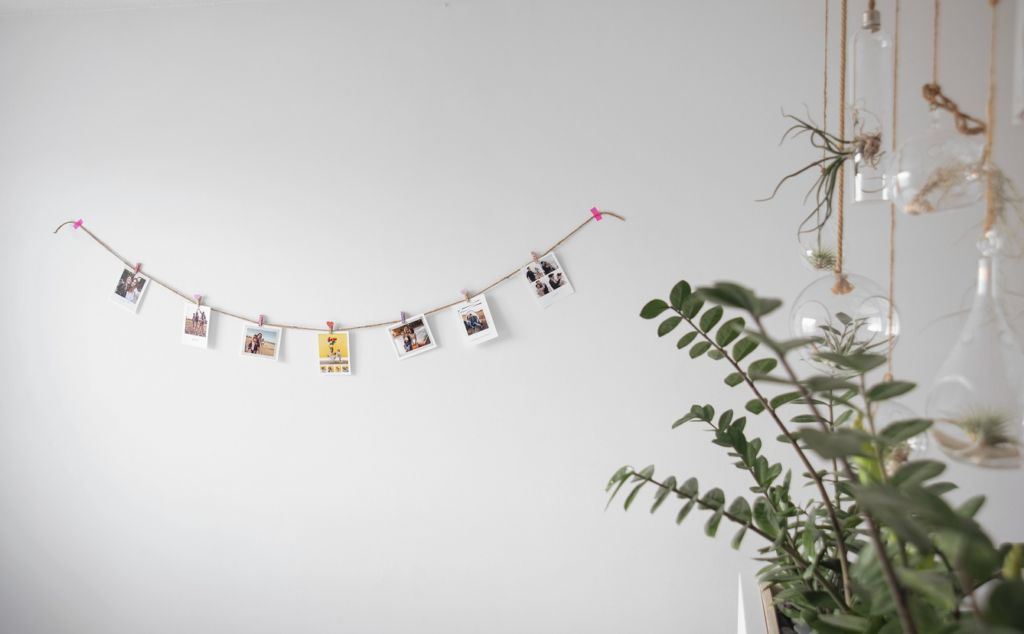
Photo garlands can be a fun way to display your photos chronologically, from left to right. For example, showcase your photos from years ago to present day, perhaps even doing a string of photos for each year or month, depending on how many photos you have to work with. Or create a string for each category of photo, like a separate string for each vacation you’ve taken, or a string for family photos vs. a string for friends’ photos. The choices are endless!

There are also all kinds of ways to customize your garland, from adding bunting made out of paper or burlap, to intertwining fairy lights among the photos. This is your chance to be as creative as you want.
To attach your photo garland to the wall, you could use stylish Washi Tape, or Command’s Small Spring Clips which hold strongly without damaging your walls.
3. Mood Board Grid
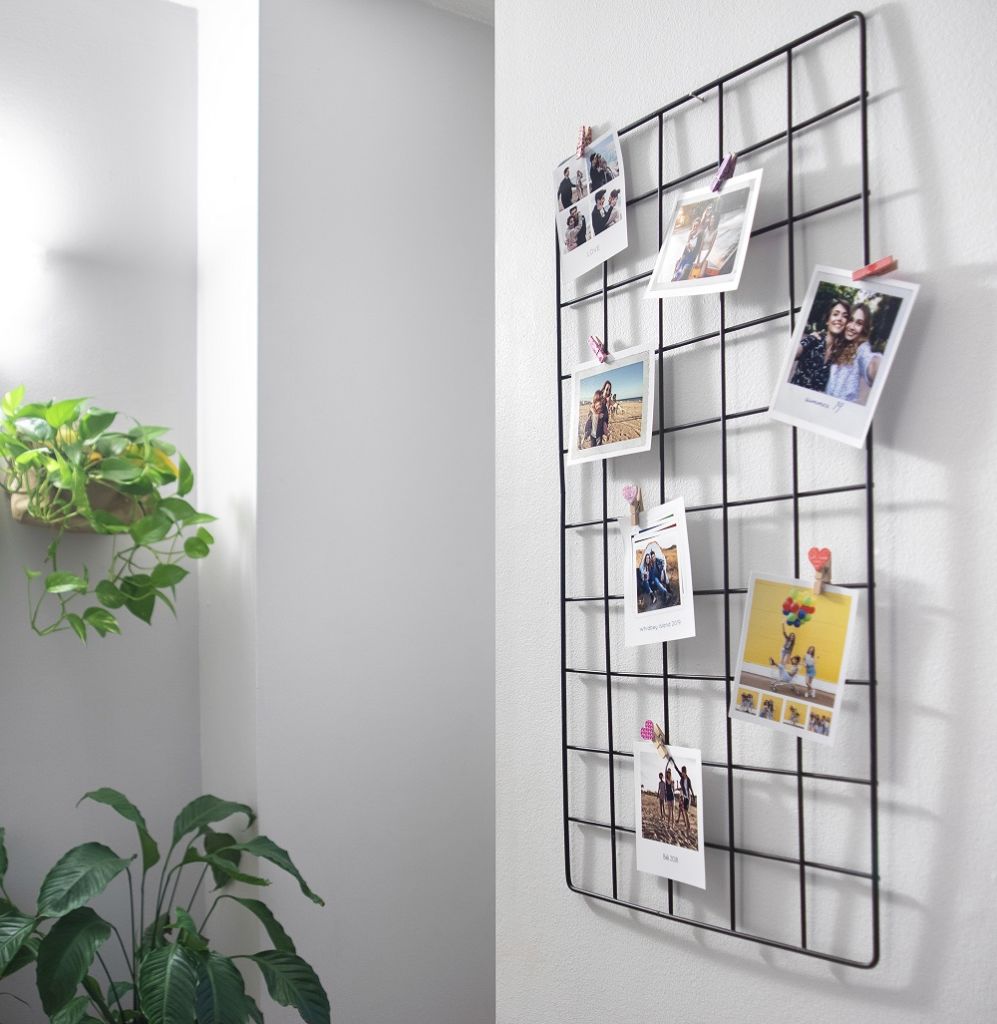
These mood boards, which are made in a grid shape, are ideal for displaying everything from notes and cards to your favourite photos. They’re a perfect way to decorate your desk, whether at home or at the office. The grids can come in a variety of sizes, which will determine how many photos you will be able to attach.
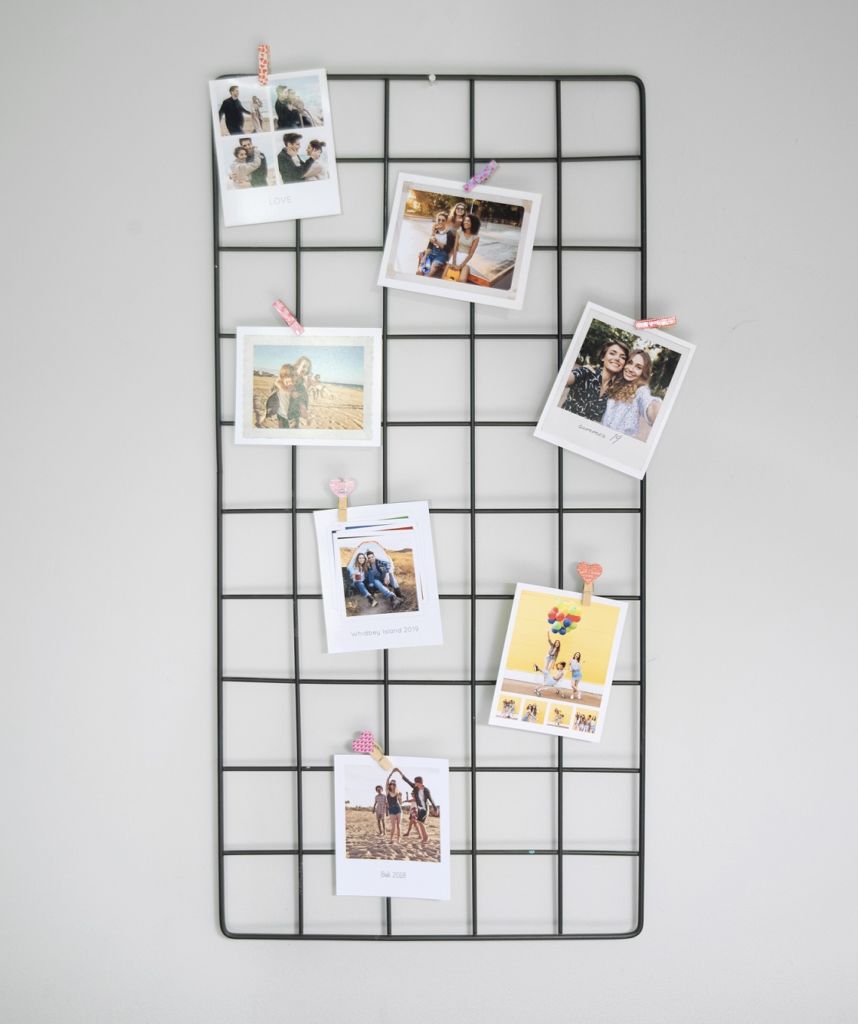
Use small pegs, like the Instax Mini pegs, to clip each of your photos to the grid. Either attach them ad hoc, or in rows. The best part of this method is how easy it is to update your photos regularly!
Need a little help getting started with your project? Our LDExperts in the Photolab are always happy to help if you have any questions about printing your photos. Just visit us at any London Drugs location!
