March brings the sun, the greenery, and of course the allergies! It reminds us to dust off some of that hibernation clutter that has collected over the last few months. Tis’ the season for spring cleaning!
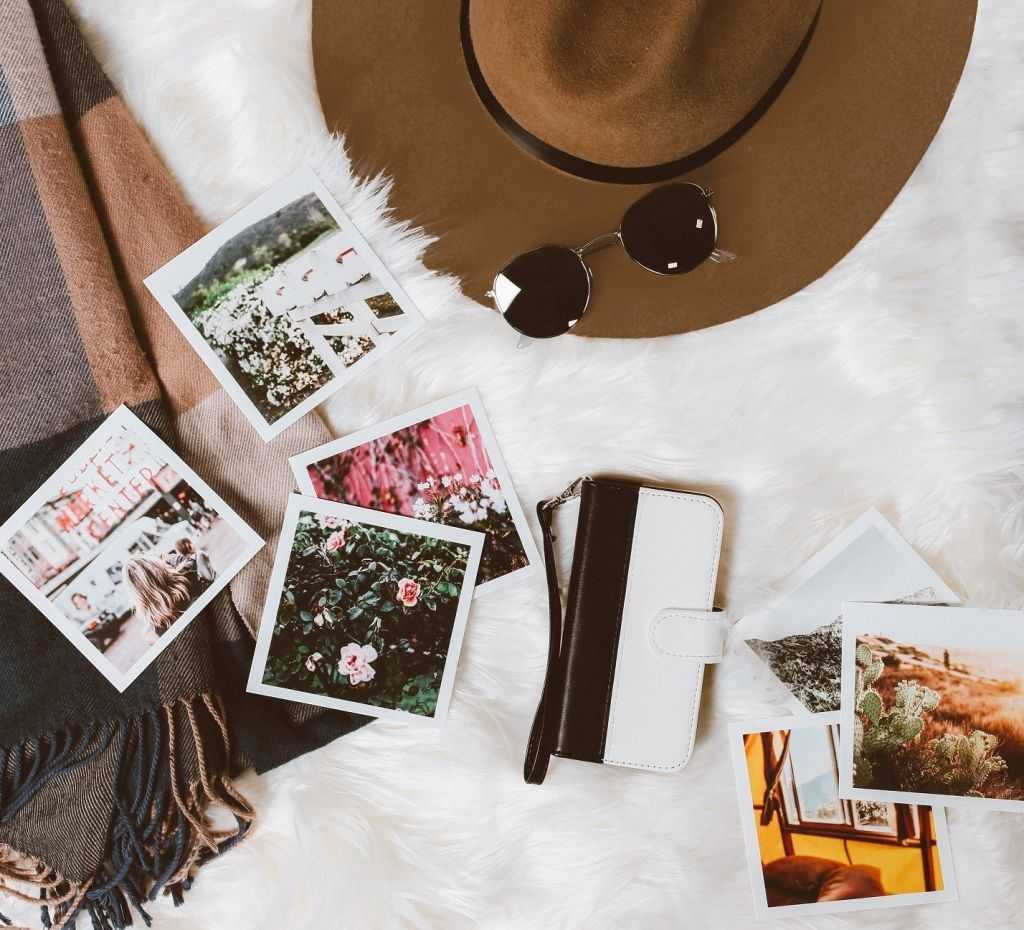
It starts with the dreaded junk drawer and ends with moving around the furniture, but somewhere in between, you’ll find that ever-growing collection of family portraits and candids in boxes or old photo albums, and like the bedroom Feng Shui, they could probably use a little TLC.
Spring cleaning, organizing and maintaining your treasured snapshots is as easy as pie—with only a few steps to a lifetime of crisp (and easy to find) images.
Back-up and Digitize
The easiest way of ensuring your photos really last, is by simply scanning and backing them up to a disk, hard-drive or USB. The Seagate 1.5TB Expansion Portable Hard Drive is a great option; it has drag and drop file saving right out of the box, and lots of room to store your photos. Running the risk of your memories cracking or becoming discoloured becomes virtually impossible- and clutter free!
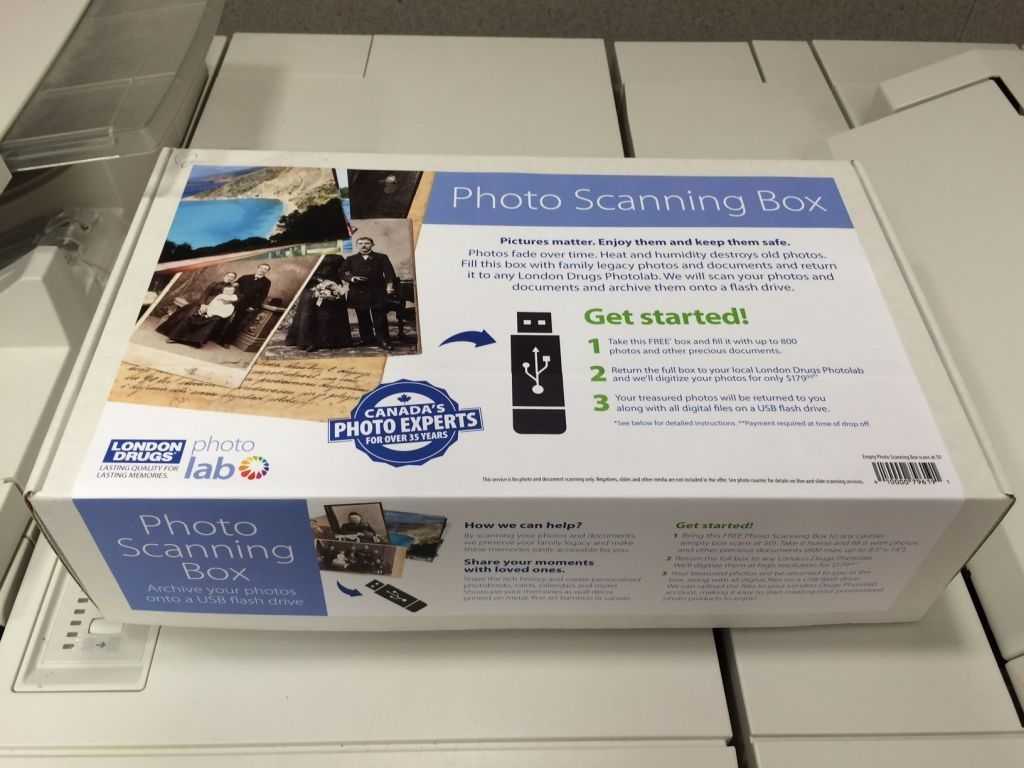
Make this process even more efficient with our Photo Scanning Box – preserving childhood memories or historic family images has never been easier. Fill the FREE photo box (found in-store or online) with up to 800 photos or documents, return the box to a London Drugs Photolab, prepay and our LDExperts will do the rest. They’ll digitize your keepsakes at high resolution, then return the hard copies to you, along with a USB drive full of all those photos you hold dear.
Once you have those digital copies, you’ll want to make sure they’re backed up safely. To avoid losing all your precious photos due to a fire or flood, power surge or hard drive failure, it’s best to use the 3-2-1 back up rule.
This means that you should have:
- 3 copies of your digital photos
- Stored on 2 different media or devices
- With 1 copy located off-site.
For example, you could store your photos on two hard drives and on the cloud (a service like iCloud), and take one of those hard drives and store it at your parents’ home. That way, even in the worst case scenario that one or even two of your storage methods fail, you’ll still have a failsafe copy.
Organize and Store Safely

Of course, after making digital copies, you’ll need somewhere to store the originals – it’s important to take necessary precautions in order to avoid misplacement or damage, and it helps to keep them organized.
Suggested items before beginning any photo organizing project include:
- Cotton gloves: Oily residue naturally found on your fingertips can lead to deteriorating your photos. Avoid this by handling documents with a pair of gloves.
- Soft lead pencil: Including the date, year, or name on the back of a photo is a must when organizing your photos, because you’re not always going to remember if you took that photo in ’86 or ’87, or who that person third from the left is. Make sure you’re using a pencil that isn’t permanent so it doesn’t harm or indent the photo—never use a pen!
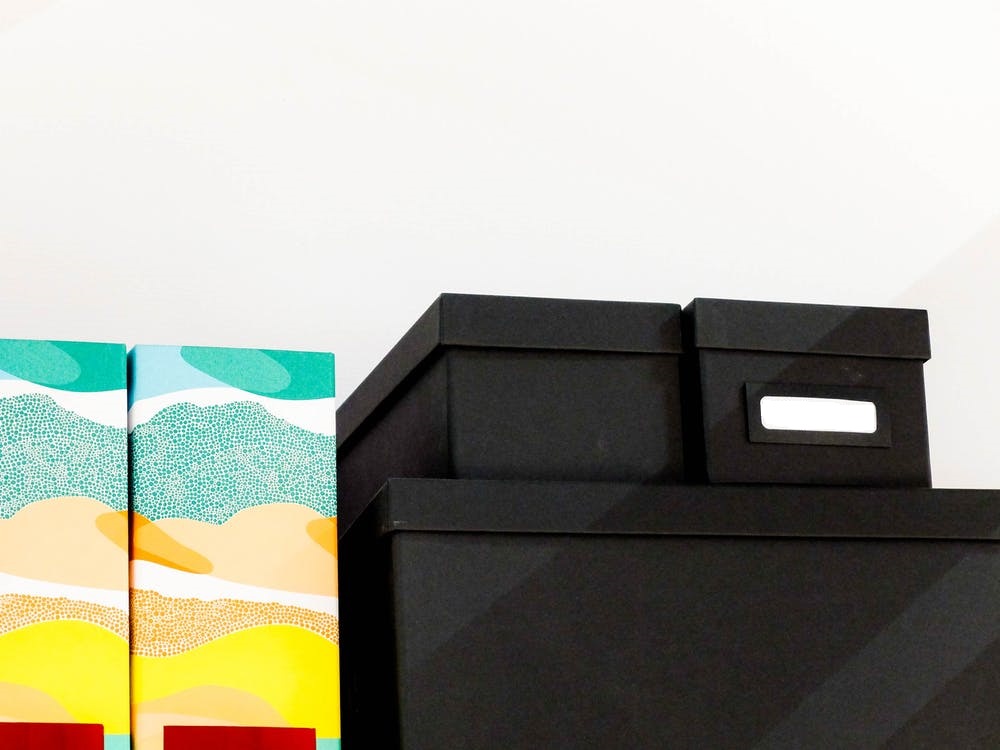
- Photo-safe storage box: A good quality storage box with labelled index cards can make a world of difference, in the event that you’re looking for a specific photo. It sure beats rifling through old shoeboxes and drawers!
Obey the Two-Second Rule
Perhaps the most important thing to remember is all while going through old photos is to obey the two-second rule.
It’s okay to take a walk down memory lane—but it’s important to prioritize your time. Spring cleaning doesn’t need to take the entire season. When cleaning and organizing your old photographs, remember not to linger longer than two seconds before determining its place. You’ll have plenty to enjoy them after they’re organized!
