There’s nothing quite like a fresh manicure to make you feel “polished” and put together. With many nail salons being closed now, you can give yourself a manicure at home, provided you have all the right tools. Keep reading for steps on giving yourself the ultimate nail salon experience from home!
Out with the Old

The first step is making sure you have a clean, blank canvas by remove any old polish on your fingernails. Using regular nail polish remover is great for dark colours and glitter, but if you want something a bit more gentle, you can find one that is acetone-free.
Shaping Up

First, use a nail clipper to cut nails to desired length. Next, use a nail file to shape your nails. TIP: Don’t file in a back and forth motion, but rather in one direction. Make sure to hold the file flat against the nail tip. If you file at an angle, it will thin out the nail. You can also use a 3-way nail file that has sides for smoothing, buffing and adding shine to your bare nail.
Warm Water Bath

This is probably the most relaxing part of a manicure-soaking your fingers in warm water. Add in your favourite gentle facial cleanser or body wash. However enjoyable this part may be, keep it to 3 minutes or less, as the goal is to just soften the cuticle. Over-soaking nails may actually damage them.
Cuticle Care

After you’ve soaked your fingers, your cuticles will be soft enough to push back. You can use a nail grooming tool to gently push them in. Once that’s finished, apply cuticle oil by adding a drop to each nail and massaging it in after a couple of minutes. This will help to moisturise the cuticles and hydrate nails.
Apply a Base Coat


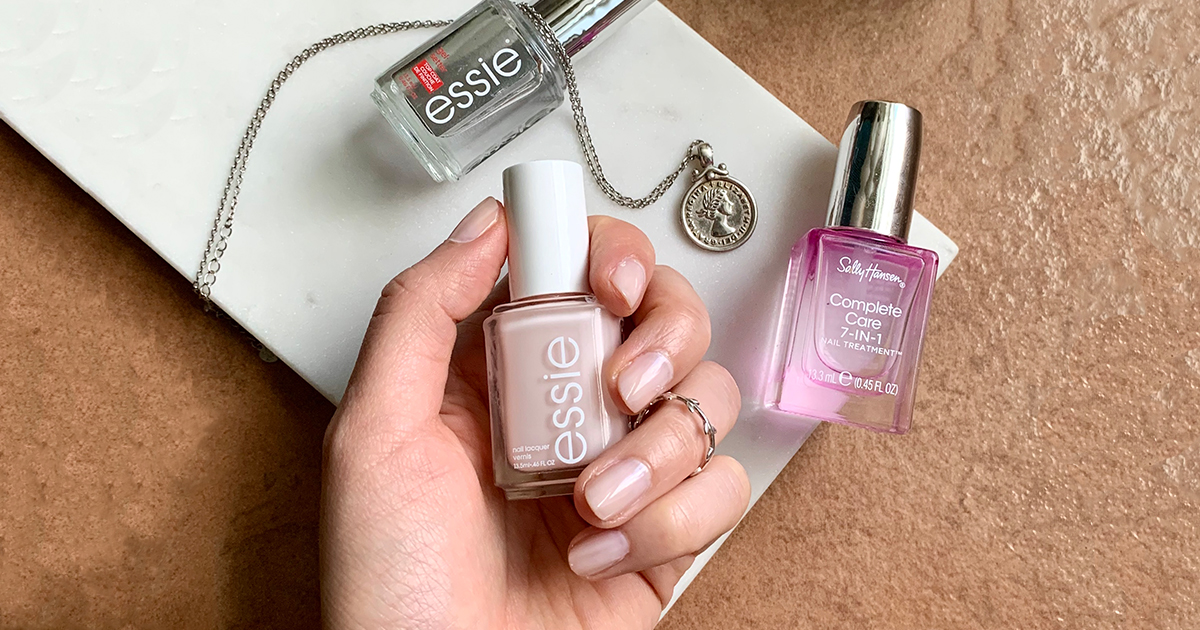
Applying a base coat not only helps your nail colour to last longer, but it also helps prevent your nails from staining, especially if you are using darker shades of polish. Try Revlon Quick Dry Base Coat for a quick-drying base that protects and anchors colour. The Essie Smooth-e Base Coat helps to smooth over ridges and strengthens the nail with keratin.
Apply Your Shade

This is the fun part- choosing a shade! If you’re wanting quick-drying colour, browse Essie Expressie Quick Dry Nail Polish. If you’re looking for natural options, check out Sally Hansen Good. Kind. Pure. Vegan Nail Polish. It’s their line of plant-based polishes that still offers great colour payoff. Once you have your chosen shade, carefully apply the first coat and let it dry for 5 minutes. Depending on how solid you want the colour to appear, apply a second coat. TIP: Don’t worry about getting polish around the nail, you can always soak a q-tip with polish remover and gently clean up the edges.
Apply a Top Coat


Seal the deal with a top coat. This will help extend the life of your colour, but also add a super glossy finish. Plus, the options available are endless! If you hate waiting for your manicure to dry, try Sally Hansen Insta-Dri Top Coat, which dries in seconds. If you’re wanting one that gives an ultra glossy, raised shine that mimics gel manicures, try Essie Gel Setter Top Coat.
BONUS: If you’re feeling up to it, add a fun design before sealing off your manicure. There are a ton of fun design examples you can find on social media and they are easy to achieve using makeup sponges, tape or toothpicks. Check out this gorgeous ombre effect that @cosmeticproof created using Sally Hansen Good. Kind. Pure nail polish and learn how to get the look here.


Finish Up with Moisturizer


Although you’ve spent the bulk of your time on your nails, you can’t neglect your hands. Complete your manicure by massaging on some lotion to get the full nail salon experience (just make sure your polish has dried!) Go natural with Lavido Nurturing Hand Cream or if your hands are on the drier side, opt for the water-resistant Uriage Bariederm Insulating Repairing Hand Cream.
