From costumes to jack-o’-lanterns, Halloween presents some really fun photo ops for you to capture great family memories. So dust the cobwebs off your camera, and follow these tricks and tips from our LDExperts to help you snap Halloween photos that won’t come back to haunt you!
Tips for Better Halloween Costume Photos
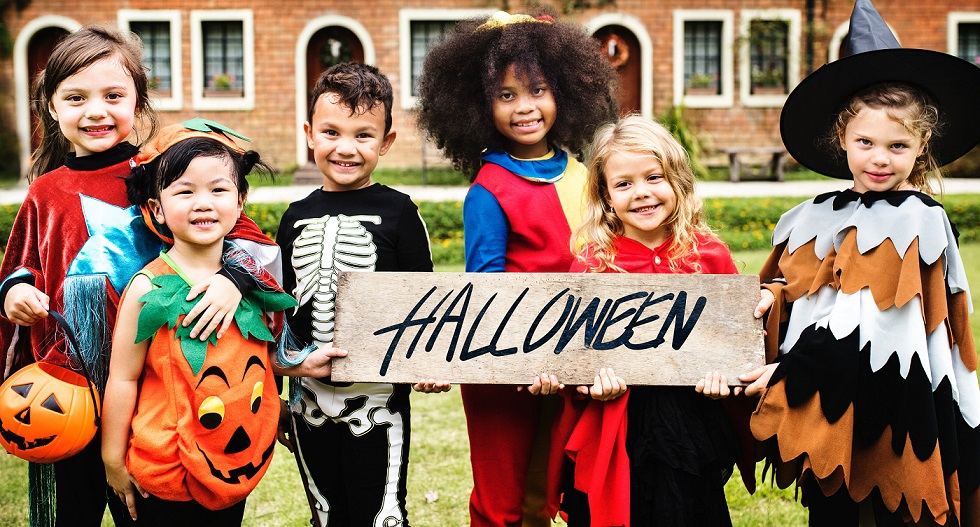
Kids grow up so fast, and if we’re being honest, some of our favourite photos to look back on are the Halloween photos. Their cute costumes immediately show us what their favourite movie character was at the time, what their childhood idol was, or even what they wanted to be when they grew up. Point being: capturing your kids’ Halloween costumes means you’ll have lots of great memories to look back on! For the best costume photos, follow these handy photography tips from our LDExperts:
- Shoot with natural light
Natural day-time lighting will be the most flattering for your photos, so avoid taking them on Halloween night once the sun’s gone down. If Halloween lands on a weekday (as it does this year), most kids will have the chance to dress up in their Halloween costumes and wear them to school. That’s your best chance to snap some daylight photos of them all dressed up. That, and because they’re not actually going out trick-or-treating yet, they may not be bundled up with jackets and hats like they will be when going door-to-door. If before-school photos aren’t an option, then why not do a costume test-run with them a few days prior to Halloween, and take the photos then?
- Take a knee
For the best photos of your kids, you should be taking the photos in line with their eye level, or just above it. That might mean taking a knee so that you’re on their level. This way, you’ll be able to show off them in their costume head-on, as opposed to having a more obscured view from above.
- Don’t use flash
Ideally, you can follow Tip #1 and shoot in the daylight, but if you decide you want to shoot some photos of your little ones in their element while trick-or-treating, there a couple of things to keep in mind. First, is to avoid using flash. If you already have some nice spooky lighting to work with, a flash likely won’t do it any favours. Instead, work with that ambient lighting and simply use a high ISO or your camera’s Night Mode. The high ISO will allow you to snap your photos with less light available. Some DSLRs will be able to go up to an ISO of 3400 and let in plenty of light while not creating too much image noise. However, as a general rule of thumb, keep your ISO as low as you can go without the photo blurring, and set your camera on shutter priority mode. If you’re photographing your kids in action while trick-or-treating, we recommend a shutter speed of at least 1/200.

- Limit your movements
For the best results when shooting photos at lower light with these settings, you’ll want to stand as still as you can while taking the photos. It’s best if your subjects aren’t moving around too much either. Ideally, use a tripod if you can, as this will help make your photos as sharp as possible.
If you’re chasing your little trick-or-treaters from house-to-house, and staying still just isn’t possible, embrace the blurriness and have some fun creating ghostly images!
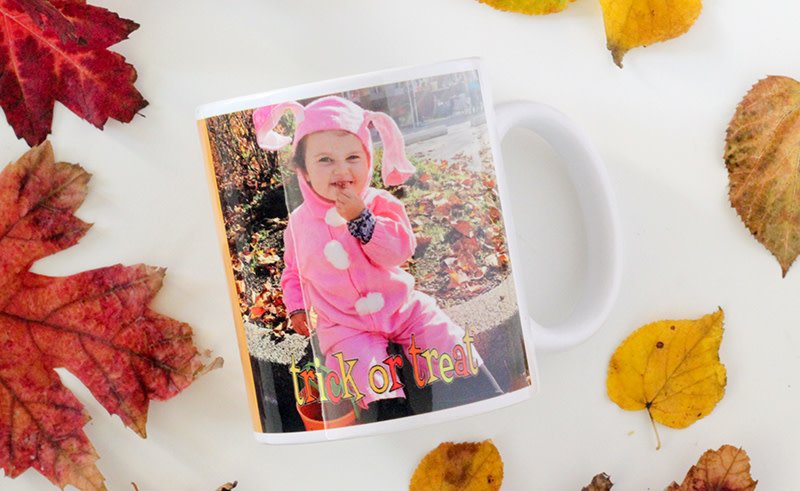
Once you’ve got the perfect Halloween costume photos, it’s time to choose a favourite or two and create something fun with them! Our Photolab has Halloween-themed templates available for a bunch of different customizable products, from photo mugs and cards to photo books and even aluminum metal panels.
Tips for Better Jack-O’-Lantern Photos
Carving out pumpkins to make jack-o’-lanterns is a time-honoured Halloween tradition, and for many, it’s a family affair! It’s always fun to look back on Halloweens past to see how the kids’ pumpkin carving skills have advanced – and maybe yours too! To capture your jack-o’-lanterns at their spookiest, follow these handy photography tips from our LDExperts:
- Choose a dark room
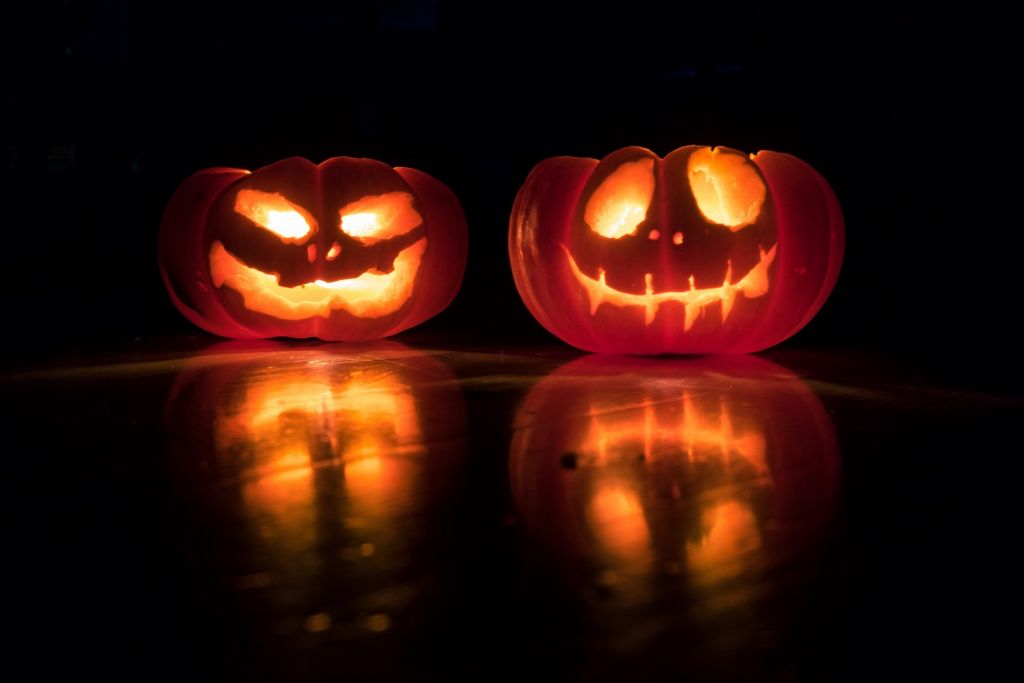
A good jack-o’-lantern photo is all about letting the candlelight shine, creating that spooky, glowing face. We recommend choosing a location that doesn’t have very much light (the less the better). For the spookiest results, use a surface that will reflect some of that ghoulish light – like in the photo above.
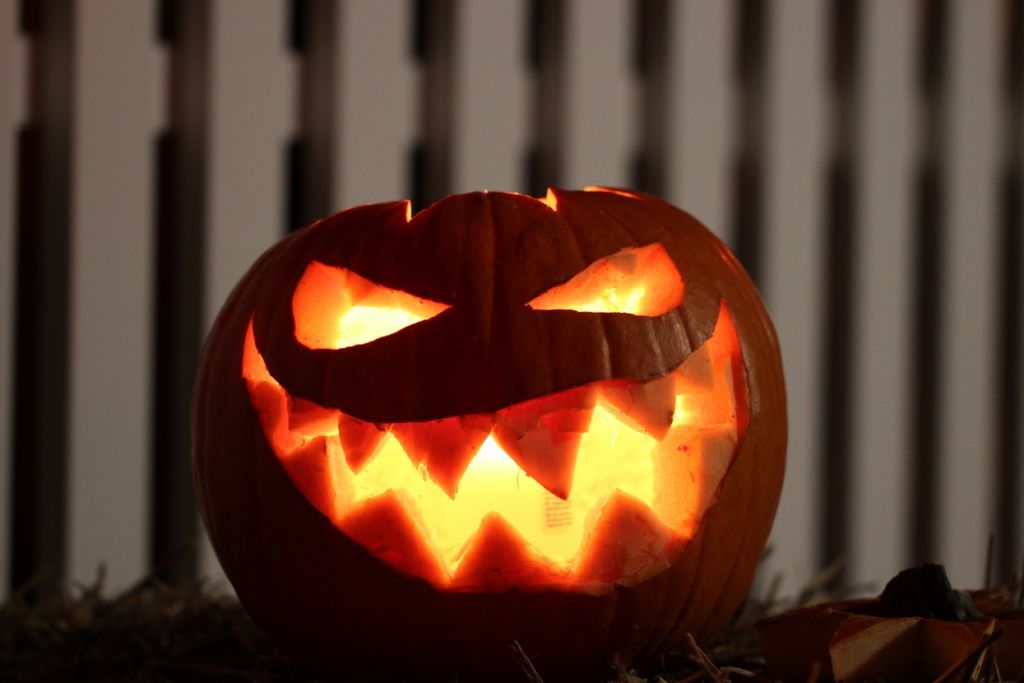
- Create that spooky glow
Light your candles and pop them into the pumpkins. You’ll want to make sure you have enough light coming through the pumpkin carvings, so if you need to add another candle or two to make the light really pour out, then go for it!
- Work in Manual Mode
Just as we discussed above when shooting photos of your kids’ Halloween costumes, in low light, you’ll need to adjust accordingly. Again, stay away from flash here. Keep your ISO as low as the camera is able to (let’s say around 100 ISO), otherwise you may see too much noise in your pictures. In Manual mode on your camera, adjust your aperture to the desired depth-of-field. Be careful not to allow your aperture to be too wide – it will make any bright spots, like the glowing eyes and mouth, take over the rest of your image. Finally, select your shutter speed. You may want to choose a slow shutter speed, although if you are using a tripod, which we recommend, the shutter speed shouldn’t matter as much.
- Shoot at Twilight
If you want to shoot your jack-o’-lantern while it’s on display on your porch, the best time is twilight: 20 minutes or so after the sun has gone down. At that time, your glowing jack-o’-lantern will generally produce about the same amount of light as what’s in the night sky. This will make it easier for you to capture the spookiness of your jack-o’-lantern without worrying about losing too much sharpness and detail in the photos.
Once you’ve mastered that spooky jack-o’-lantern shot, just imagine what it’ll look like printed! Our Photolab’s aluminum metal panels have the option of Halloween-themed templates, and the infused dyes will make that fiery pumpkin glow look even more vibrant.
