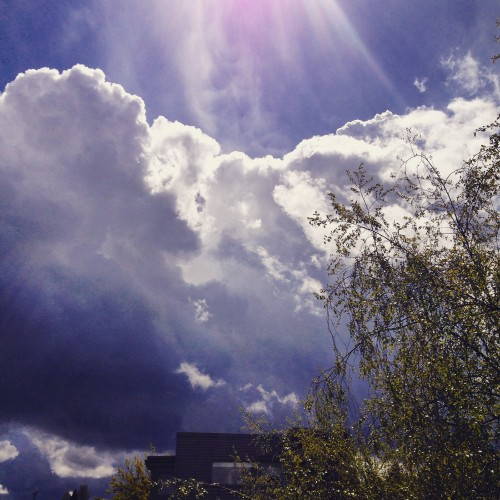
Whether you’re new to Instagram or consider yourself fairly experienced, there are many ways to improve your shots. Start with one, or all, of these six tips to improve your staging, cropping, alignment, filtering, use of IG sliders, and hashtagging. You’ll be an Instagram pro in no time.
1. Set the stage.
No matter what kind of shot you’re taking (landscape, group shot, street action, weather shot, portrait, or closeup), position yourself and your subject in relation to the available light. Especially when taking indoor shots, remove any clutter or distracting items before taking the photo. It’s also a good idea to take photos with your phone’s native camera, then open, apply filters, finish, and finally post, in Instagram.
2. Crop it.
Once you have pressed the camera button, a thoughtful crop is the next important step. When you open the photo in Instagram you have the choice of leaving the orientation as landscape or portrait, or of cropping to the usual IG square shape.
Cropping lets you frame the subject for emphasis. See the before and after shots below for illustration of why cropping matters.
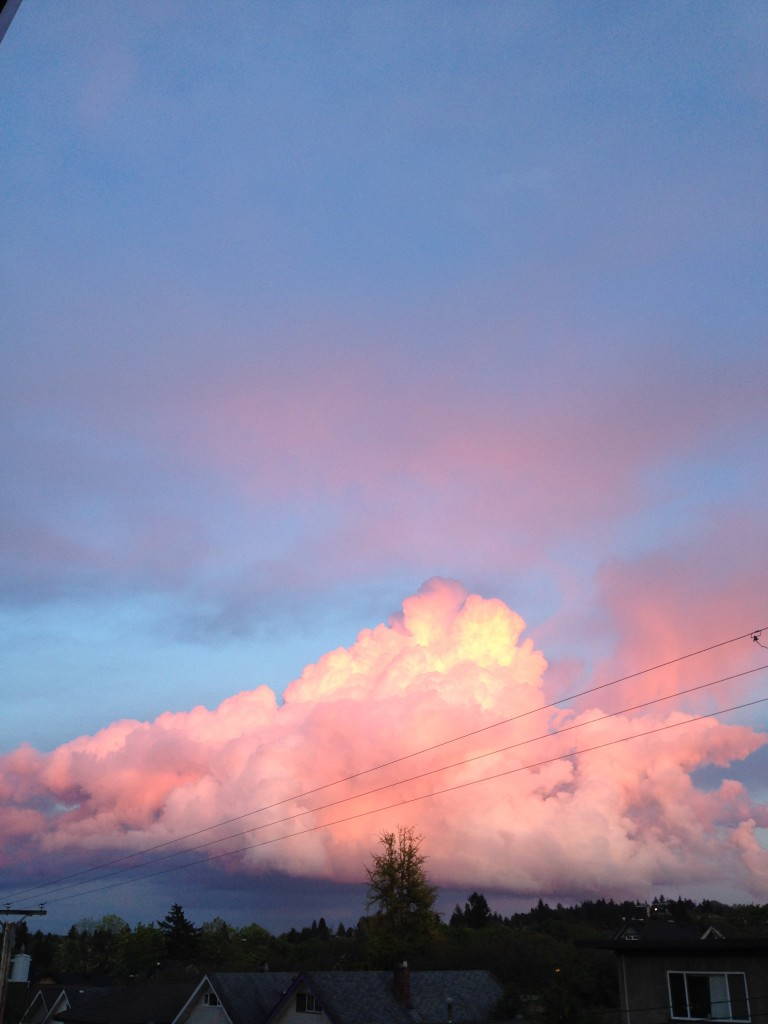 | 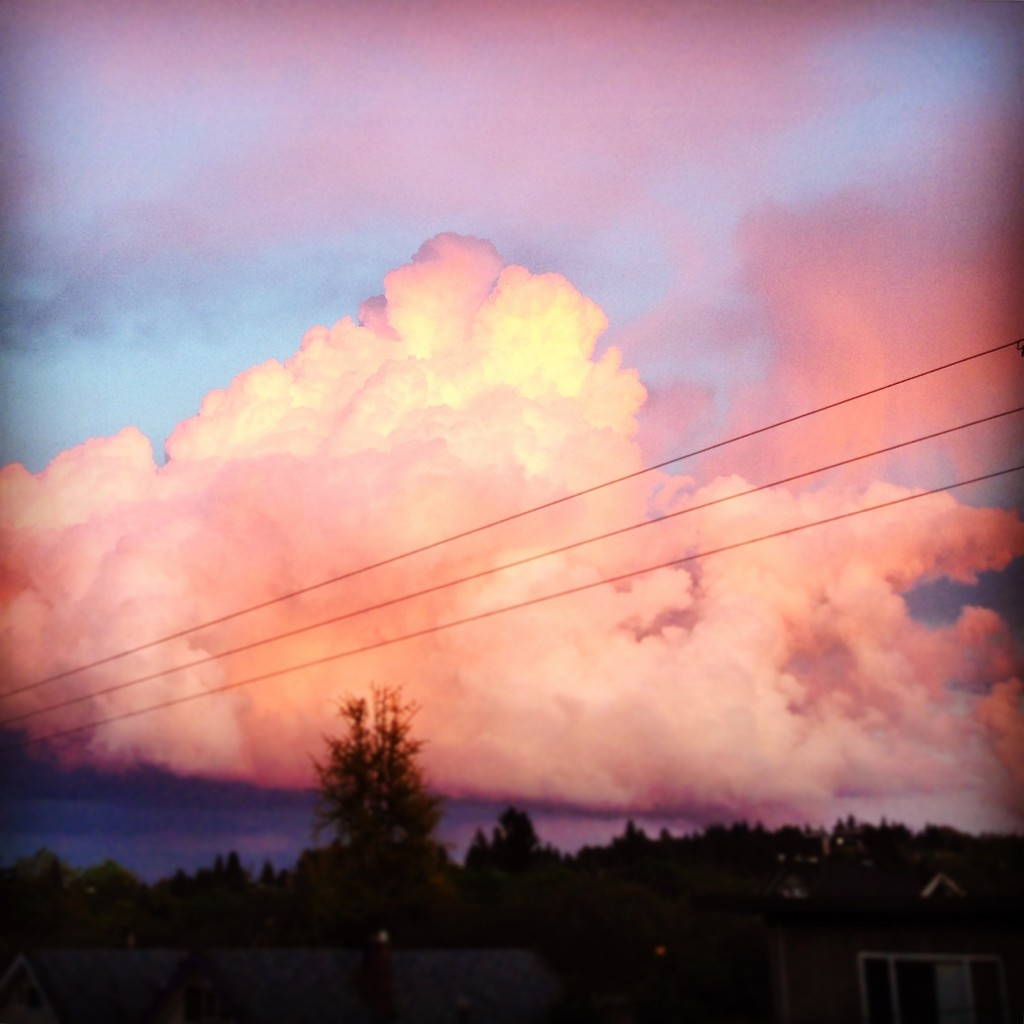 |
| No crop, no filter. | Cropped to square, Hefe filter. |
To further illustrate, this artist creates highly amusing scenes that show the power of cropping (do disregard the article headline; cropping is what you should be doing).
3. Straighten it.
Unless you are using a tripod to steady the phone, you will usually find that your shot is a bit off kilter. A shot can be deliberately tilted for dramatic effect but otherwise, use the “adjust” tool in the filters lineup to align the horizon to level. Our eyes naturally want to see a stable horizon.
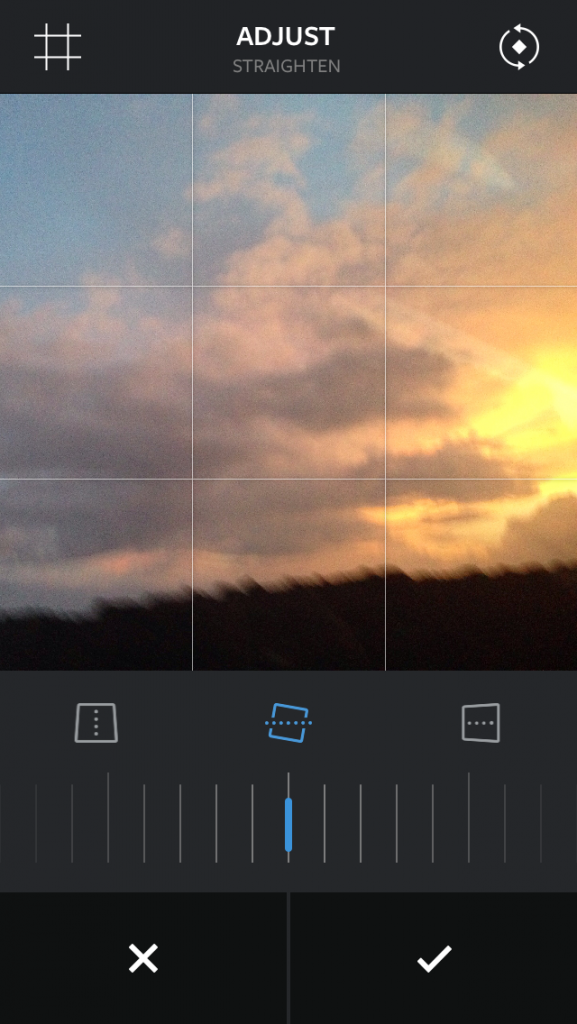 | 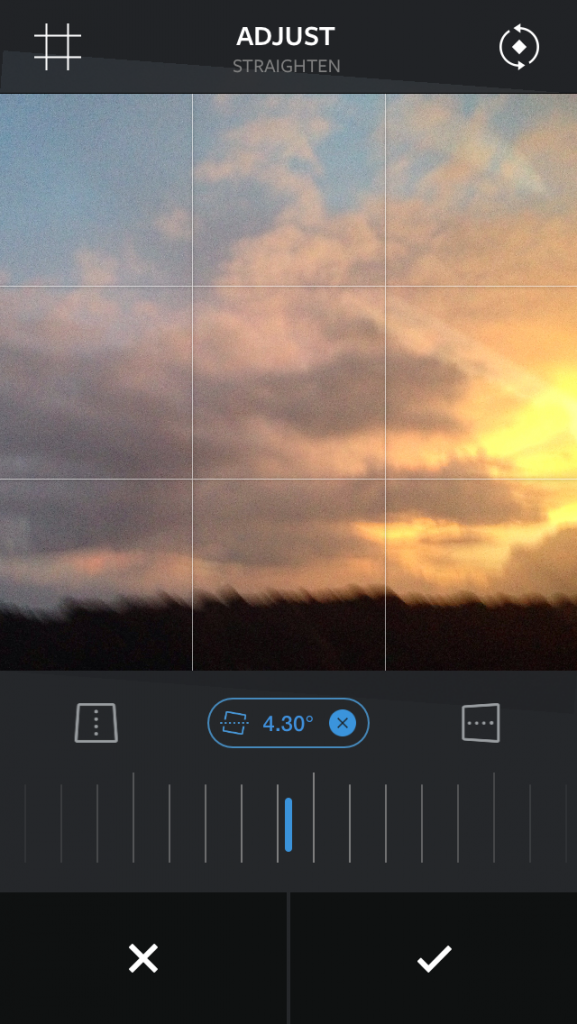 |
| No adjustment. | Slight adjustment. |
4. Play with filters.
Take some time to experiment with Instagram’s powerful pre-built filters. There are so many effects possible in relation to your shot that the only way to learn to use them is to apply them all until you find which filters have the effects you’re looking for.
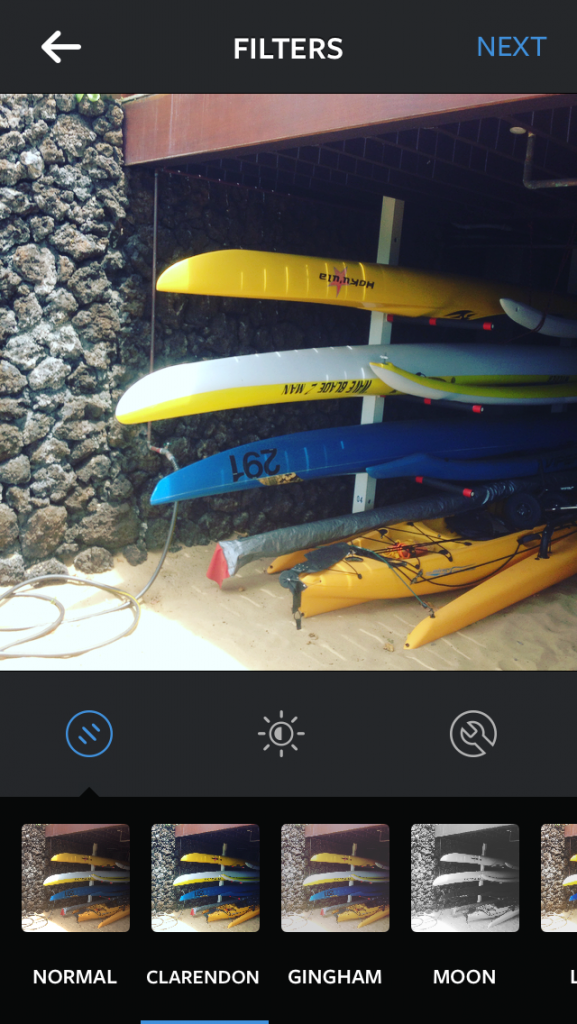 | 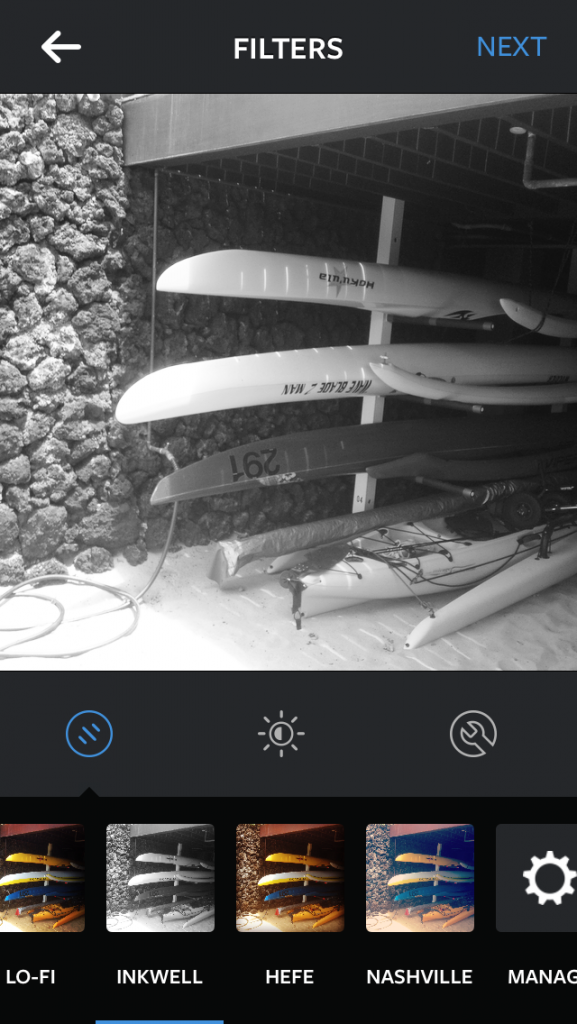 | 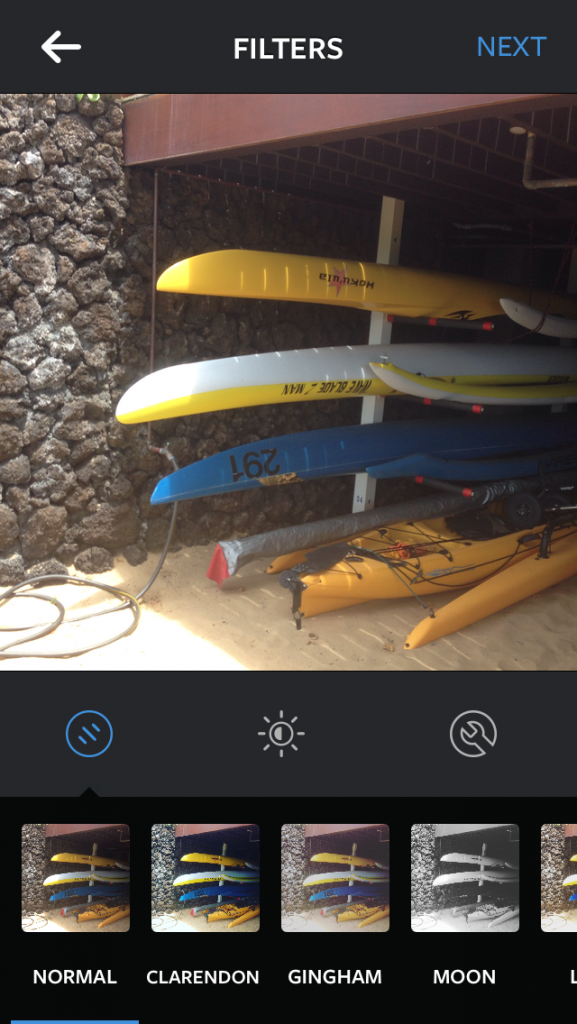 |
| Clarendon filter. | Inkwell filter. | No filter. |
5. Use the sliders.
Instagram now has the same adjustable single-effect sliders as any good digital camera, so here is another chance to play with photography.
The IG sliders (the little wrench graphic on the right) give you the opportunity to learn how professional photographers create their shots. It is fascinating to see how small adjustments to brightness, contrast, focus, and colour can have huge results. Small tweaks can mean the difference between an ordinary shot and an extraordinary photo. Remember to hit the “lux” button (the little sunburst in the centre), especially if the light is dim or colours are dull.
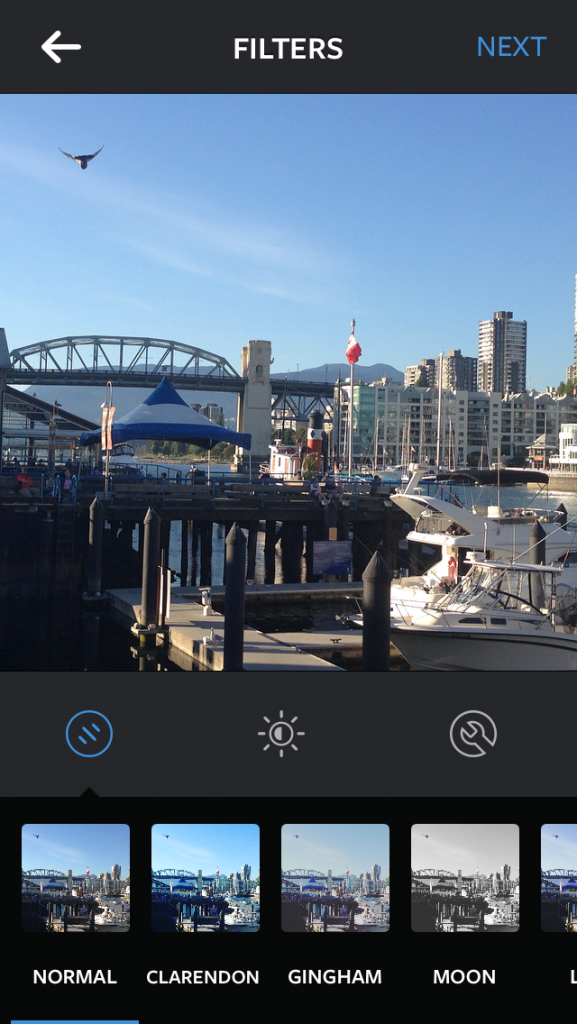 | 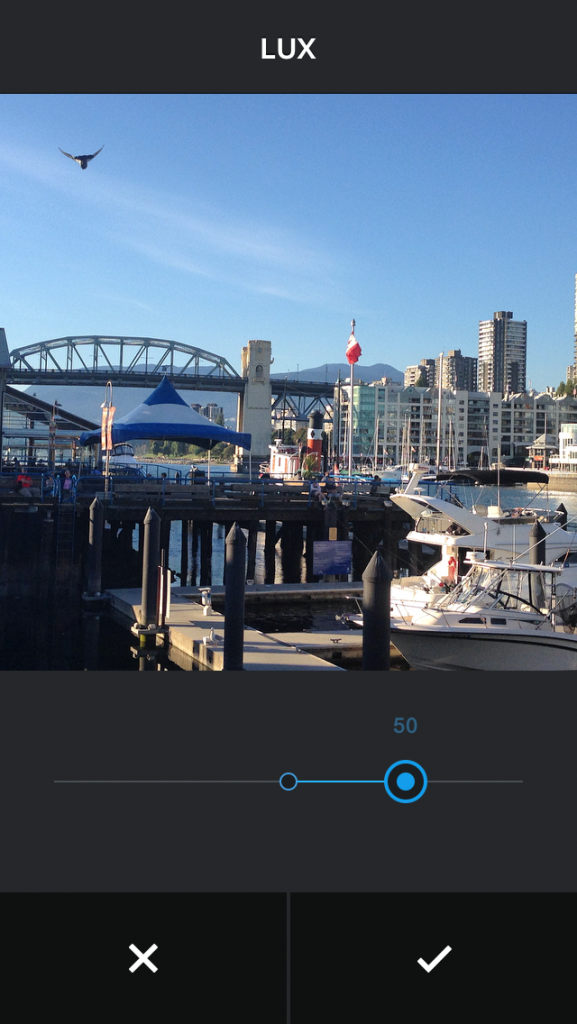 | 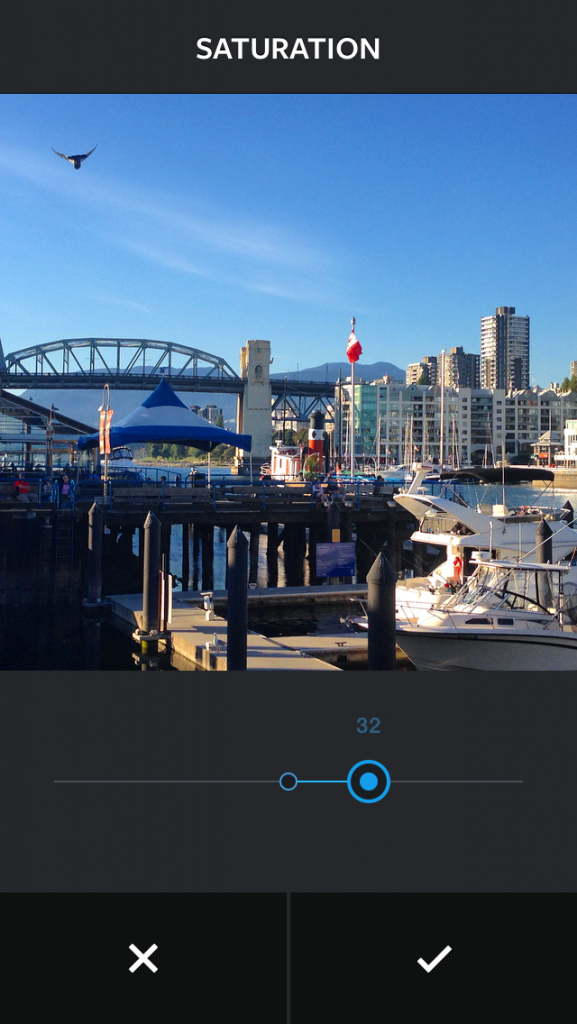 |
| Normal. | Lux added at 50%. | Saturation added at 30%. |
Normal 9. Lux added at 50% 10. Saturation added at 30%
6. Hashtags!
To tag or not to tag? Consider this: when you use hashtags, you are joining the IG community. Hashtags allow others who are taking similar shots or shooting in the same area to find you (#mycity), and may then encourage them to follow you, too. Hashtags also enable you to find others, and to discover their amazing photos – so hashtags can be well worth the effort. Consider commenting, too. When you do, you can also alert specific people about your post by simply typing their @username in the comments. Note that IG settings also allow you to choose whether or not to add your location to any post.

